If you want to try something a little different next time you pull out the paints why not make your own homemade puffy paint using this simple recipe?! I have used this basic recipe for many, many years now and as well as being easy it is definitely budget friendly. Children love being involved in the process of making the paint with you and then watching it magically puff up when you use the microwave. So many opportunities for creativity, conversation and intentional teaching moments with this activity.
Because we are approaching Christmas I decided to incorporate some festive Christmas colours to this batch of puffy paint but you can create the colours you like of course and certainly don't need a theme to explore with!
You know that I love making my own paint and this puffy paint is another favourite so let's get started with the recipe. You can easily prepare this paint just before you want to use it.
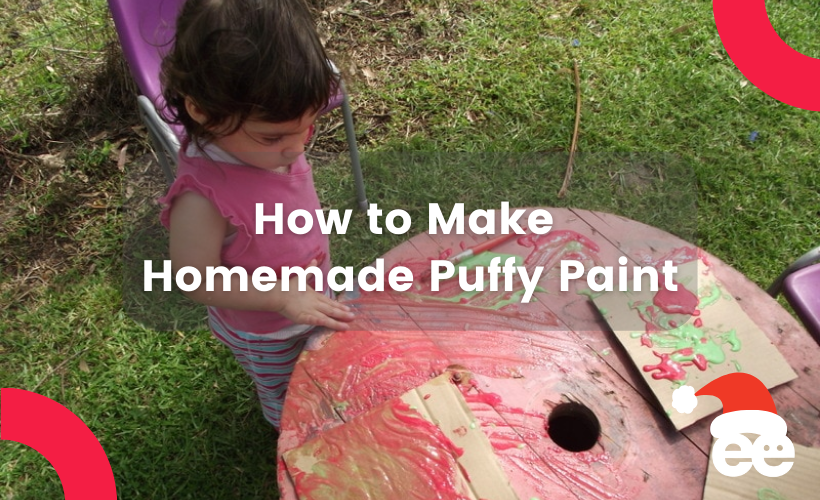
How to make Homemade Puffy Paint
What you need
- 1/2 Cup Plain Flour (or you can use SR flour but omit the baking powder)
- 2 Teaspoons baking powder (not Bi carb soda)
- 2 Teaspoons table salt
- Recycled thick cardboard cut into sizes that will fit into your microwave
- Food colouring or edicol paint dyes
- Enough water to mix to a thin paste consistency – start with a few teaspoons and go from there.
- Paintbrushes and a few teaspoons
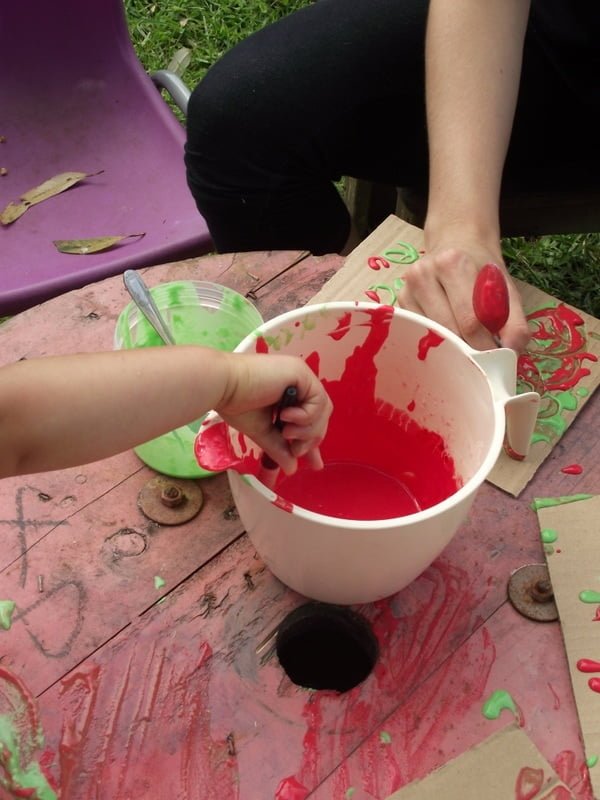
What you do now
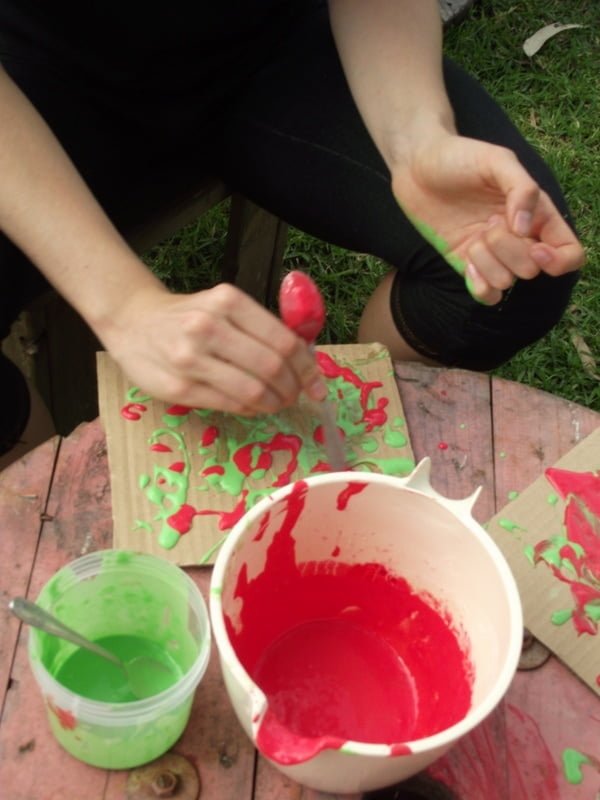
Mix flour, baking powder and salt in a bowl – slowly begin adding your water and mix until you end up with a thin paste (it will be a little grainy – that is fine). If you want to make a few different colours place spoonfuls of the flour mix into your paint pots or other paint containers before adding a few drops of food colouring or edicol dyes.
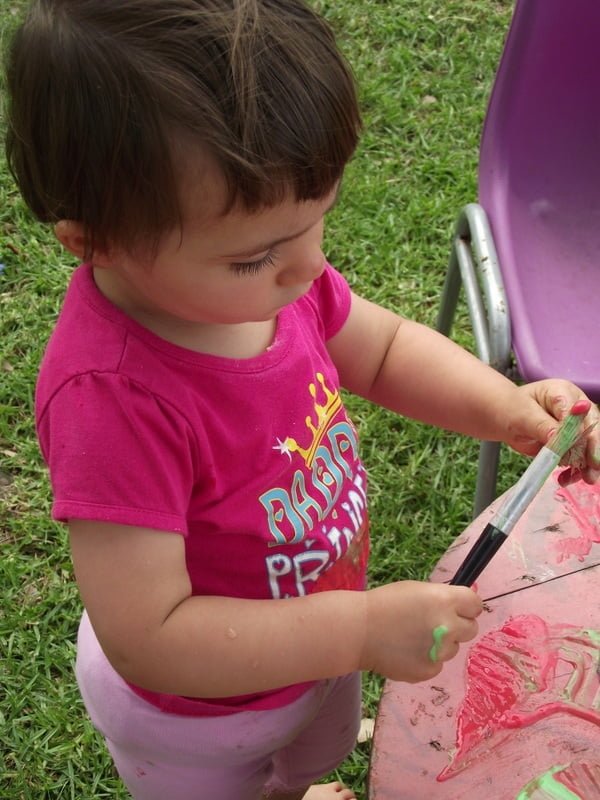
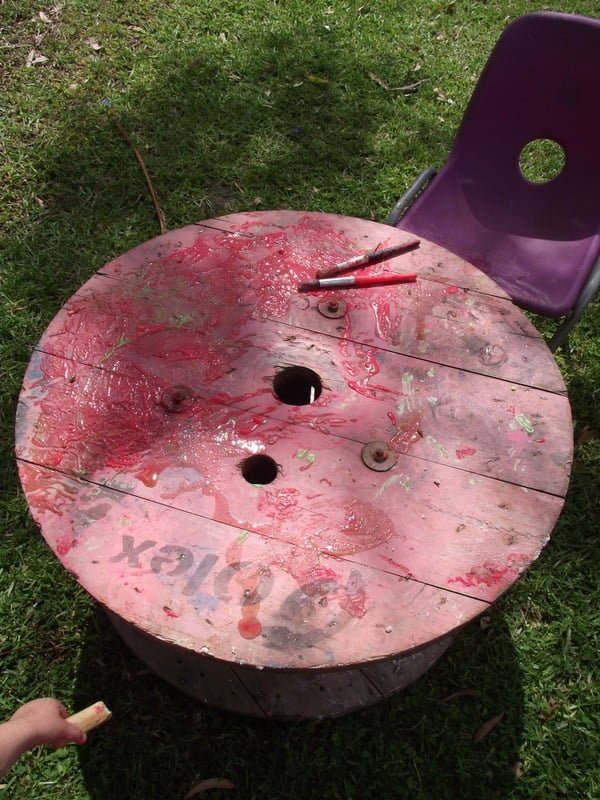
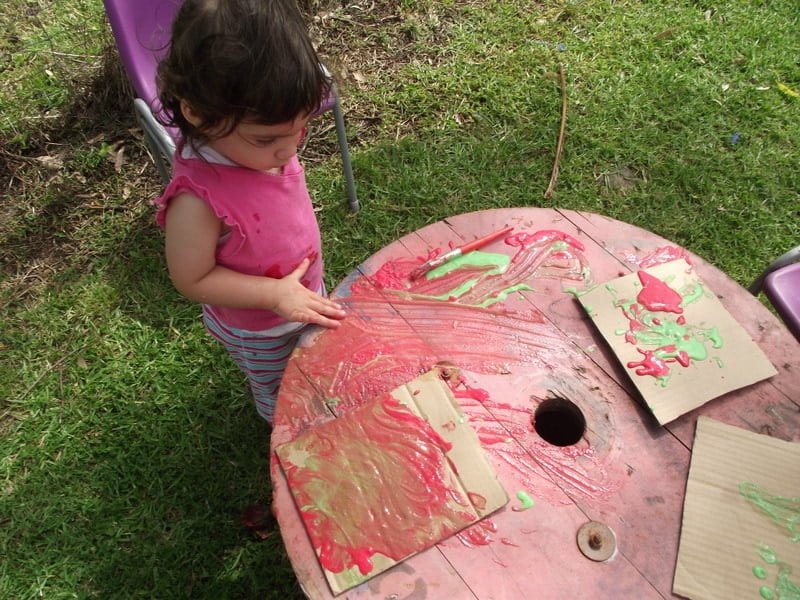
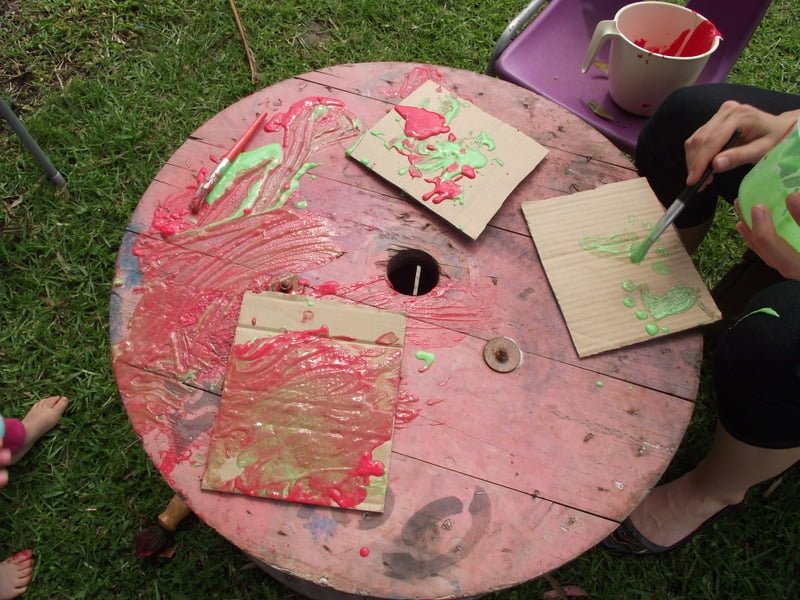
Add your brushes and watch the creations take place on the thick cardboard.
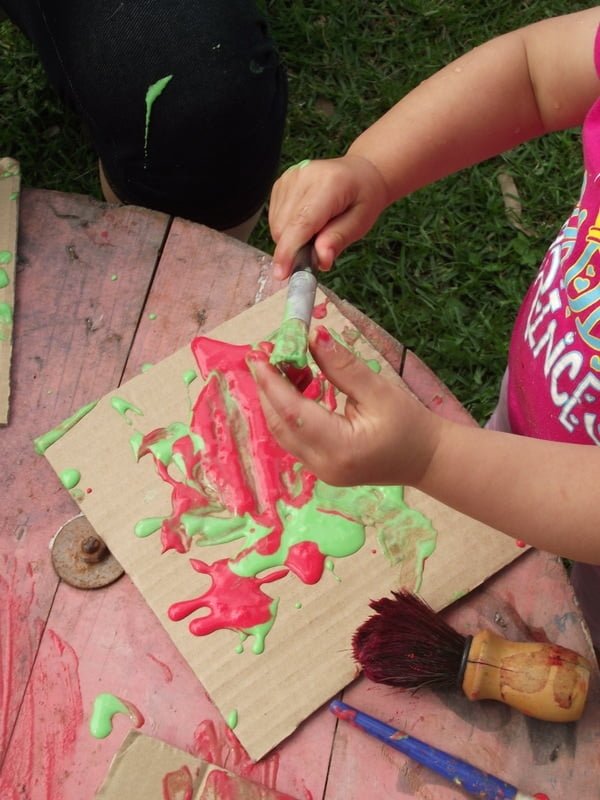
As you can see, there is no need to keep the painting to just the cardboard – especially if playing with toddlers!
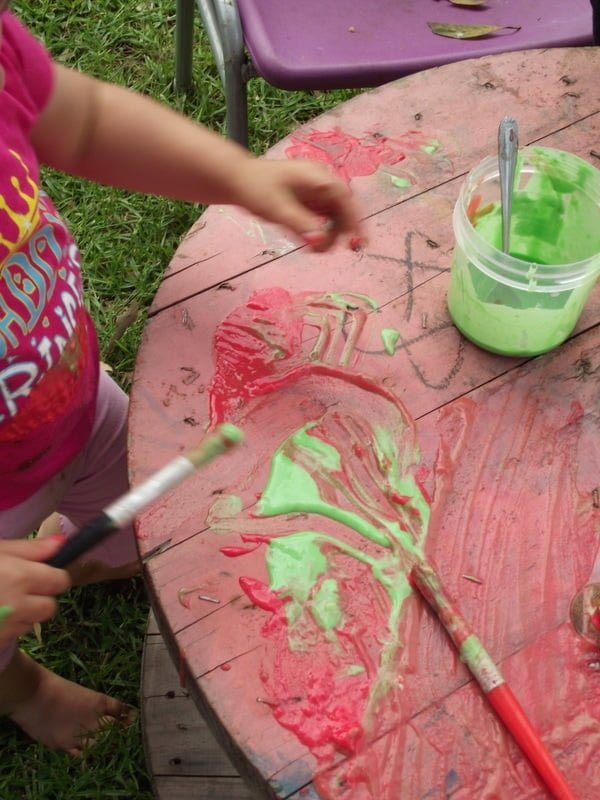
Encourage sensory exploration of the paint and talk about textures and colours as it does feel quite different to normal craft paint.
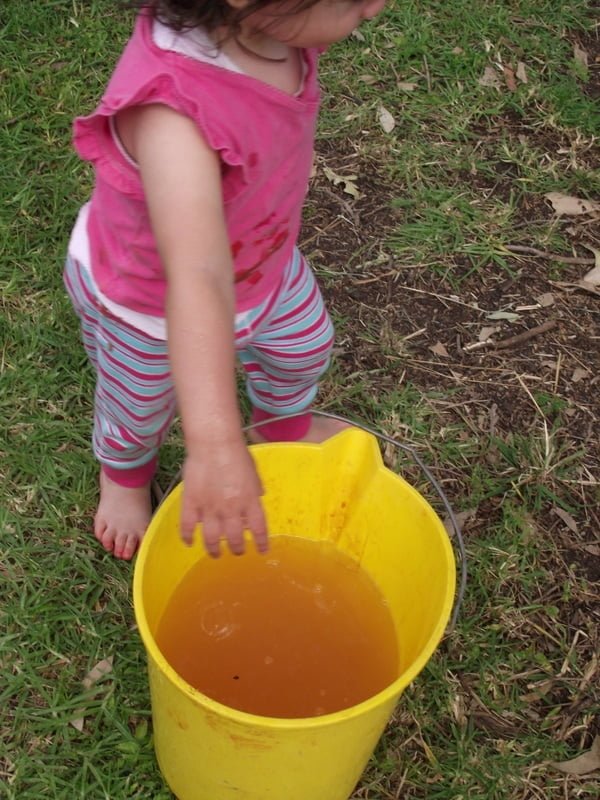
As always, keep a bucket of water for washing hands close by for those children that feel the need to clean their hands regularly while engaging in messy, sensory activities.
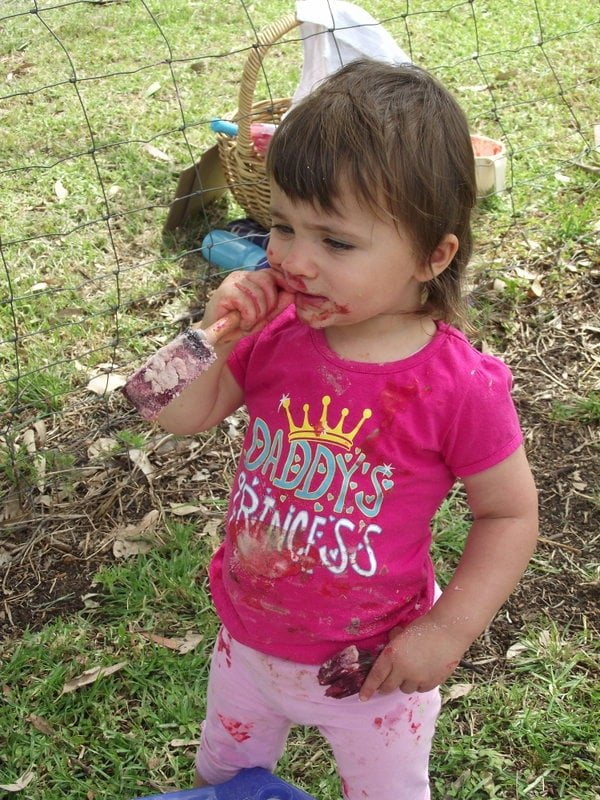
And if some goes into the mouth for a little further sensory exploration you can feel secure that the paint is safe and there aren't any nasties added that could harm little bodies.
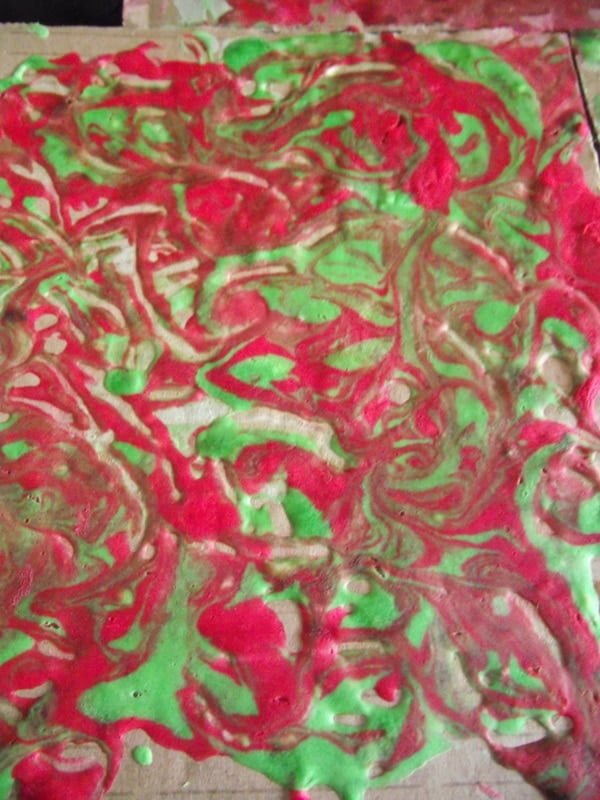
Older children might like to try marbling the colours a little on the cardboard by running the handle of a spoon (or use a stick) through the paint like we did below.
When the children are happy with their painting on the cardboard you are ready for the final step in creating those puffy masterpieces.
One at a time place the cardboard picture into the microwave and cook for up to 25-30 seconds. Keep a close eye on each one and check the first few in intervals as different microwaves will cook at different speeds.
You will see the paint begin to puff and the cardboard should feel warm to touch when you take it out but not overly hot – you will see that it has baked and stayed puffy though.
It is hard to see in the pictures below but they did puff up nicely! The thicker you paint on the cardboard the better the result will be. Such a fun and easy way to explore creativity and basic science concepts.
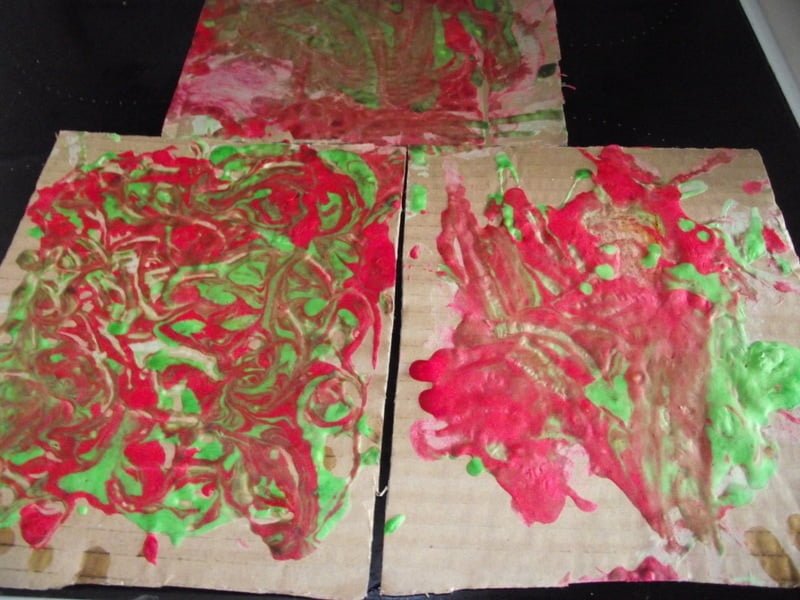
Now go have fun creating your own homemade puffy paint for sensory play!
Find more ideas like this for early learning and network with other early childhood educators from around the world in The Empowered Ed Community
A Little About Me
Jodie Clarke is an early childhood professional supporting educators who want and need to stay passionate about the work they do! She has 30 years hands-on experience in the early childhood and human services sectors across many different roles.
Jodie is mum to 3 in Australia and has already helped thousands of educators with their work through her popular blog posts, activity ideas, online training and e-books.

Leave a Reply