Welcome to my new series celebrating and offering inspiration for all things outdoor play and learning! Each month I am going to share a post that will hopefully inspire you to reflect on your outdoor play with children and make you want to get out there and try something new!
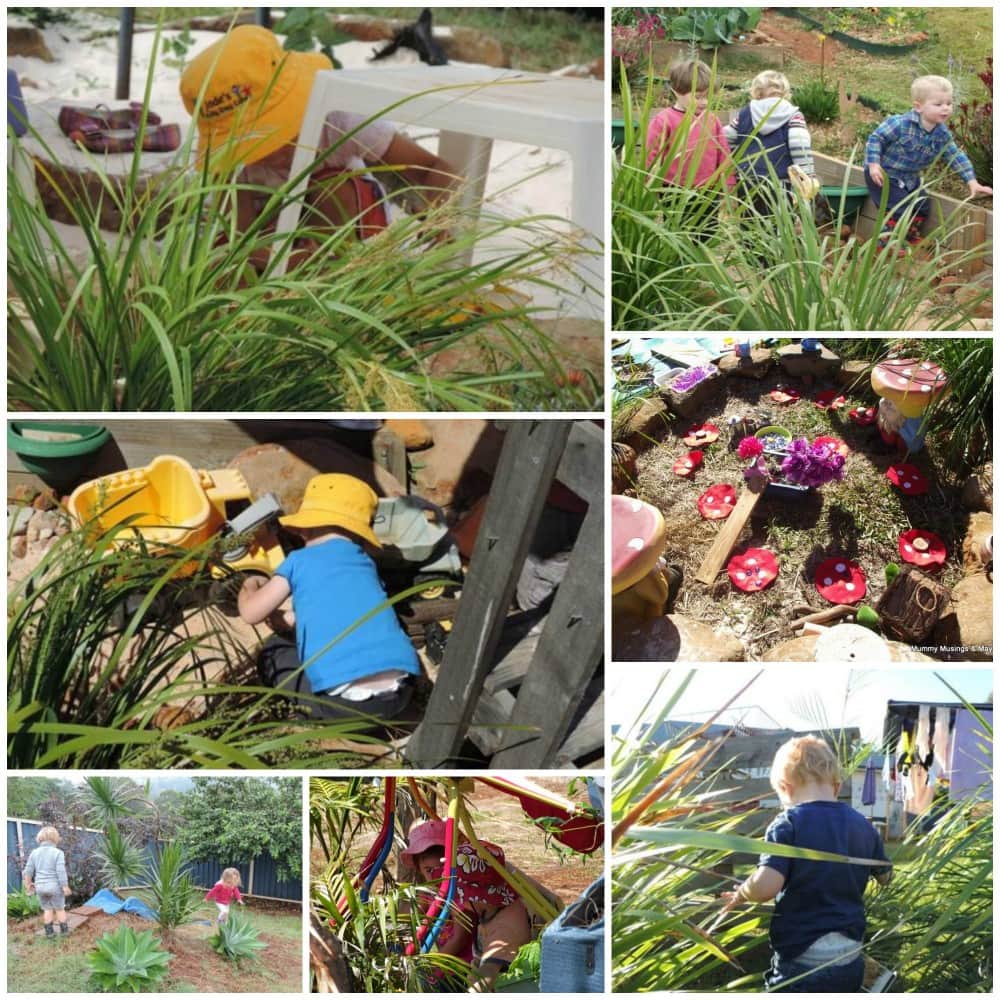
In this first topic in the series I am going to be sharing some tips for creating engaging outdoor play spaces even if you only have a small area to work with. Many educators and parents tell me they love my outdoor area but aren't lucky enough to have as much space and get frustrated with what they can offer to the children. I must admit we love having our huge backyard but I have also lived in many rentals with small yards and worked in daycare centres that had tiny and less than inspiring outdoor areas to work with so I have picked up a few tricks along the way…and now so can you!
Outdoor play doesn't need to just be about the sandpit, swings and cubby so no more excuses – let's get inspired about outdoor play in small yards!!
12 Strategies for Outdoor Play in Small Spaces
1. Mud & Sand Kitchens
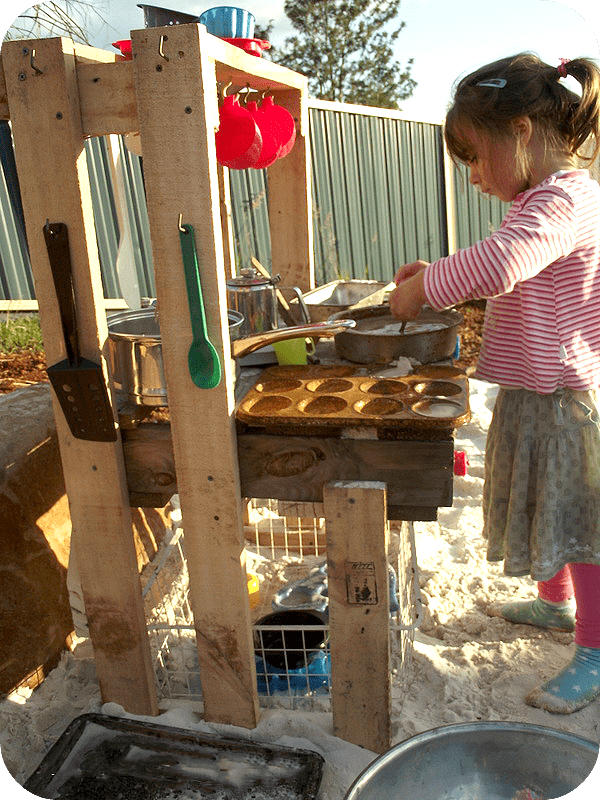
A mud or sand kitchen is one of my favourite additions to any outdoor play space and you seriously do not need much room especially if you build your own and therefore customise your measurements.
If you don't have the space for a large sandpit or digging area then a few large tubs or buckets with some sand, dirt and water will still provide hours of enjoyment and creative experimenting! If you don't want to provide a large tub of water you could try using a modified bulk water container with tap on the bottom. We simply cut a hole in the top of the plastic so we could refill easily and then the children practised using the tap to turn on and off the water. It's also a good lesson in water conservation because when it's gone it's gone – I only refilled once a day!
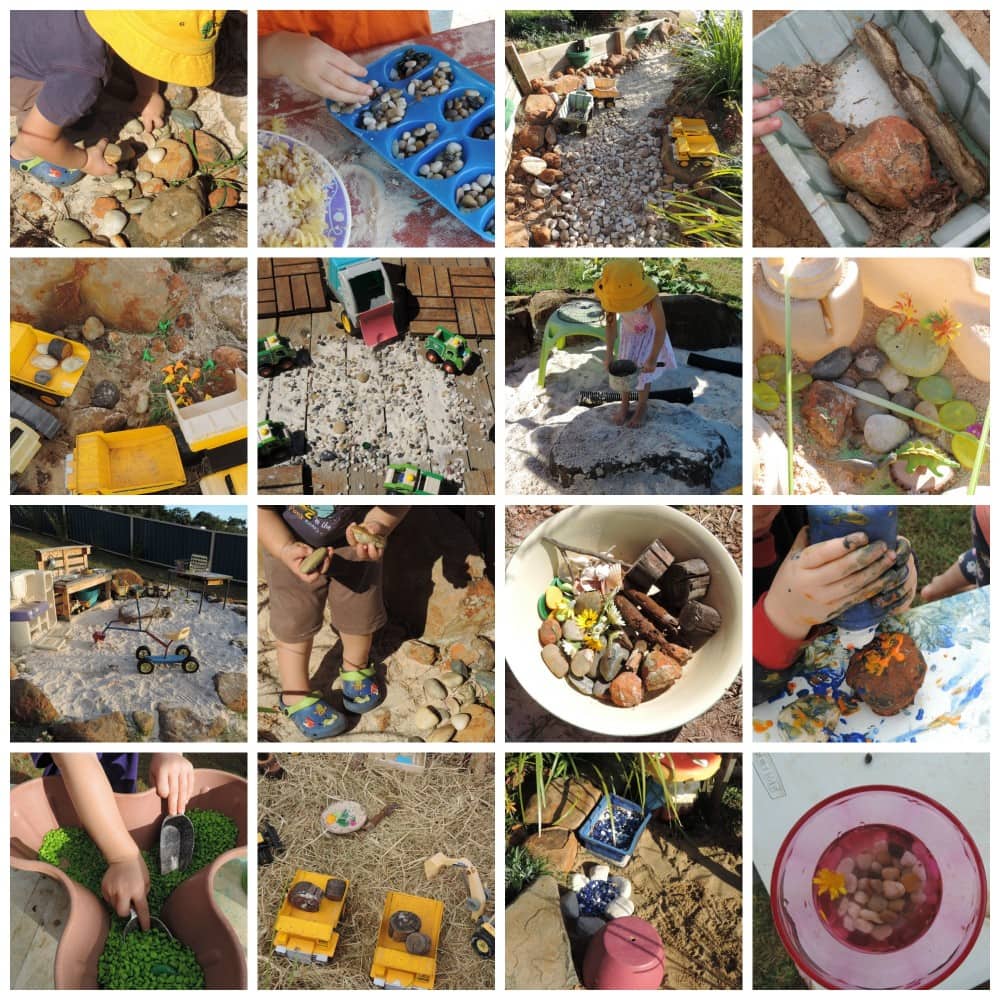
Click on the photos below to read more about some of the mud and sand kitchens we have created for our own yard. I've also included some inspiration from around the web for you to discover.
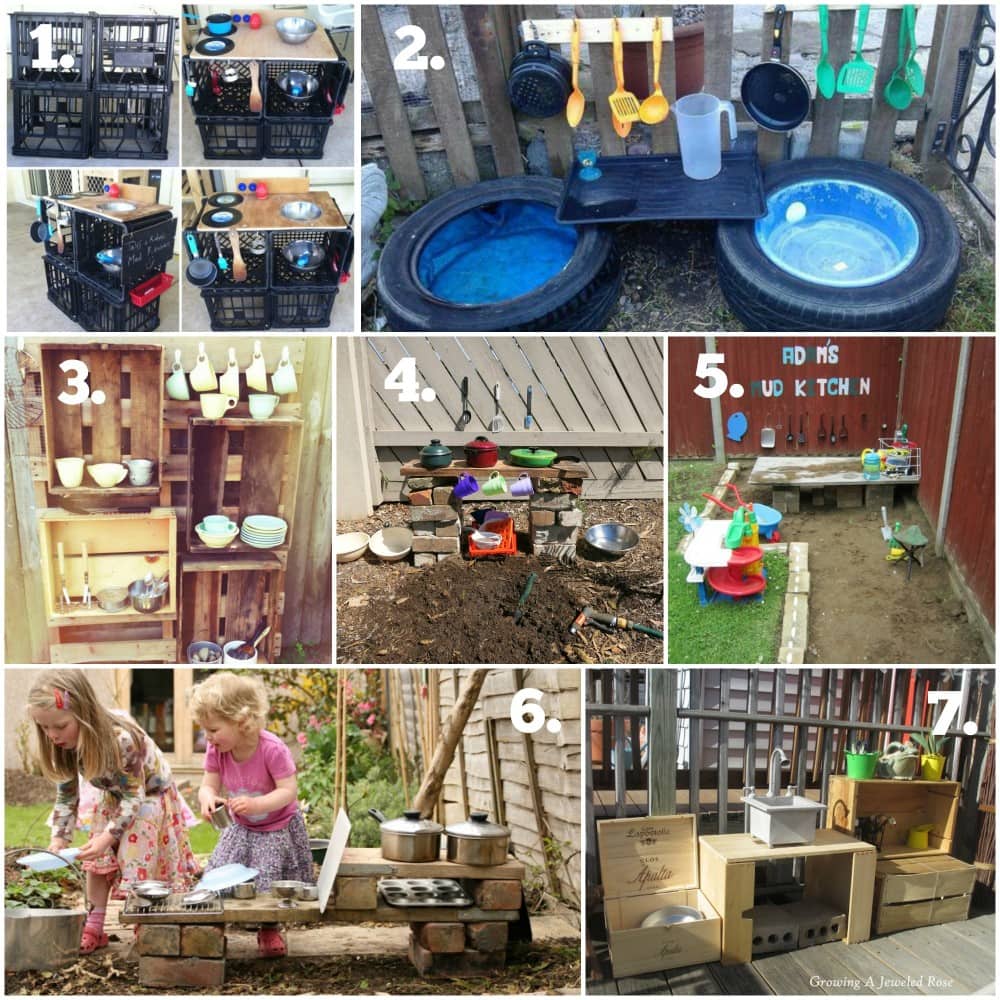
- Why not create with crates? Found on Pinterest
- Tyres and a tray -what could be more simple? Found on Pinterest
- Interesting use of wooden boxes from Garden Gate Child Development Center
- Keep it simple with planks and bricks from Learn with Play at Home
- A child size mud kitchen for a small corner space from Adventures of Adam
- Simple, sweet and low to the ground from Create with your Hands
- Boxes upon boxes – inspiration from Growing a Jeweled Rose
2. Secret Spaces
It's so important for children to have some spaces in their outdoor environment where they can retreat for privacy or for some time on their own to help regulate their feelings. Secret spaces also encourage dramatic play, investigation and free conversations.
You can set them up so that you can still supervise play but it's not obvious to the children and they can let down their guard a little and express themselves freely. For many sensory challenged children an enclosed, quieter space can also help them to feel safe and not overwhelmed with all the stimulus that occurs outdoors.
If you have a large yard like ours it's a good idea to try to introduce a few ‘secret spaces' to break up the environment a little but even with a small area you can still easily incorporate 1 or 2 little areas that will meet this purpose. Use your garden areas as boundaries or if you don't have gardens incorporate a few strategically placed pots to provide some privacy. I also like to use bush rocks and boulders to create defined spaces for children to use as they wish.
A secret space does not need to be entirely hidden from view, try to see through the child's eyes rather than your own, sometimes just being in a spot away from the main area of play and partially out of view is enough. Try using some pavers, planks or stones to make small pathways through garden areas or behind sheds and other larger structures. If you have some large trees in your yard why not nail some boards to the trunk to form a ladder and create a secret space using plants, flowers or garden edging around the tree.
I've included some photos below for a few ideas to get you thinking. Remember to modify on a larger or smaller scale to suit your space and the ages of your children.
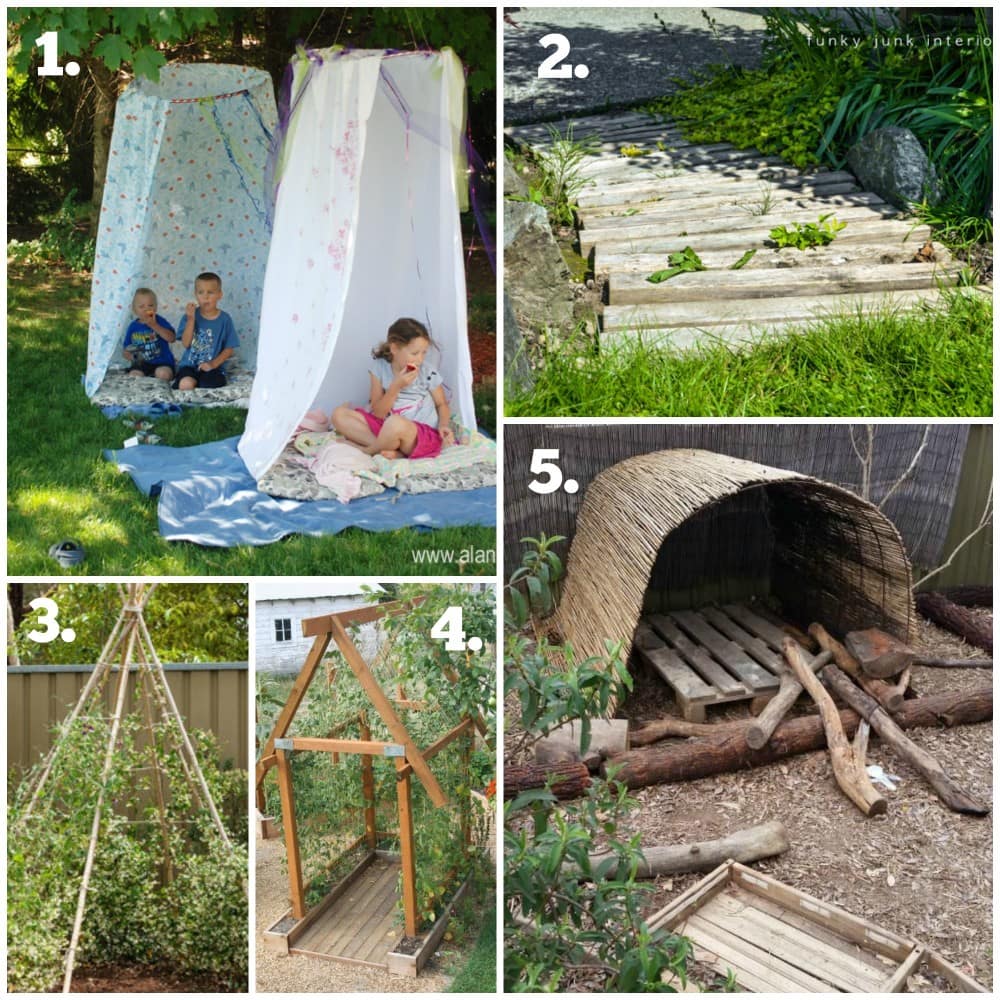
- Make a hideout using hula hoops & a sheet – Visit Alannah George
- Use wooden pallets to make a pathway for exploring – Funky Junk Interiors provides the inspiration!
- Make a living teepee to hide in – Better Homes & Gardens shows you how.
- This Bean house provides privacy as well as the opportunity for children to grow their own beans – Found on Pinterest here
- Get busy with natural materials & bamboo screening to create this space – Inspiration via Pinterest here
3. Planks, Wood & Stumps
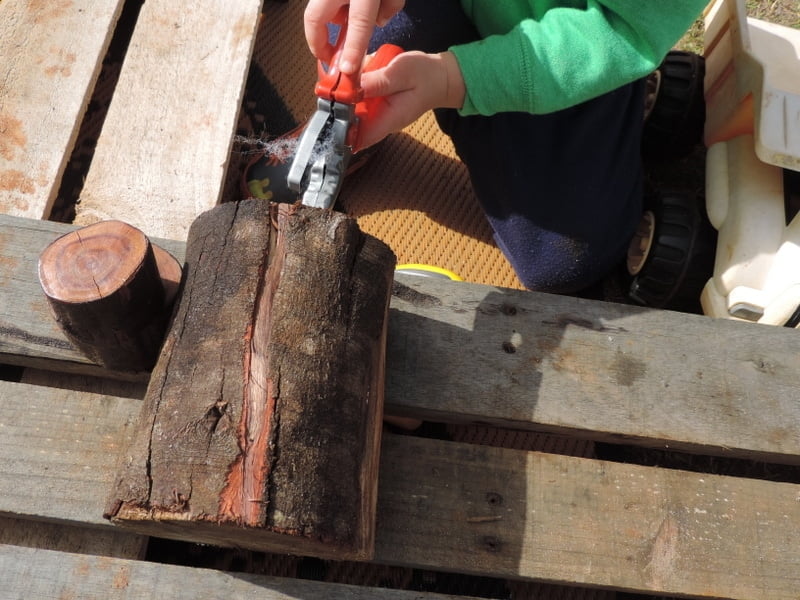
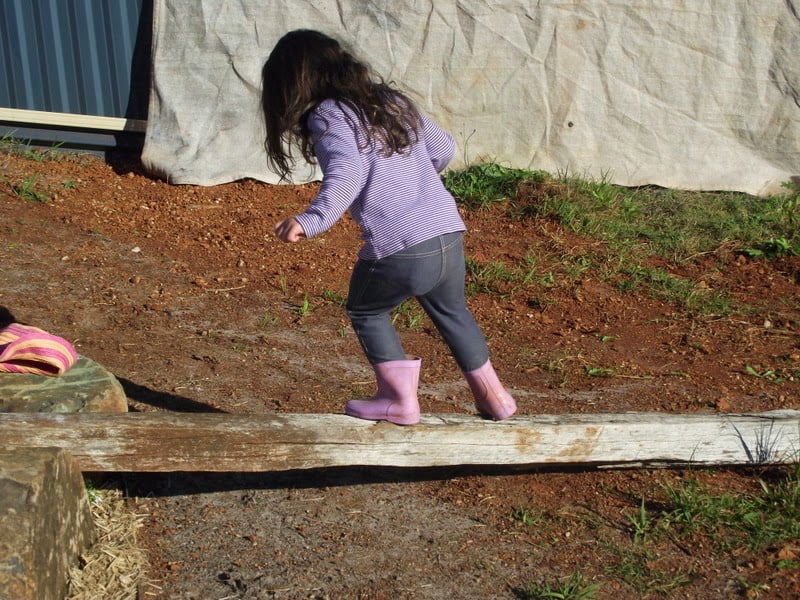
Wooden planks, offcuts and stumps are one of my absolute favourite materials in the backyard no matter how much space you have. Don't worry about how pretty your planks are – we often just use offcuts we find in Daddy's shed but we have also brought pine planks quite cheaply from the local hardware store and given them a coat of lacquer to help them last longer outdoors.
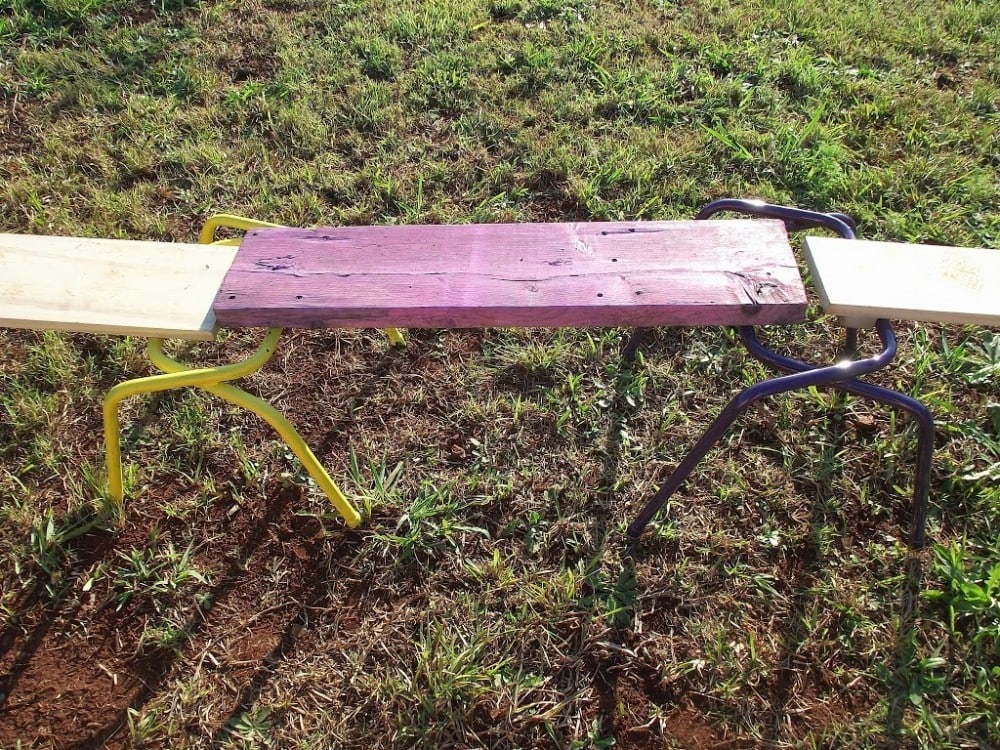
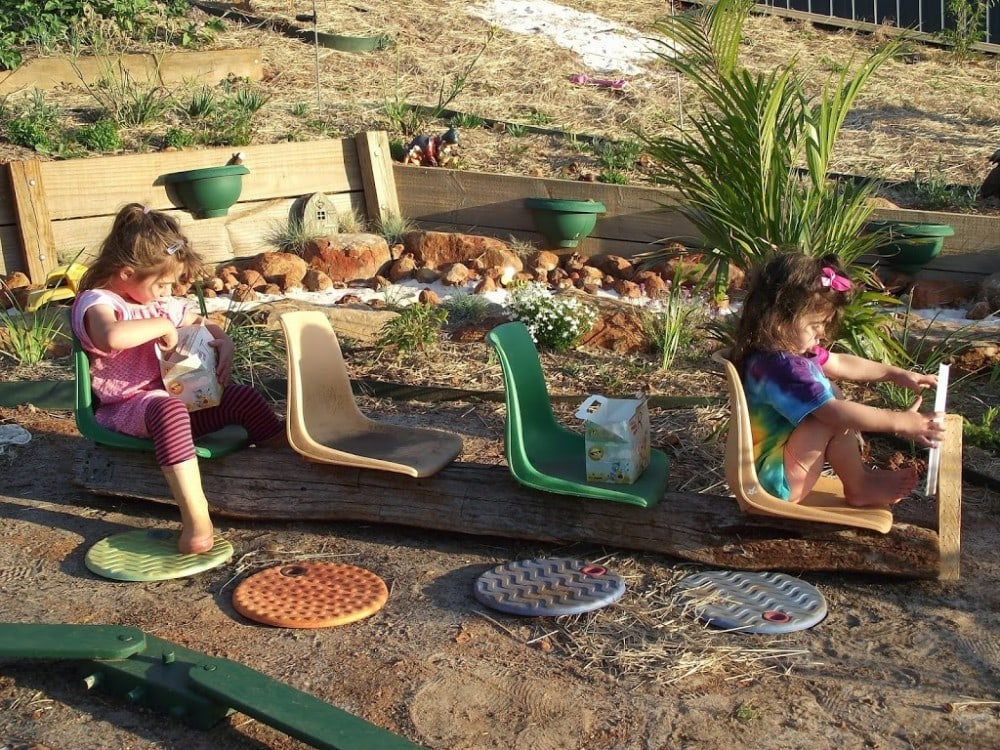
You can lay them flat on the grass or prop them on tyres, garden edges, rocks or even some small DIY trestles like the ones we made below from old school chairs. They can form the basis for trains and buses (with or without the addition of chairs!) and can be walked on, jumped over, painted or hauled all around the yard by children excited to create their own play.
And if you are short on space then you just lean them upright against the fence or wall at the end of the day ready to rearrange into a new challenge the next day.
Stumps can be used in similar ways but if you are short on space why not try using them as garden edging that can also act as stepping stones and a path for little feet?
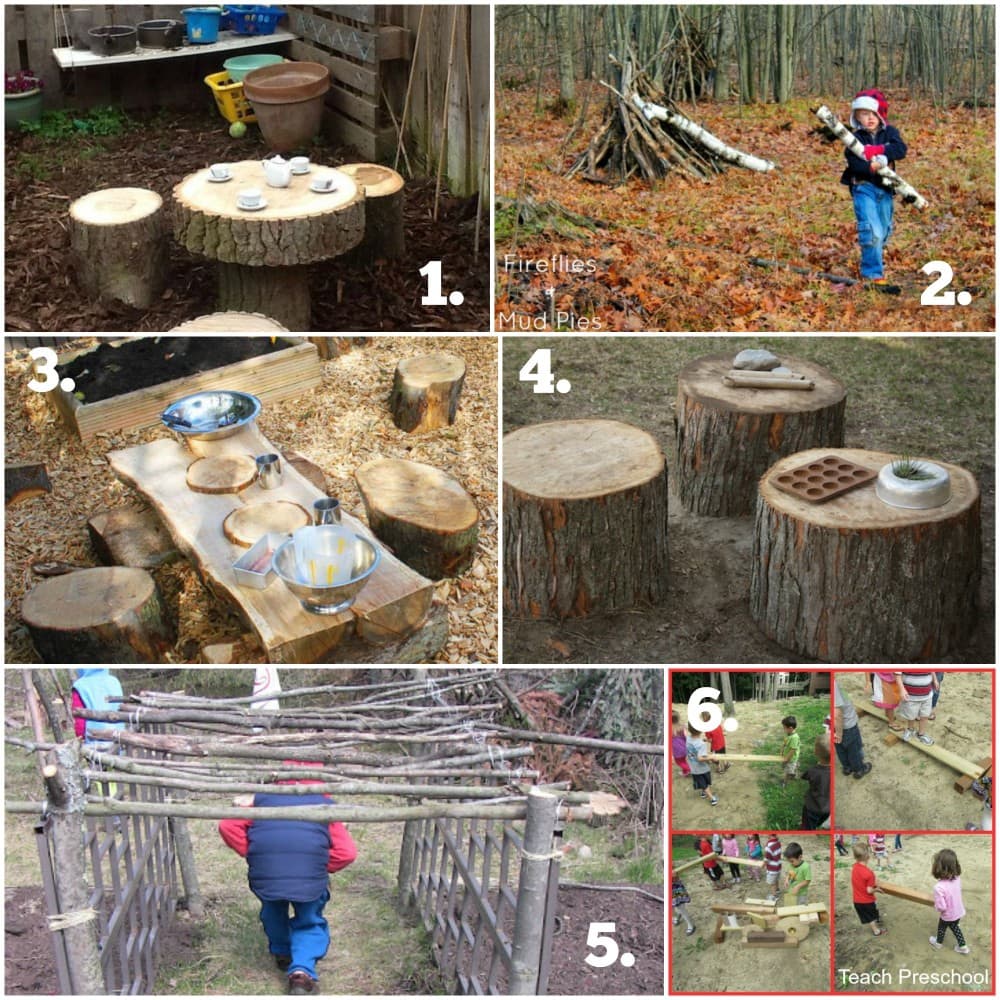
- Sweet table and chairs – found on Pinterest here
- Sticks outside – the original wooden toy from Fireflies & Mudpies
- Lovely use of logs – found on Pinterest here
- Logs and stumps in the backyard – explore more at Happy Hooligans
- A stick tunnel – soon to be covered in vines from Simple & Joyful
- Creating with scrap wood from Teach Preschool
Want more ideas, inspiration and support from other early childhood professionals just like you?
4. Loose Parts
There's not much I can say about loose parts except that I feel they are a must in any outdoor play space. If you are clever you can find many ways to store these materials that don't require you to pack them away at the end of the day constantly. Let them be moved and the play will evolve daily.
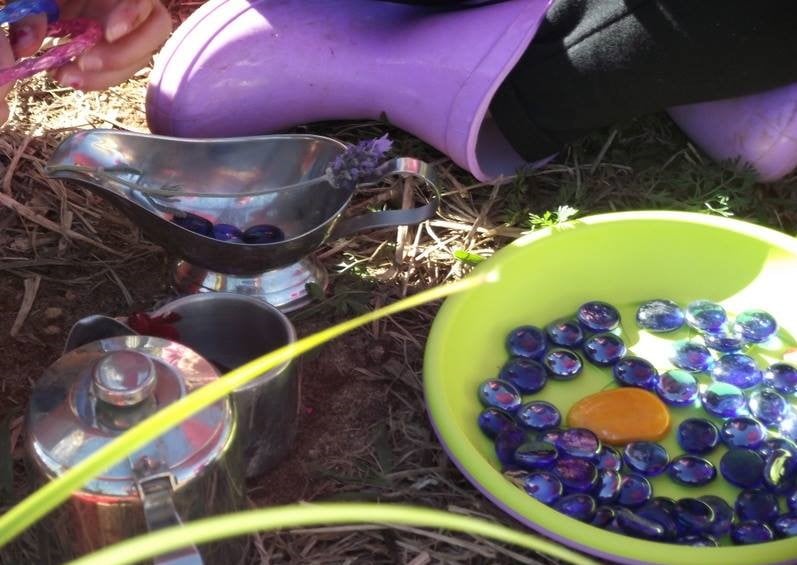
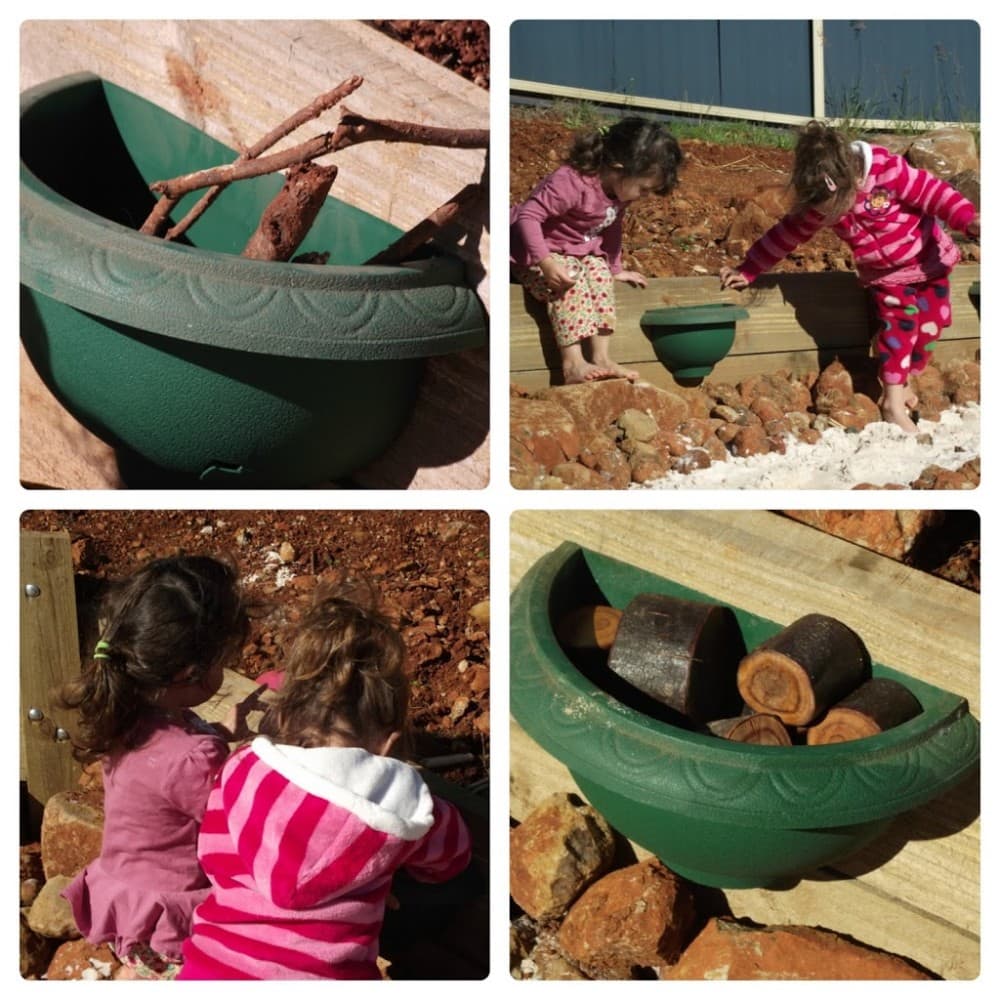
You don't need to go overboard but even the smallest space can squeeze in a little access to loose parts outdoors. I've used pot saucers, plant pots, old baskets and wall hangers to store our loose parts. Keep them low and accessible to the children so they can also add to collections as the days go by.
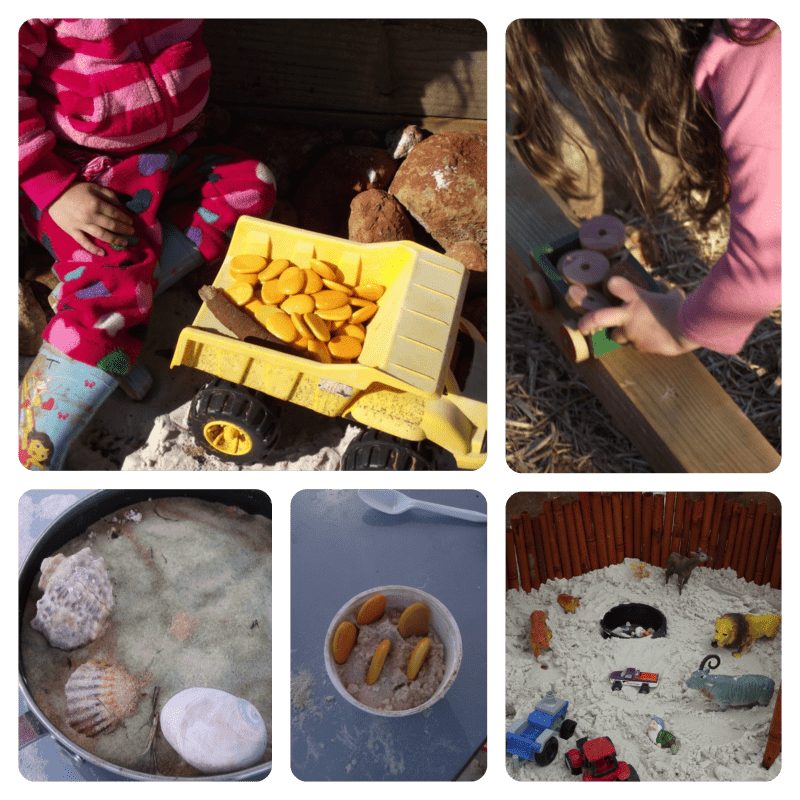
Be creative, use small, shallow containers but incorporate them into many little areas. And please let the children move them as they wish around the yard. There is not much point in having loose parts to stimulate imagination and investigation if you never let them experiment and move their ‘tools' to use in different ways. Some yellow pebbles, shells or feathers in the sandpit or garden is not going to be the end of the world and the rewards far outweigh any inconvenience. You can of course involve them and expect help to pack up ready for play the next day though.


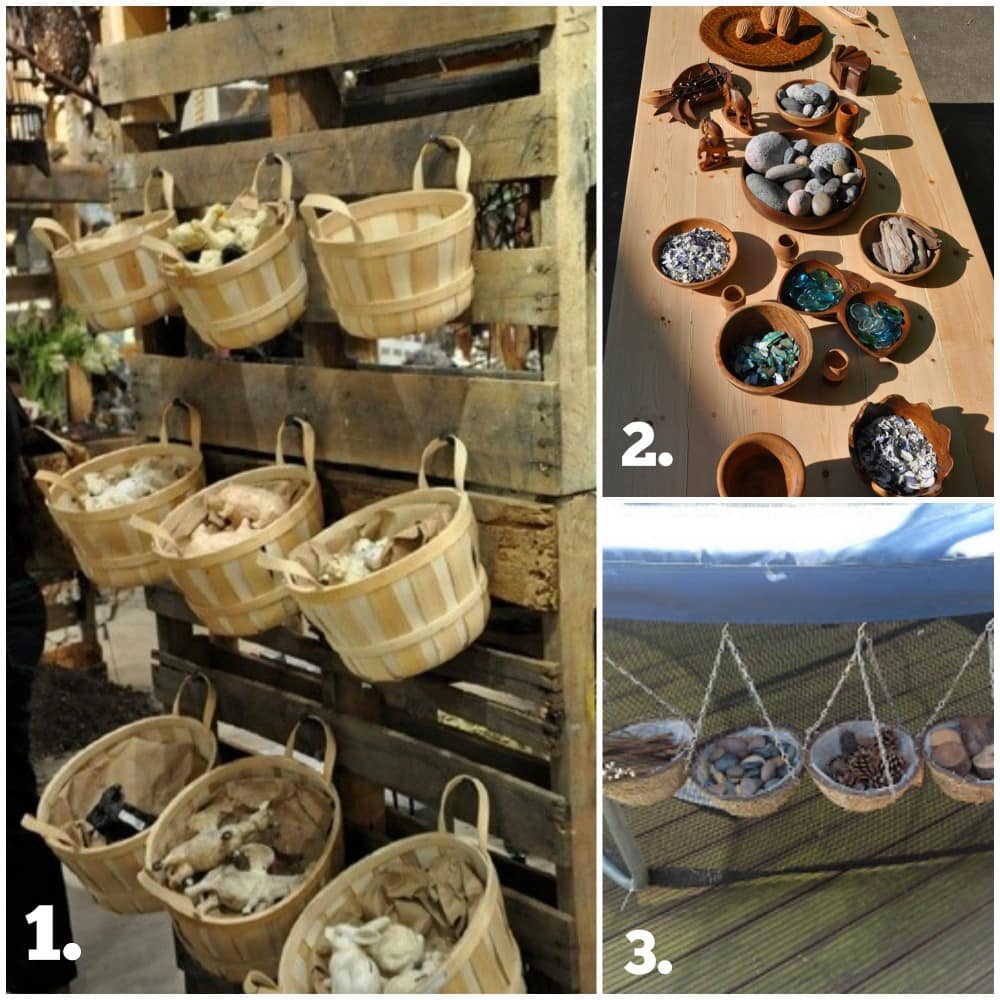
- Pallets & baskets make an easy storage option – DIY Pallet Ideas
- Stomping in the Mud uses wooden bowls outdoors to present loose parts for discovery.
- Pre-School Play turns hanging baskets into the perfect storage solution for their natural materials.
5. Small World & Sensory Gardens
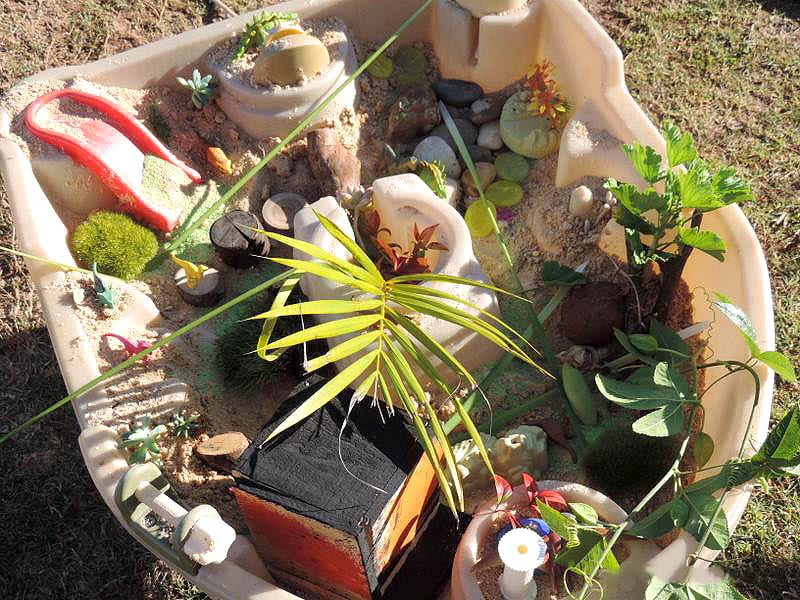
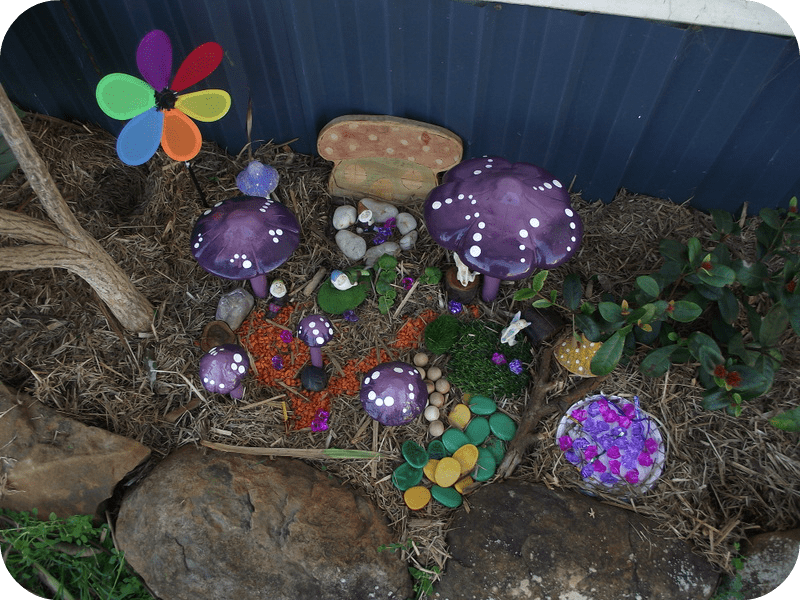
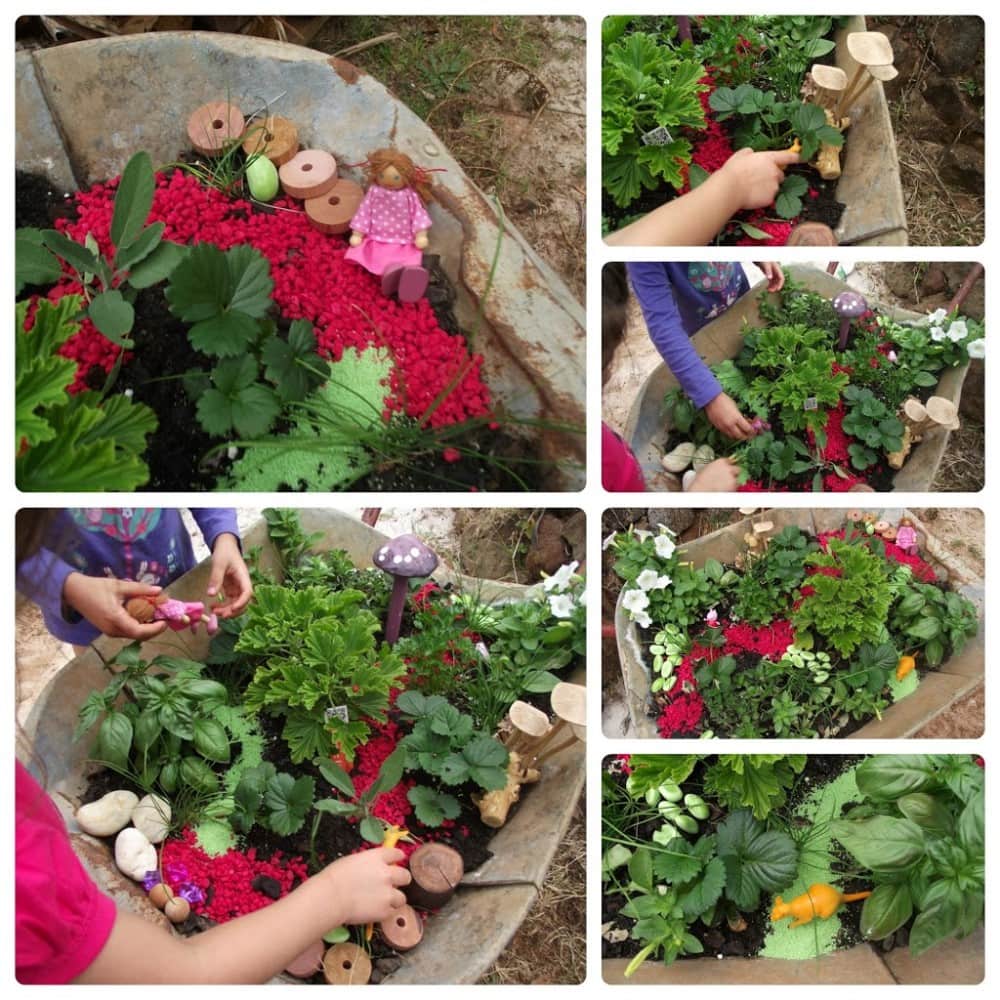
You can create a small sensory, fairy, dinosaur (or anything your imagination wants) garden in the smallest of spaces. Why not use a wooden barrel or large pot? An old sand table or tray? A rickety wheelbarrow? A little shaded spot in the garden bed? So many possibilities!
The best gardens are the ones you involve the children in creating. Gather some herbs and talk about how they smell, feel and taste as you plant and nurture them. Let them add some small figurines or special natural treasures from around the garden. Use props from inside that you are happy to let get dirty and be used outdoors for your small world gardens. Use these sort of gardens as lovely simple way to further explore children's current interests and encourage imagination and conversation. They can be just as much fun as a large sandpit or climbing frame I promise!!
6. Use Your Walls
If you don't have a lot of space on the ground or want to keep the areas you have free for large muscle play and running around then go up! Use your walls and fences. obviously you need to be aware of any safety issues and we don't want to provide any footholds for children to scale fences but I'm sure there will be a few spaces you can utilise.
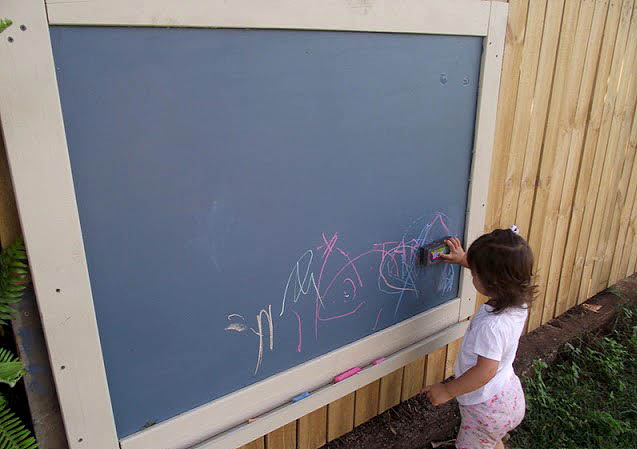
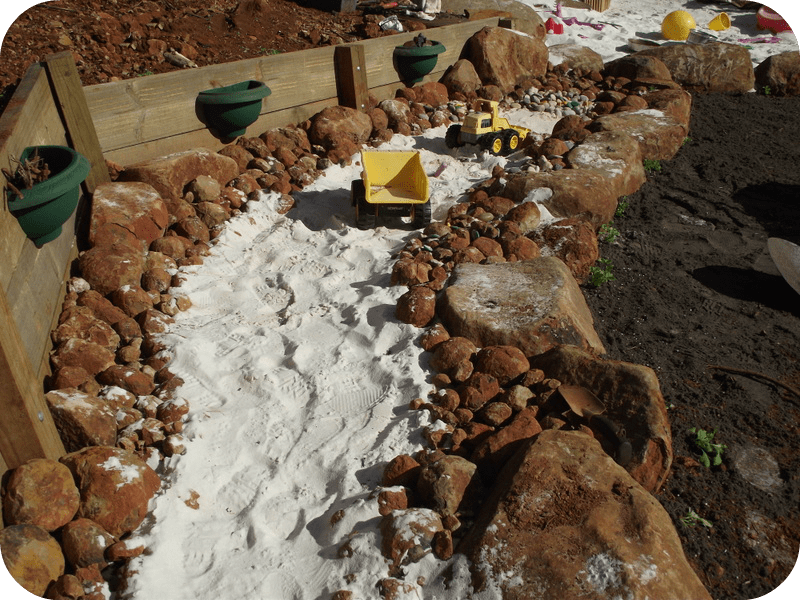
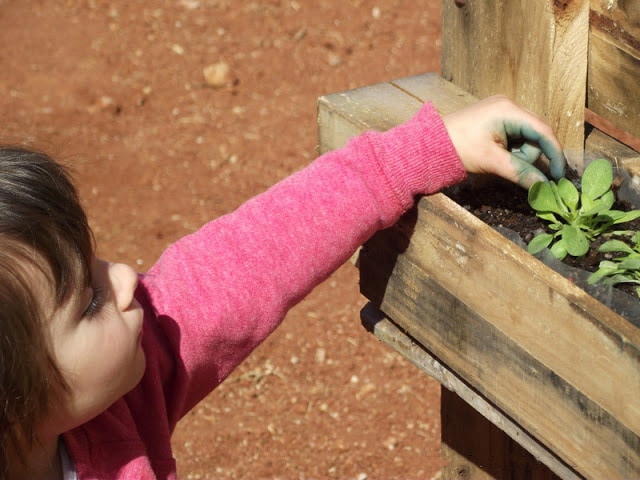
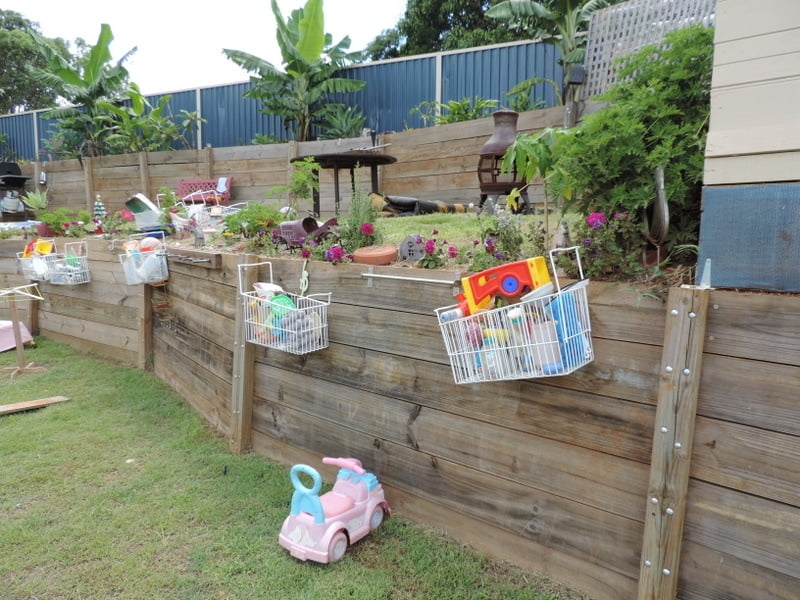
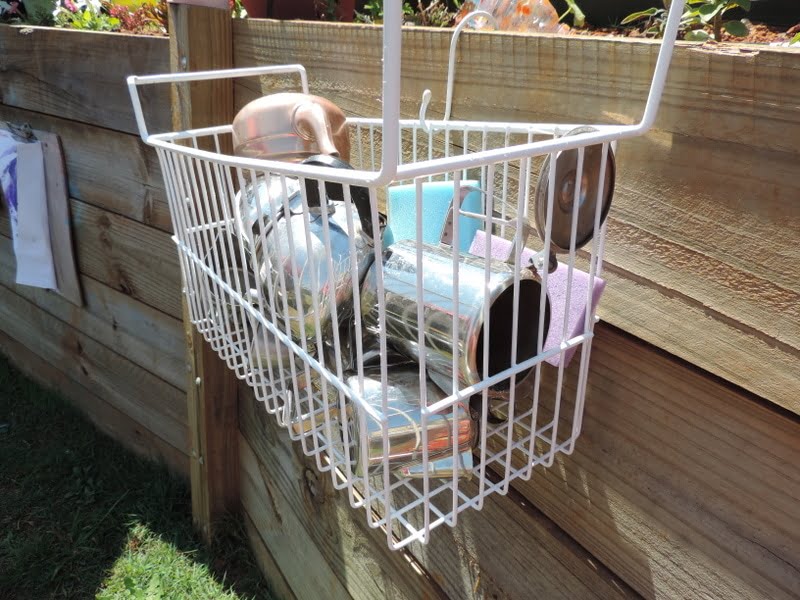
Wall space is fantastic for storage or shelves to keep your art materials out of reach of little hands if need be. I use old freezer baskets on our retainer wall to store water play equipment and sand tools/kitchen items because they provide easy access but don't take up room in my small storage area. When it rains they get a wash and the water drains through so it's an added bonus!
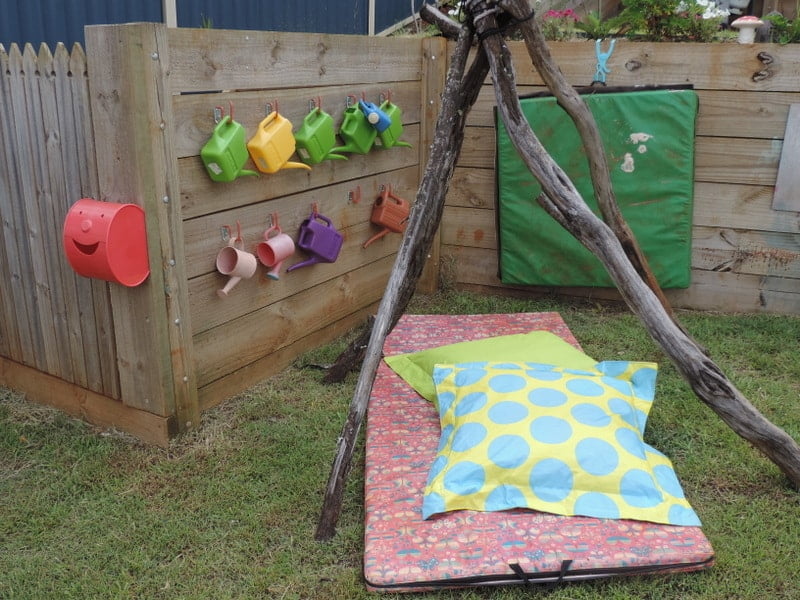
We hang our watering cans, teapots and are essentials on our wall to and everyone helps to find them in the garden and pack them up at the end of the day. Adding hooks and rails to your walls can provide many opportunities for storage and for easy access and self selection to play equipment by the children.
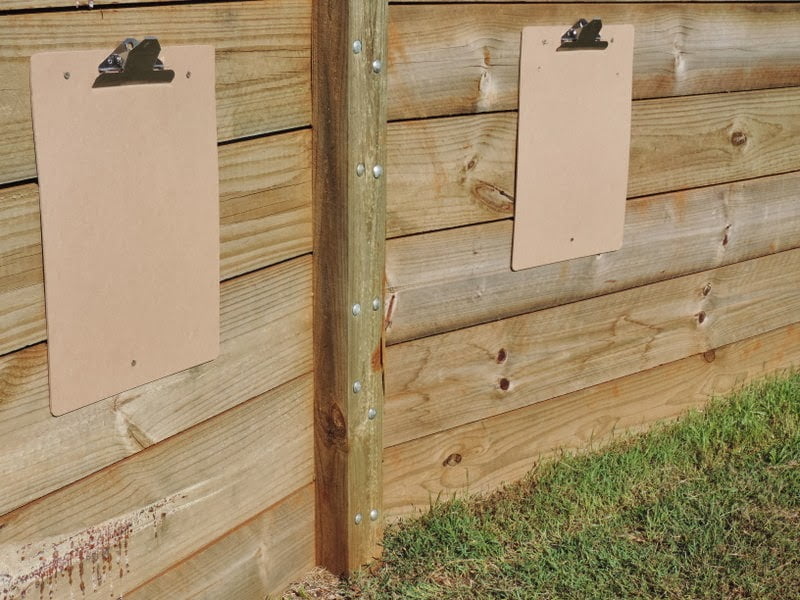
You can also use them as makeshift easels – these clipboards work so well and are still hanging in there after 2 years of use!
7. Baskets /Cushions/Blankets
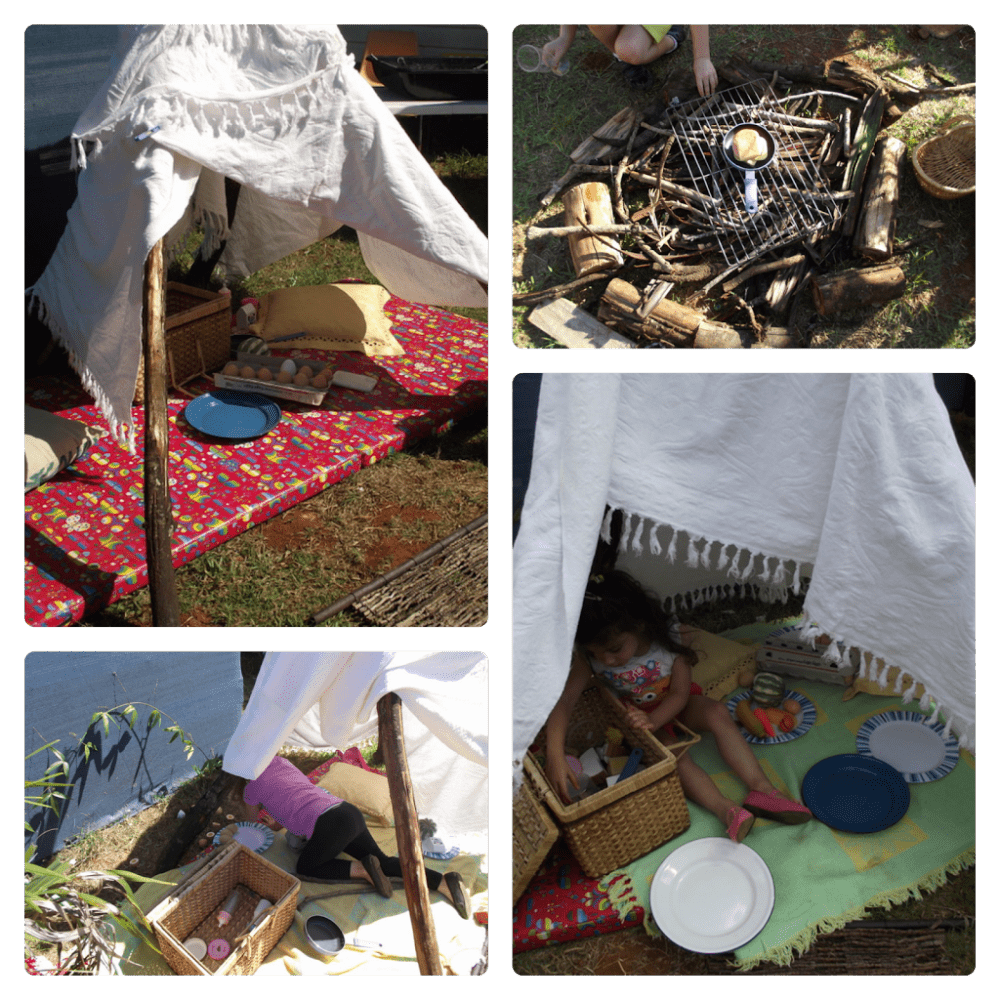
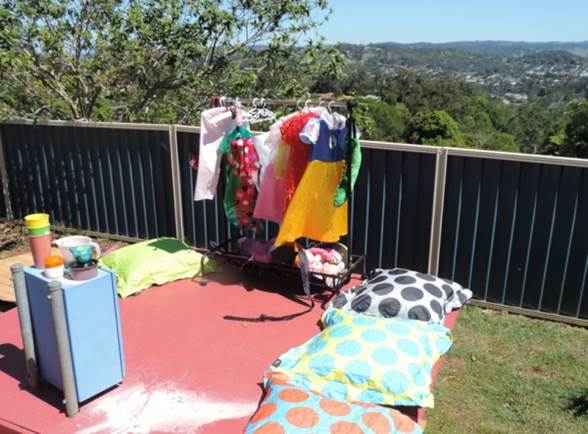
Creating reading nooks and soft areas for children to sit and play in a different way when outdoors can be very valuable. I often use our outdoor stage and teepee areas to create these sort of spaces. They also work well as portable versions of the ‘secret spaces' I listed earlier.
Instead of always taking out your cushions and blankets from indoors though why not invest in a few weatherproof outdoor cushions and a few mats or blankets just for your outdoor play. They don't take long to pack onto the verandah or inside the back door at the end of the day (especially if you have little helpers) and you won't need to worry so much about them getting a little dirty. I keep a little basket of books and other play props to use just for outdoors in these areas each week. Change it around at the end of the week and watch how the children choose to use them during their play in the spaces you have created.
8. Water & Sensory Tables
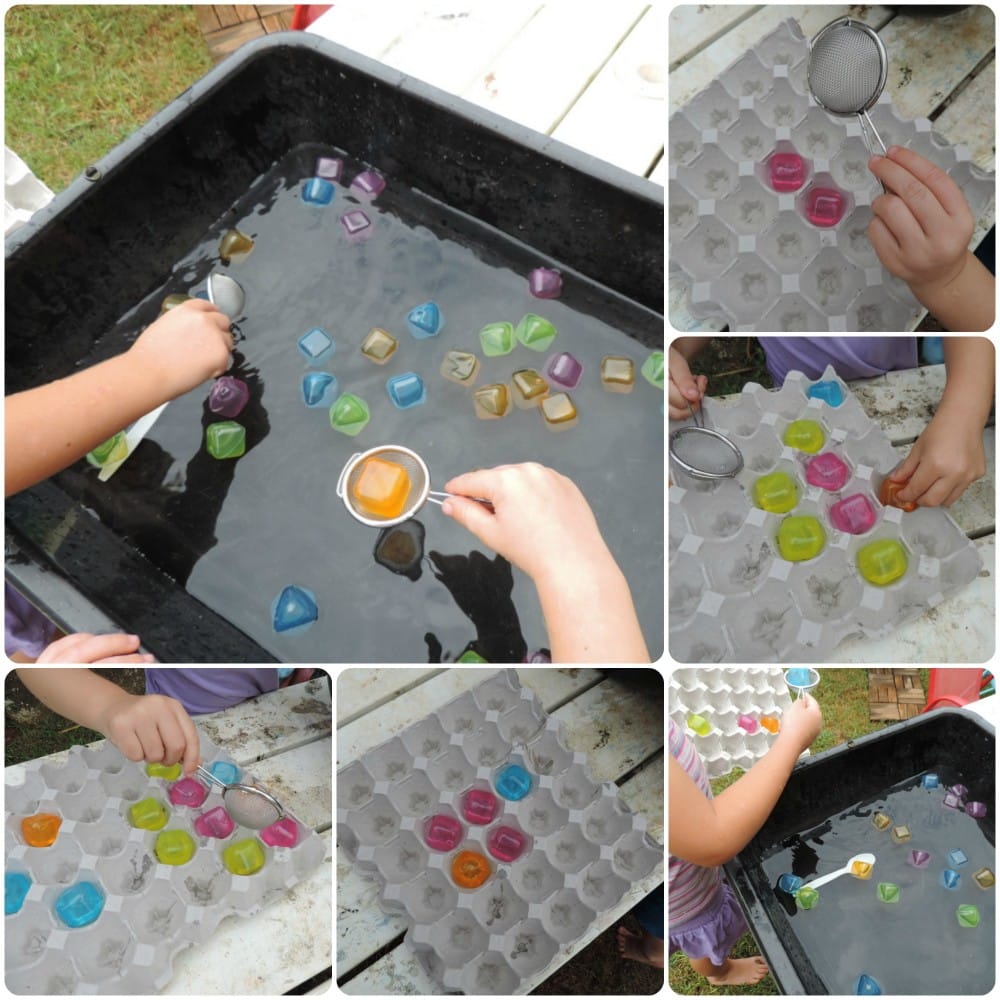
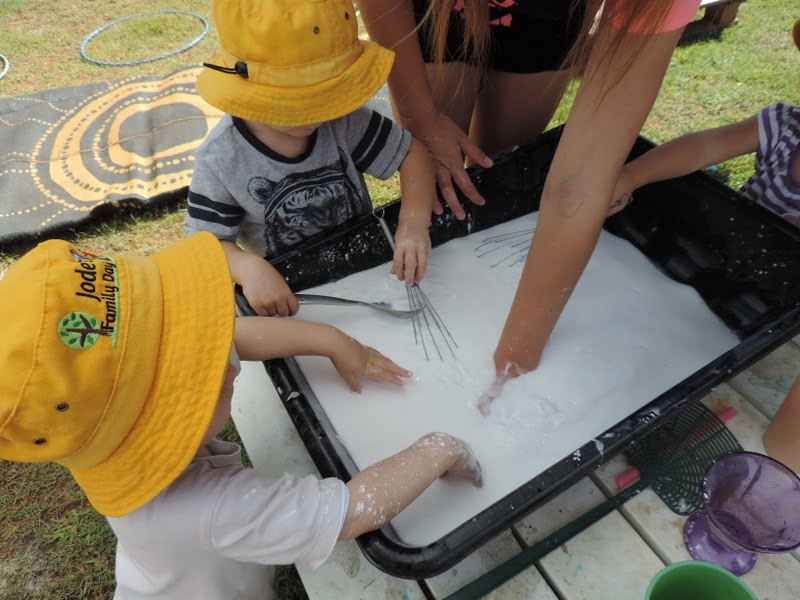
Water and sensory tubs, trays & tables can be such a valuable resource in the smaller yard. You can move them around to suit your space each day or week and use them for absolutely anything. If you don't want the expense of purchasing a dedicated table (and let's face it those things are for some reason very expensive!)why not get a few shallow tubs from the $2 shop like I did and then place on a stable table at child height. Easily emptied or stored at the end of the day and they take up very little room. I just take a little off the bottom of each table leg to bring them down to child height without the expense of specialised furniture!

I use tubs for so many different experiences. Water play, small worlds, messy play, sensory activities, investigating natural materials and bugs we find and so much more. You don't need to be limited to just sand or water! Here's a little more inspiration for you…
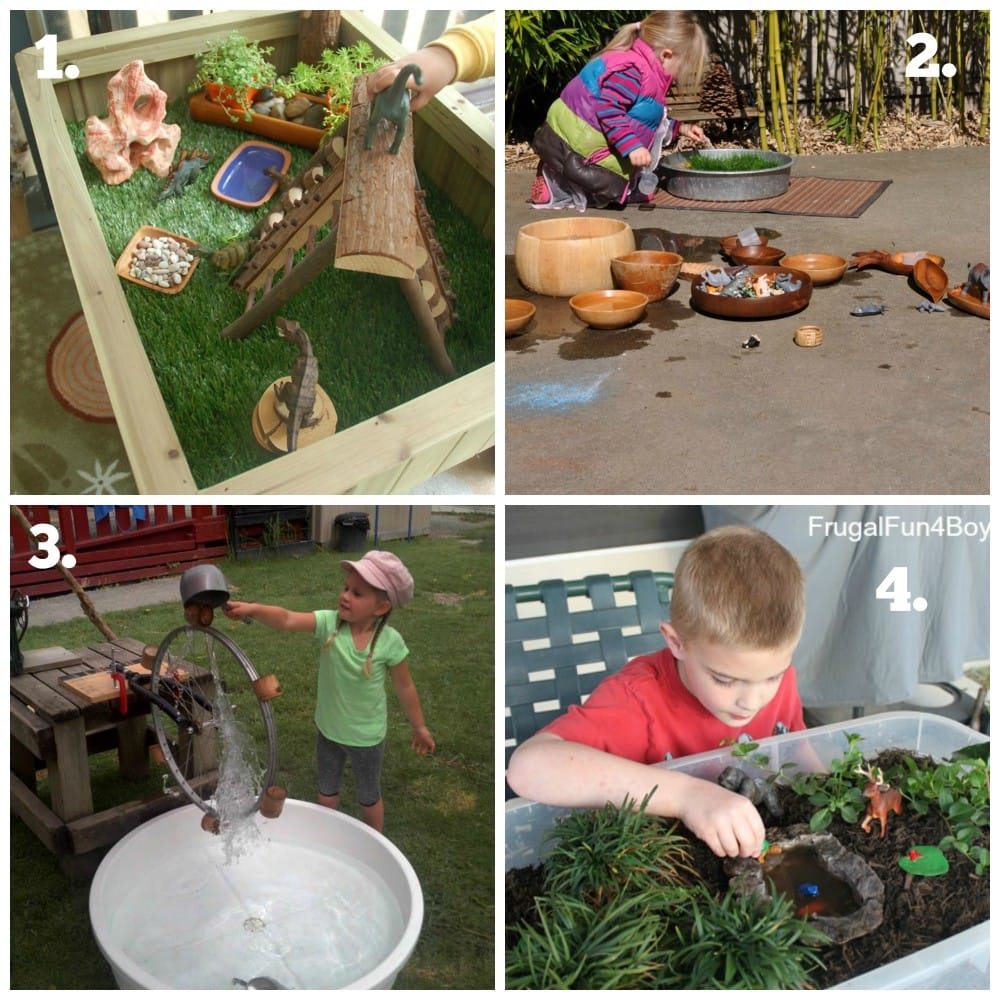
- Dinosaur Small World – Visit Nurtured Learning on Facebook here
- Bowls for water play and so much more – be inspired by Stomping in the Mud
- Build a mini water wheel – Find out how on Facebook here
- Garden & pond in a tub – Explore the process at Frugal Fun for Boys
9. Blocks, Boulders & Construction
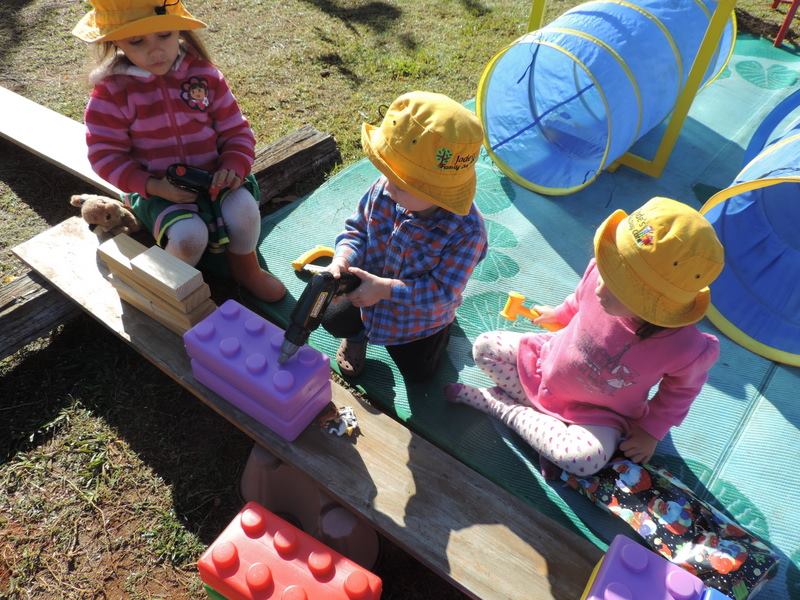
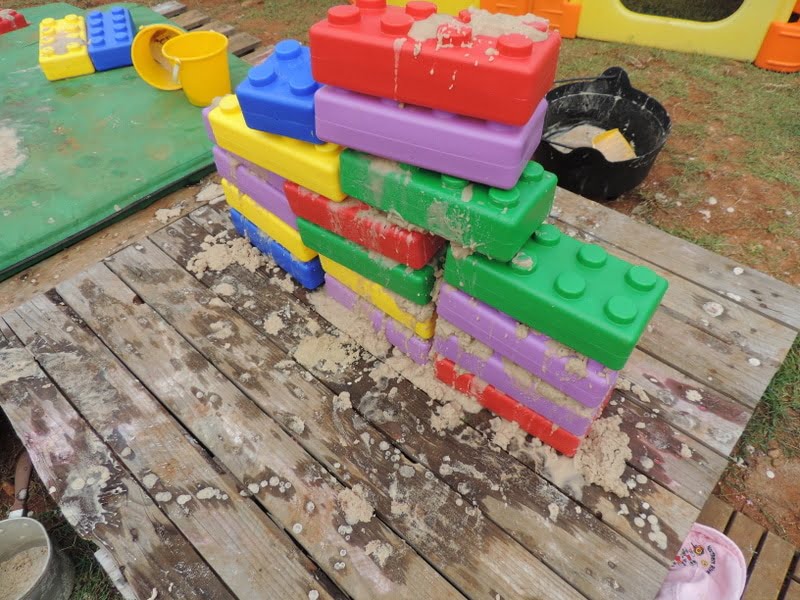
I love my outdoor blocks! Occasionally I bring out some of our indoor blocks but I prefer to have a selection that are always ready for outdoor play and can be left outside if you don't have the room to store them. The large plastic storage tubs with lids are handy though if you prefer to pull them in undercover if you need to.
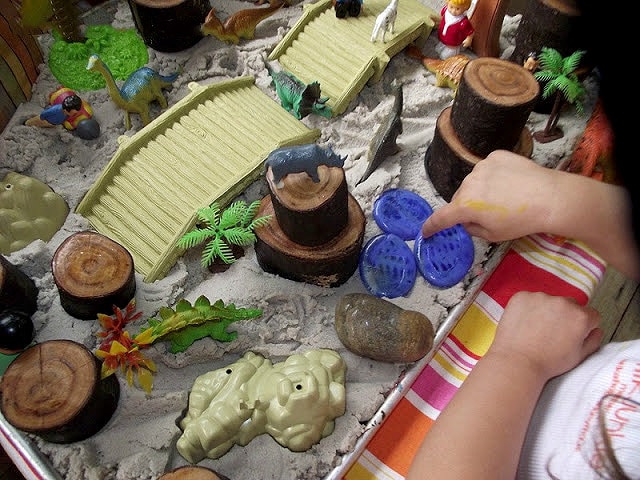
Have them available alongside some boulders, bricks, sticks or other materials children might like to construct with and watch the play unfold. I often set up some simple invitations to play using blocks or other construction materials but it always amazes me the way children engineer and build of their own accord.
If you have a small area to work with then don't overwhelm them, just bring out a small tub of blocks or perhaps only bring them out a few days a week to leave space for other investigations on different days. Observe the children and see if the play is evolving and they are engaged – let them be your guide as to how often you provide blocks and construction materials in your space. Simply putting out some blocks on a blanket each and every day is not that interesting so try and be a little creative!
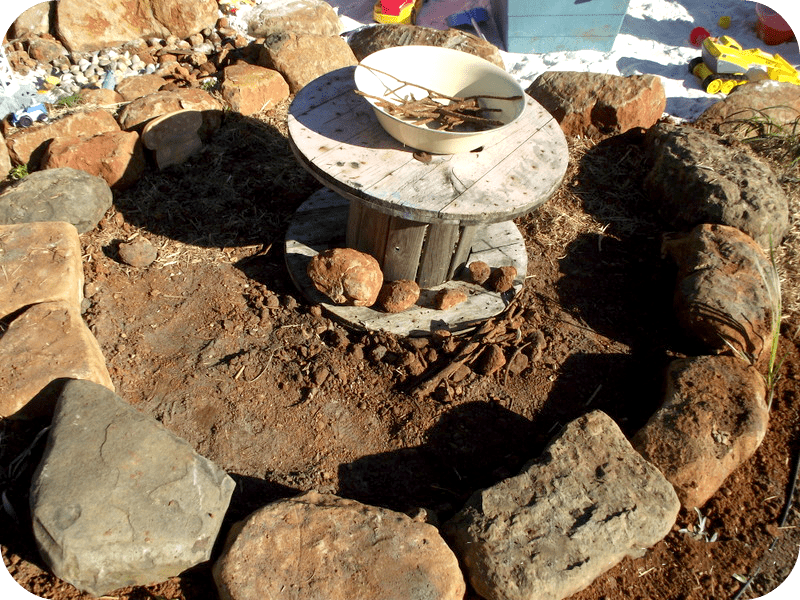
10. Movable Pots and Plants
In previous points of this list I've talked about how useful pots and plants can be in the outdoor area but I just wanted to reaffirm as they are just such a budget friendly and essential resource for any outdoor play space but especially those working with small areas. Even if you aren't fond of gardening it's pretty simple to plant a tub or pot of flowers or herbs with the children or a mini fruit tree.
They make fantastic portable storage options (especially for loose parts & gravel) and usually hold up well if left outside in the elements. If you don't have room for garden beds then use a few together with palms or quick growing grasses to form boundaries and create different areas to explore and hide. Build your collection up over time – there's no rule that says you must have your outdoor area finished before play can begin – it should be an always evolving process!
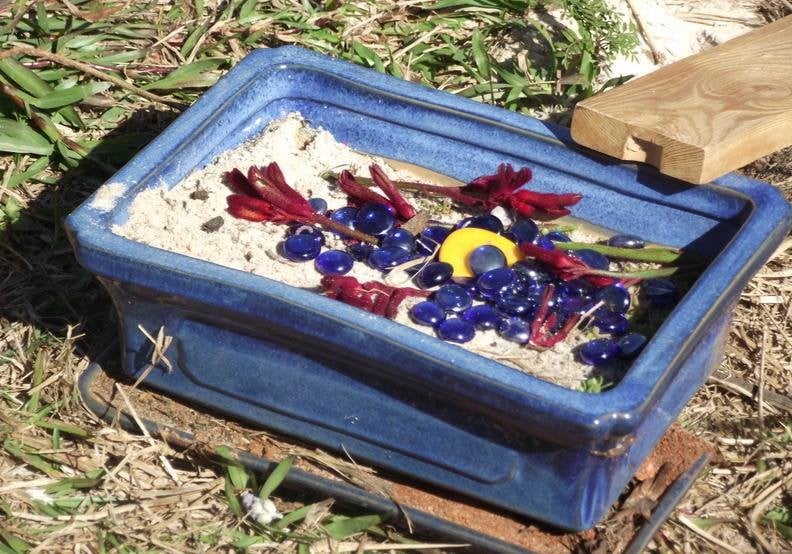
11. Gravel & Pebbles
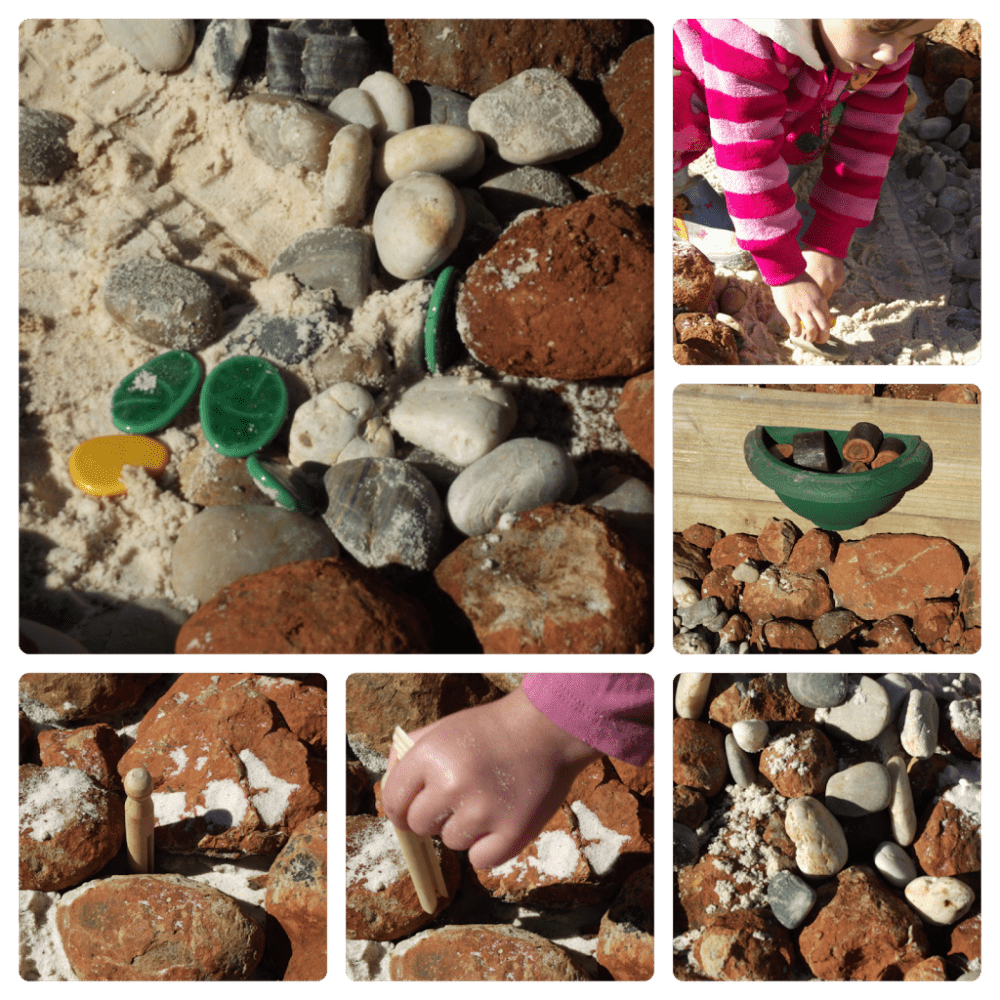
Oh how I love gravel and small pebbles! Many readers have asked me if it bothers me when children cart the pebbles all over the yard or I find them scattered in the sandpit. The simple answer is no. If it bothers you though please don't introduce it! Why? Because the true magic of providing this resource in the outdoor play environment is its ability to be used in many different and creative ways in various areas and forms of play by the children.
A gravel pit or digging area with pebbles and dirt can be a fantastic resource and needn't take up much room so is perfect for the smaller space but let's be realistic, it's not fair to a child or you as parent or educator to be standing over this space directing them to ‘keep it in the gravel area' every day. Be flexible, if you are going to introduce pebbles/gravel/gems /treasures then expect them to be transported in trucks to the other side of the yard or used as food or decoration in the mud kitchen – that's the true value in offering this sort of material to children outdoors.
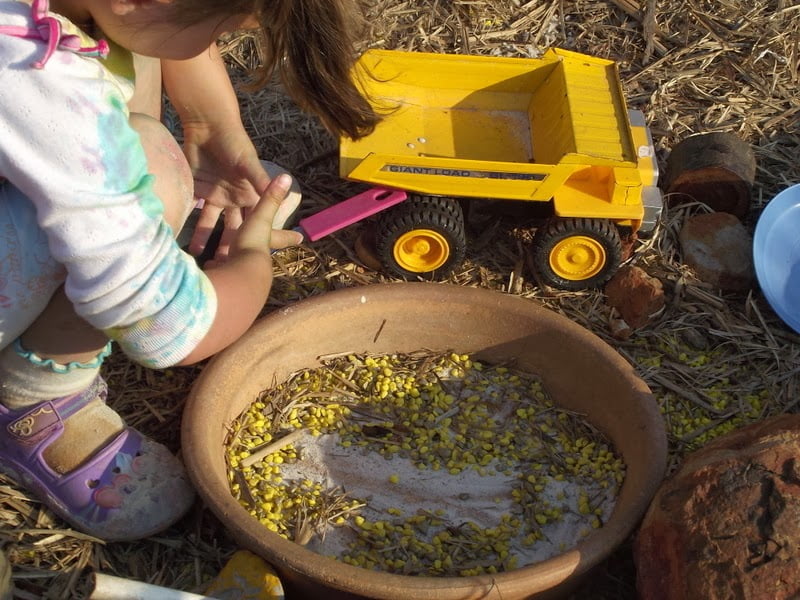
12. Creative Storage
This is something I hear often – “Where do I store it all though?” If you have a small play area outdoors then this is probably a concern for you to. My answer is to get creative and think outside the box a little.
Use your wall space like I discussed earlier. Use pots, tubs and trays to store loose parts and other materials that can withstand being left out in the elements. Natural materials shouldn't need to be packed away each day! Hang baskets that allow water to drain through. Utilise storage containers to make the most of any undercover storage space you might have.
Introduce a ‘pack up for tomorrow's play' routine at the end of the day. This means that rather than packing every single thing away you only pack away the essentials and the items that absolutely need to be undercover (and really if you are smart that should be very little!)Ask the children to help you ‘set up for tomorrow's play' rather than just ‘packing up'.
Our packing up routine mainly consists of putting tools from the sandpit into the baskets on the wall, bringing in cushions and books, hanging watering cans back up and ensuring any ‘special creations' from the day's play are in a safe spot to revisit again. We set up for the next day's play and then I add a few elements each morning. Everything doesn't need to be stored away in a shed!
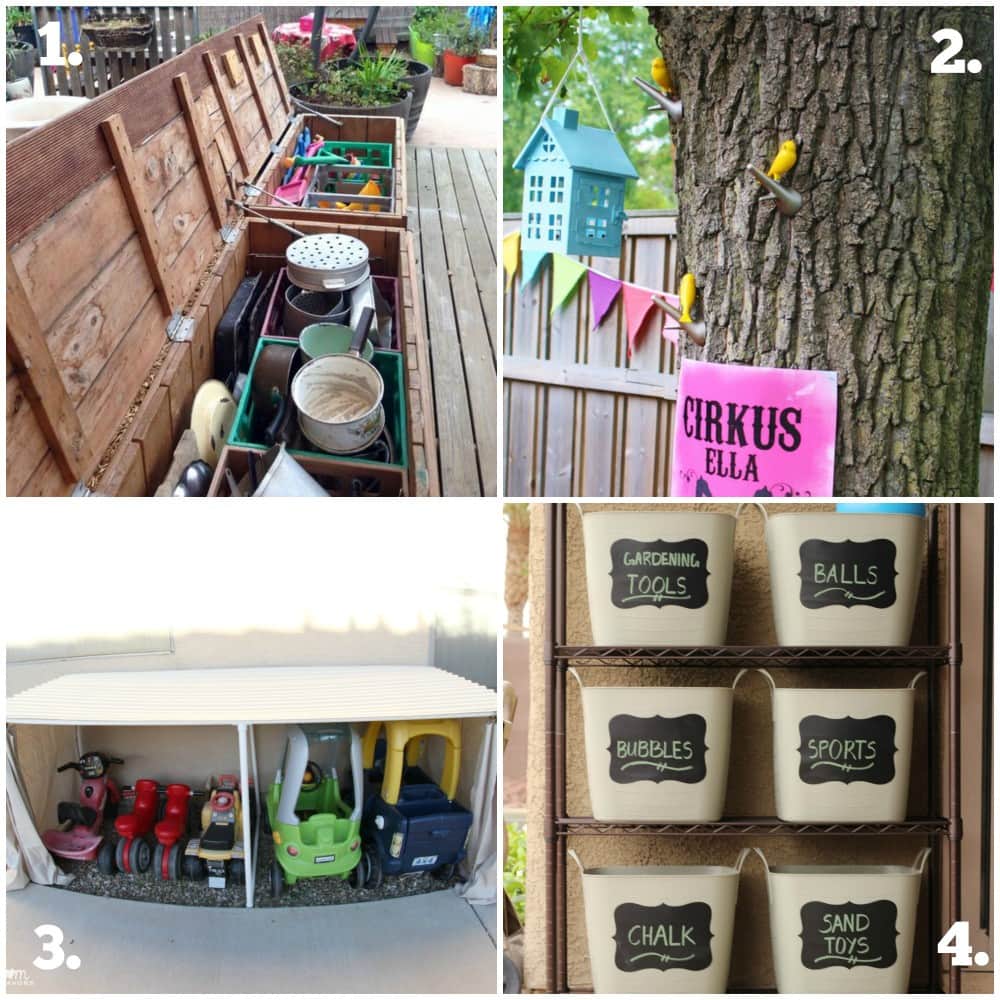
- Turn a seat into storage – Inspiration via Pinterest here
- Hooks can be placed anywhere! – Read more about this lovely space here
- Want the cars out of sight at the end of the day? Check out this clever solution at Mom Endeavors
- Tubs and shelving – an easy spacesaver – See more here
If however, you like your yard back at the end of the day then you need to think about what you want to set up each day and how you might store it a little more creatively. Storage and packing up shouldn't be an excuse not to put thought and time into setting up your spaces for outdoor play.
I hope you have found some of these ideas helpful – remember that is about balance and your own environment and children. There is no need to try to incorporate everything listed above, just take what might work for you!
Do you have more ideas or strategies not covered here? Share them in the comments below or post a pic to my Facebook Page

A Little About Me

Jodie Clarke is an early childhood professional supporting educators who want and need to stay passionate about the work they do! She has 30 years hands-on experience in the early childhood and human services sectors across many different roles.
Jodie is mum to 3 in Australia and has already helped thousands of educators with their work through her popular blog posts, activity ideas, online training and e-books.



Jode, I need you to come and help me with my backyard. The studio I can organise but the yard is seriously neglected and uninspiring. I need help!!
oh my Kate – how I would love to visit and give you some ideas!! Especially to tie in with your wonderful studio. Send me some photos and I’ll give you some ideas to try 🙂
Hi Jode,
I really want to start but do not know where to. Any suggestions?
Shay from USA
Hi Shay, bit hard for me to say without knowing your environment but I’d just start with incorporating simple things like pots of herbs and flowers, stones and pebbles in different areas, loose parts storage for things like sticks, wood offcuts, shells, bark etc that children can use in their play. Lots of ideas in this post and my others under the ‘outdoor’ tab to the side. Just start small and incorporate a few little things here and there before deciding on a larger project – something you might make from pallets etc. Good luck, you will have fun 🙂
Hi, any tips for having the share outdoor play space with multiple ages ranging 6 months to 4 years
Hi Nicole,
Stay tuned, I have a blog coming on that very topic soon!
Love this article. Inspiring. Last year I added a roof to my sandbox and a mud kitchen. Need to make the mud kitchen more appealing. Great ideas!!!!
Hi Jodie
You just turned my impossible to possibly 🙂 Thank you for such great ideas.
Rally love them we can never make an excuse of no space.
Totally love all you share.
Thanks for stopping by Kasilia – I love to hear you are ready to embrace possible now no matter what size space you have to get creative with!
Hi, Jode,I really appriciate your work for earlychildhood teachers.I have a different story to tell you about me.I take care of my two year grandson while my daughter’s studying for Law PhD @ UNSW.It is very difficult to find time for reading your news articles but I try my best.I wanted to join your member Hub as soon as I can.I feel lost & found as I ‘m joining with you.Thank you so much. Sorry for my delay.
Looking at these with me, my son said, “Let’s see if we can go over to their house tomorrow!” 🙂 These are fantastic ideas, thank you!!