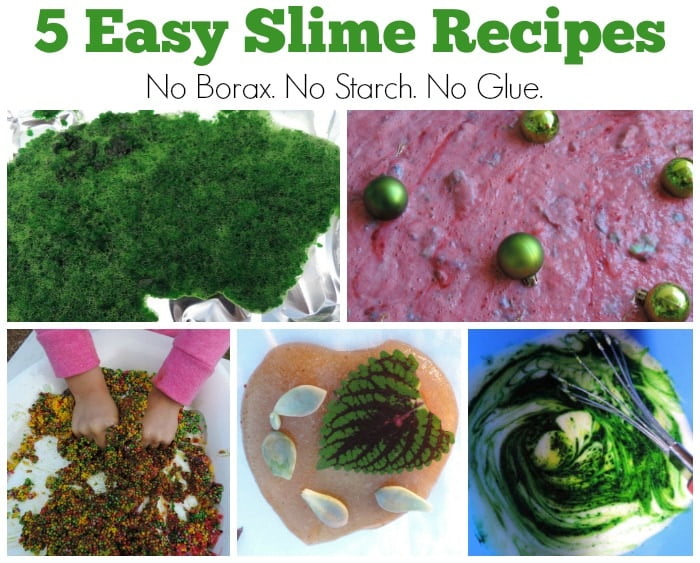
You don't need to source numerous materials and follow complicated directions to make my 5 Easy Slime Recipes! I believe strongly as both a parent and early childhood educator that children should be offered access regularly to sensory play opportunities from a young age and fun with slime is an excellent example! Sensory play obviously doesn't always need to include messy play but it's certainly a bonus and can help with sensory processing as they grow – along with many other important learning and developmental outcomes.
But isn't slime too dangerous for baby and toddler?
I get asked this a lot – along with many of the other sensory activities I share and my answer is always the same NO! As long as you use safe/edible materials and supervise (as you always should with this age anyway!)Don't leave babies and toddlers out of the fun and learning opportunities just because they require closer supervision around this type of play!
I know that many educators and parents worry about exposing babies and young toddlers to messy sensory materials but there are lots of simple and safe ways to begin introducing a sensory experience like slime and it certainly doesn't need to take a long time to make or setup! You also don't need to worry about using those ingredients like glue, starch and borax which I do not recommend using around younger children – especially under 12 months when they are still tasting everything!
I've collected 5 of my absolute favourite DIY slime recipes in this post for you to try – these are the ones I have used over many years with my own children and also while working with babies and toddlers in both early learning centre and Family Day Care environments. They only require a few basic ingredients and the children can usually join in the process of making the slime as well.
Older children will enjoy the processes of measuring, mixing, pouring, whisking and kneading and you can go into greater detail about the scientific processes taking place. If you are making slime with a multi age group the babies and toddlers will often watch how the older children are playing and then try to replicate or explore in their own way.
PLEASE NOTE : Although I define these recipes as safe for use around young children there is always still a need for common sense and close supervision when offering these type of experiences to younger children – some are obviously better suited to toddlers who aren't at the mouthing stage but you know the developmental stages and capacities of your children the best so please modify according to individual needs.
We all know that children will wipe eyes with messy hands or try to sneak a taste test so just keep this in mind. There is some minor risk but the benefits of this type of play far outweigh those risks in my opinion – especially if you are using the recipes below rather than the current popular options made with materials like Borax, starch and PVA glue which I prefer not to use around young children. And even better… you will be saving money too!
What defines a slime recipe?
All 5 recipes I am sharing below create different versions of a sensory slime but I don't have a set definition or essential element for ‘slime' when it comes to play. To me it can mean a substance that is slimy, stretchy, slippery, moist, squishy, sticky, firm, soft, sometimes mouldable, thick, thin – but basically a substance that resists normal flow and behaves differently to a liquid sensory material. Scientifically speaking, slime is a polymer made up of string-like molecules and this can be fascinating to explore and investigate with older children – especially school age.
Some of the slime recipes contain all of these elements, some only 1 or 2…but they are all lots of fun for exploring with the senses, investigating and experimenting through play.

1. Soapy Slippery Slime
Recommended for ages – 9 months upward
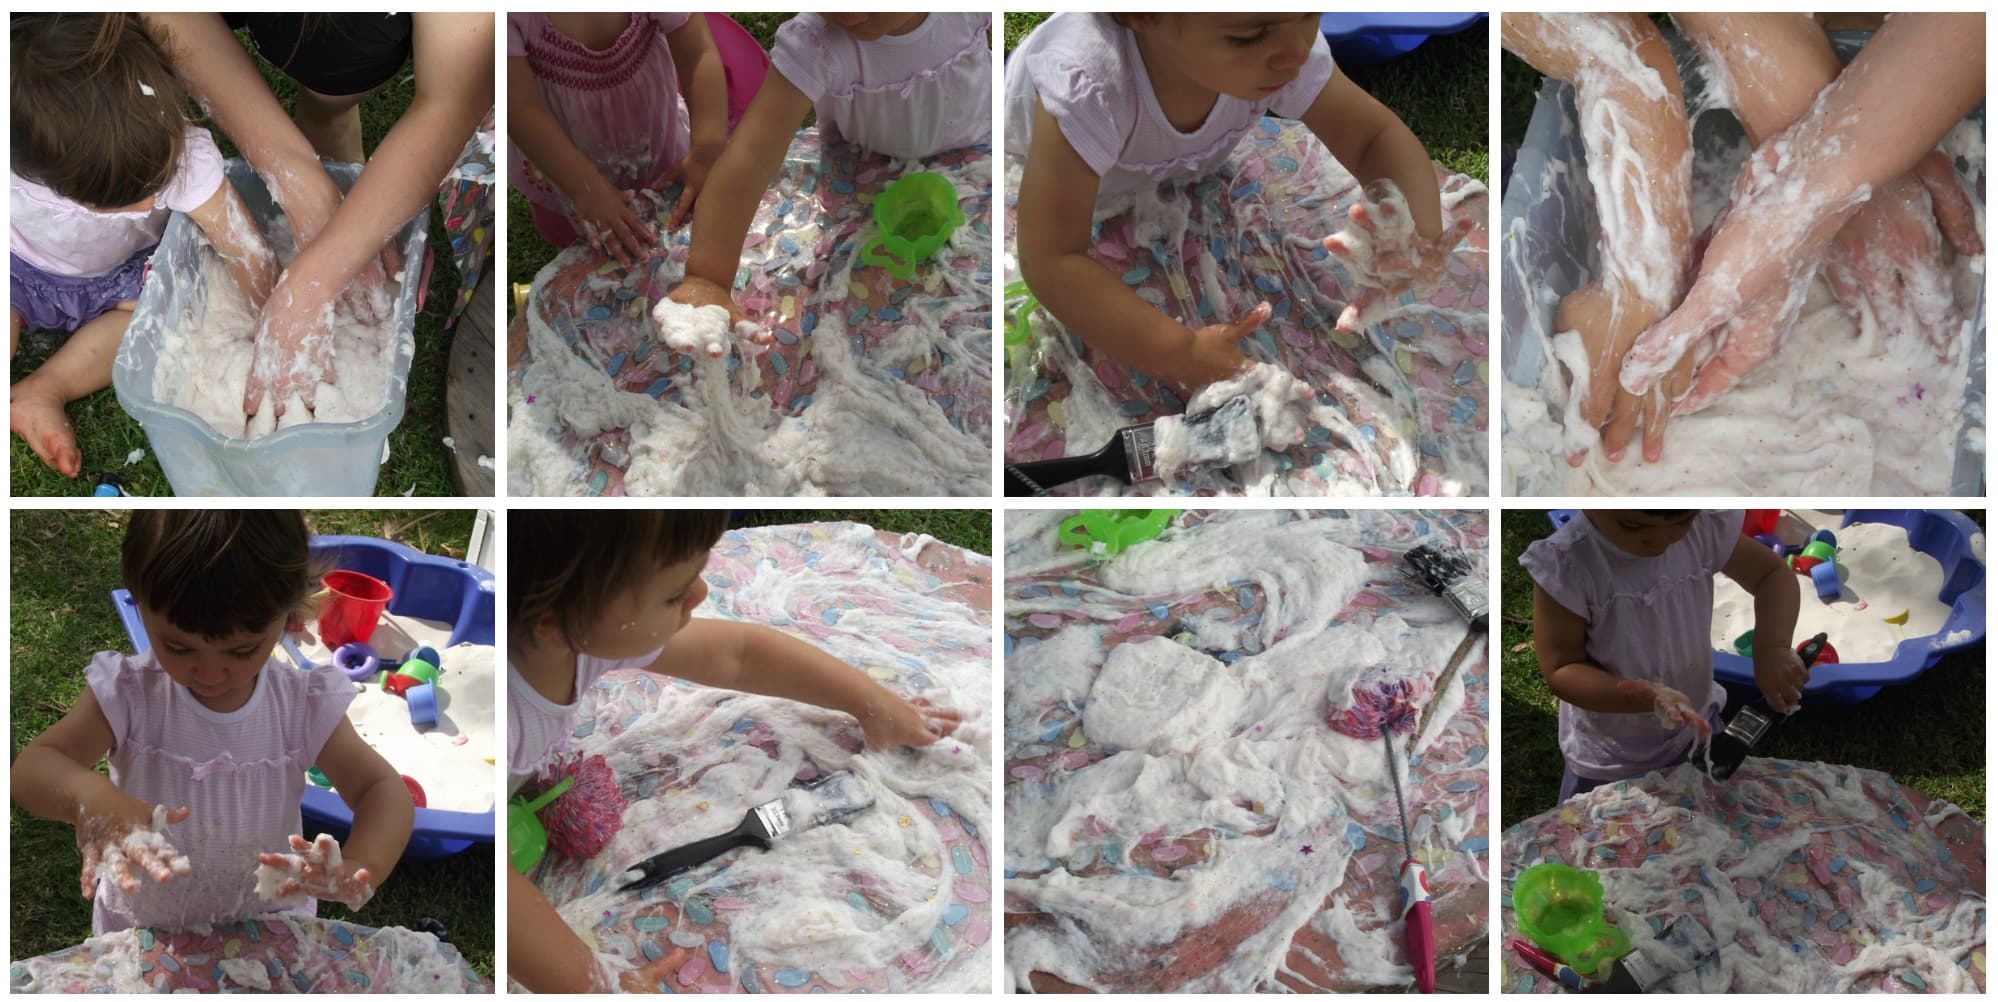
What you will need..
- 3 cups lux flakes(or any pure soap grated)
- Around 2.5 litres of warm to hot water (you may need more or less )
- Glitter if you want to make sparkly slime
- Edicol dyes or food colouring if you want to make coloured soap slime.
- Whisks or egg beaters to mix it together and froth up
- Large tub or bucket for mixing
What to do next…
- Add lux flakes (or grated soap bars) to your bucket. If you plan to use the container you mix in as a sensory play tray then I suggest using a shallower tub so more children can access the slime at once – the water trough works well. I usually like to tip some out onto a table so they can really have fun exploring and making it a whole body experience if they want to! A large shallow tray placed flat on the grass or floor works well for the younger children – especially if not confident standing and walking yet.
- When you have your soap in the bucket or tub you want to use carefully add the hot water (use only warm if doing this part with the children).
- Mix together using the whisks or beater and then I like to leave overnight or at least for a few hours as the mix will go beautifully thick and this way you can tell if you need to add more water or more flakes to get the consistency you desire.
- Add edicol vegetable dyes or food colouring if you want at this stage or just keep white.
- Because it is a soap base it washes off easily when time to clean up and will keep in a covered container for quite a while if you keep it relatively free of other matter! Edicol dyes wash out of clothes easily so I use them a lot with messy play activities.
Simple Suggestions for Play
Now it’s time to experiment and extend the fun!
- Add some easy to grasp materials like blocks or items from the kitchen door for children to use as tools for moving the slime around (a good way to ease those that don't like messy hands into the sensory experience)
- Collect some natural resources from around the yard together and ‘stick' into the soapy slime for toddlers to pull out.
- Add balls of different sizes to the slime tray or tub for rolling and making patterns with. Add spoons to turn into a scooping game.
- Add dolls and dolly clothes along with a tub of water and use the soap slime to shampoo dolly's hair and wash clothes. Make sure to rinse and provide pegs and a low line so they can hang up their washing to dry.
- Add glitter to make sparkly slime.
- Provide a basket of baby safe loose parts for them to use and investigate with the slime (see this post for loose part ideas)
- Simply spread out on a table and invite those little fingers to get busy squelching, pouring, fingerpainting, cooking, drawing patterns and so much more.
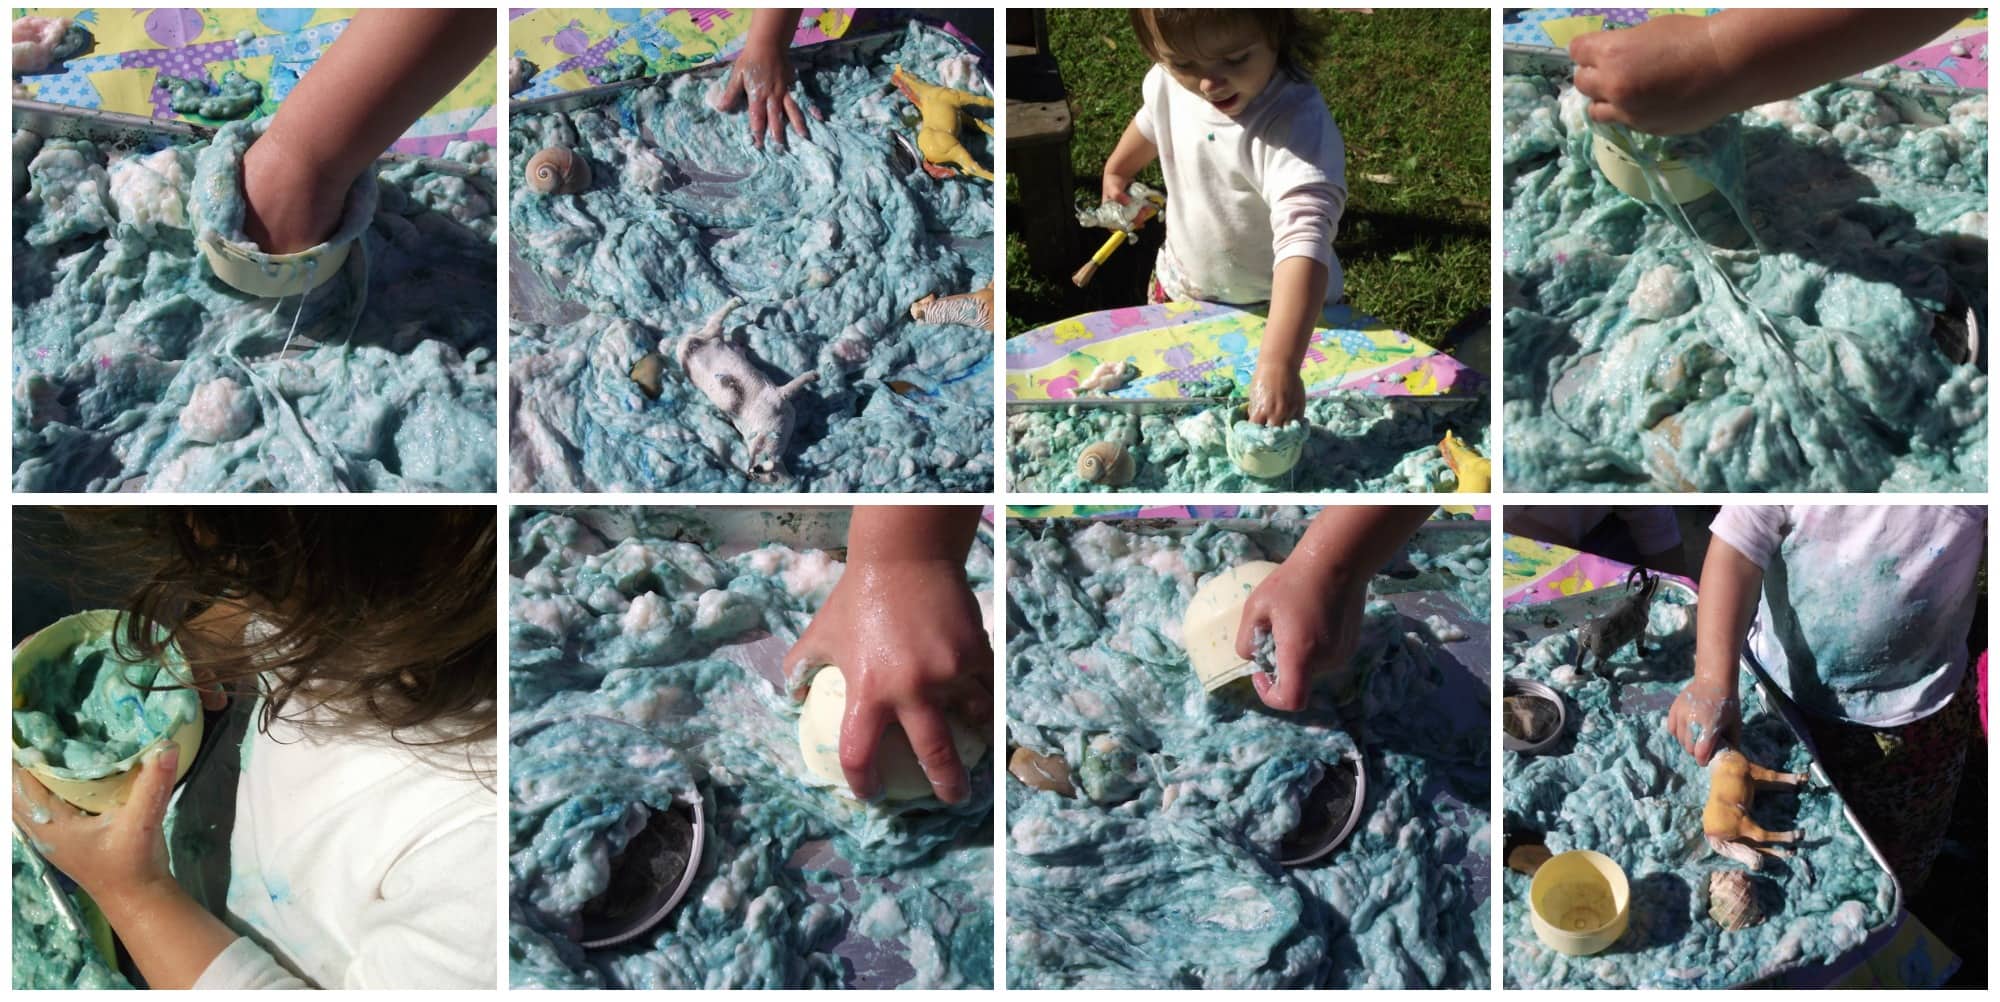
It is a wonderful sensory experience and I dare you not to want to put your own hands in there too – a lovely stress buster for anxious children (or stressed educators!) It also smells beautiful. Because it is soap based do watch the possibility of getting in the eyes. Speaking from my own experiences using this over the years I have never had a child complain about it hurting their eyes but I know some may find it stings like any soap in the eye can.
2. Squishy Foamy Slime
Recommended for ages – 6 months upward.
What you will need..
- 4 Cups Water plus a tablespoon or two of hot water.
- 2 big squirts of dishwashing liquid (you can leave this out if concerned about using it with younger babies – it still works just not as frothy)
- 4 spoons edible gelatin powder (You could also use the sachets)
- Whisks and spoons
- Large bowl or container – I just used an old 4 litre ice cream tub
- Edicol dye if you want to colour your slime (optional)
To be honest, I very rarely measure with this one – you can make more or less you just need to experiment a little to get the consistency you are happy with – sometimes I add more gelatin than this or a little more dishwashing liquid. You don't need to be too precise, the fun is in the experimentation process anyway!
What to do next…
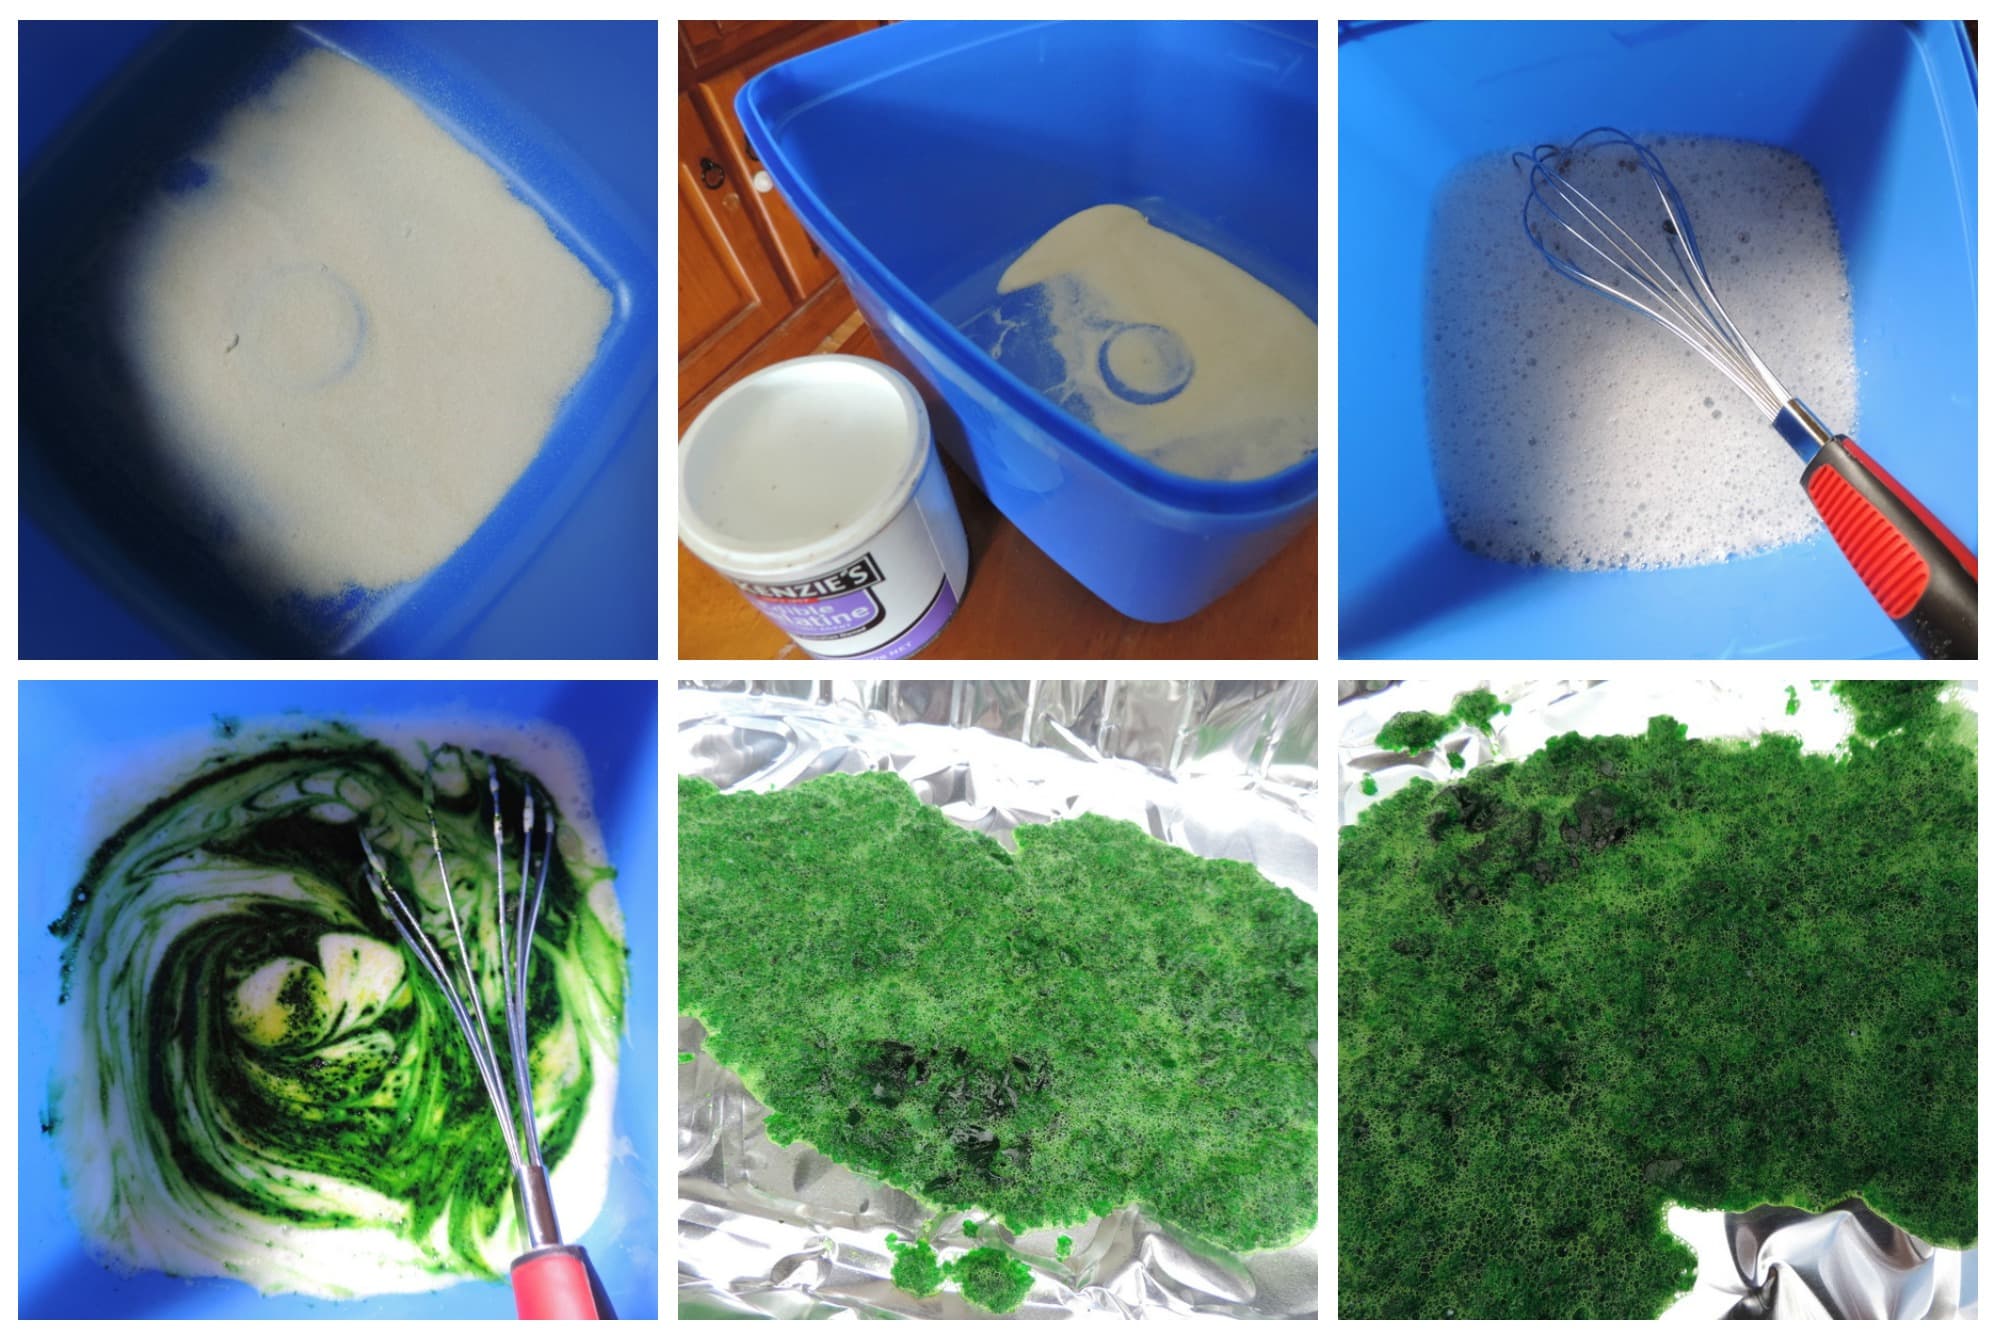
- Add gelatin powder to your dry container. Mix to a paste using the warm water.
- Pour in your cold water then dishwash liquid.
- Pass the spoons and whisks around and get mixing!
- You will soon notice it begin to froth and bubble – keep whisking for a few minutes more.
- Now leave to sit for an hour or so – you can play with it straight away it just won't be as frothy or thick as it will if you leave it set for a little bit. If you come back and it has thickened too much for your play just add some water and mix again.
Tip onto a tray or into a few bowls and let the messy fun begin! You might also like to try some of the ideas below.
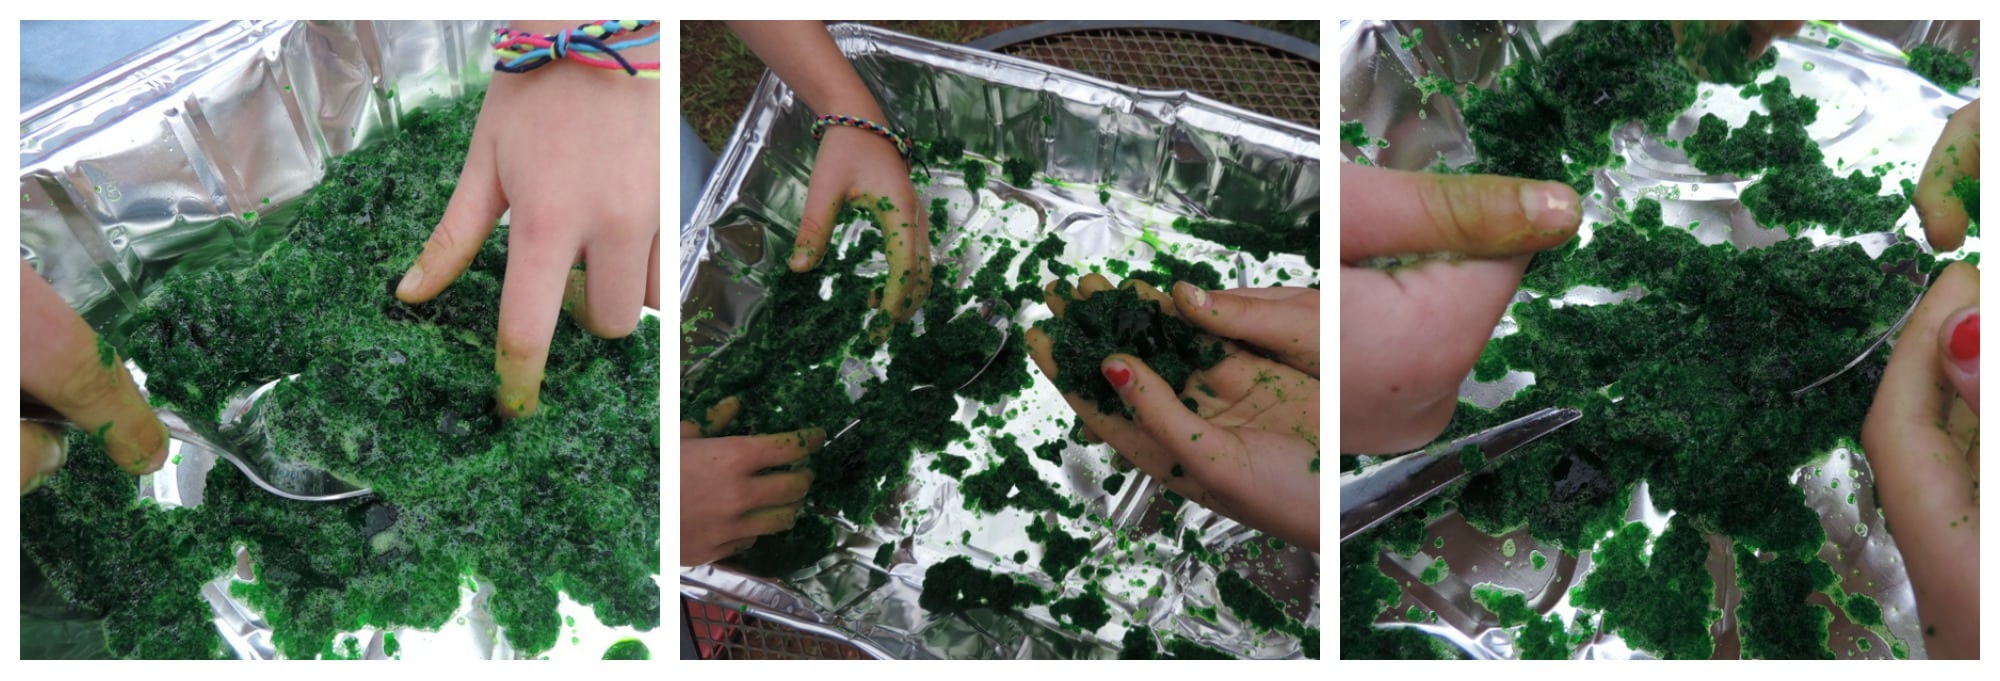
Simple Suggestions for Play
Now it’s time to experiment and extend the fun!
- Collect all the bikes and cars to setup a large carwash station using the foamy slime and big sponges to wash. Hose everyone off afterwards – lots of fun on a hot day.
- Fill a shallow tub with balls of all sizes and the slime – encourage bubs and toddlers to find the balls and then put in egg cartons or muffin tins – I pass out tongs for the older children to challenge them a little more.
- Add a bowl of plastic syringes or eyedroppers for older children to practice drawing up the slime then squirting it out.
- Add farm animals to the slime bath then wash them clean in a water tray.
- Provide a basket of plastic cups, jugs and spoons for children to fill with frothy concoctions. I have set up a ‘coffee shop' dramatic play area outdoors before(for 2 years up) using this frothy slime.
- Give the dolls a bubble bath!
3. Stretchy Slime
Recommended for ages – 9 months upward.
What you will need..
This is the best part of this recipe . You only need to buy one ingredient – the other is water!
- 1 Tablespoon of natural fibre supplement – I used the Metamucil brand simply purchased from my local supermarket.
- NOTE: Make sure whatever supplement you use contains psyllium husks . I purchased the ‘natural’ version as I wanted to be able to add my own colours – you can buy the orange Metamucil though if you are happy for your slime to be orange or you don’t have any colouring to use.
- 1 Cup WaterFood colouring or edicol colour dyes {Optional} I used edicol dye because I use them to colour my DIY cornflour paint base as well and they wash out of clothes so easily!
- 1 large microwave safe bowl – believe me larger is better, don’t be misled by the ingredients!
- Wooden Spoon & Whisk for mixing
What to do next…
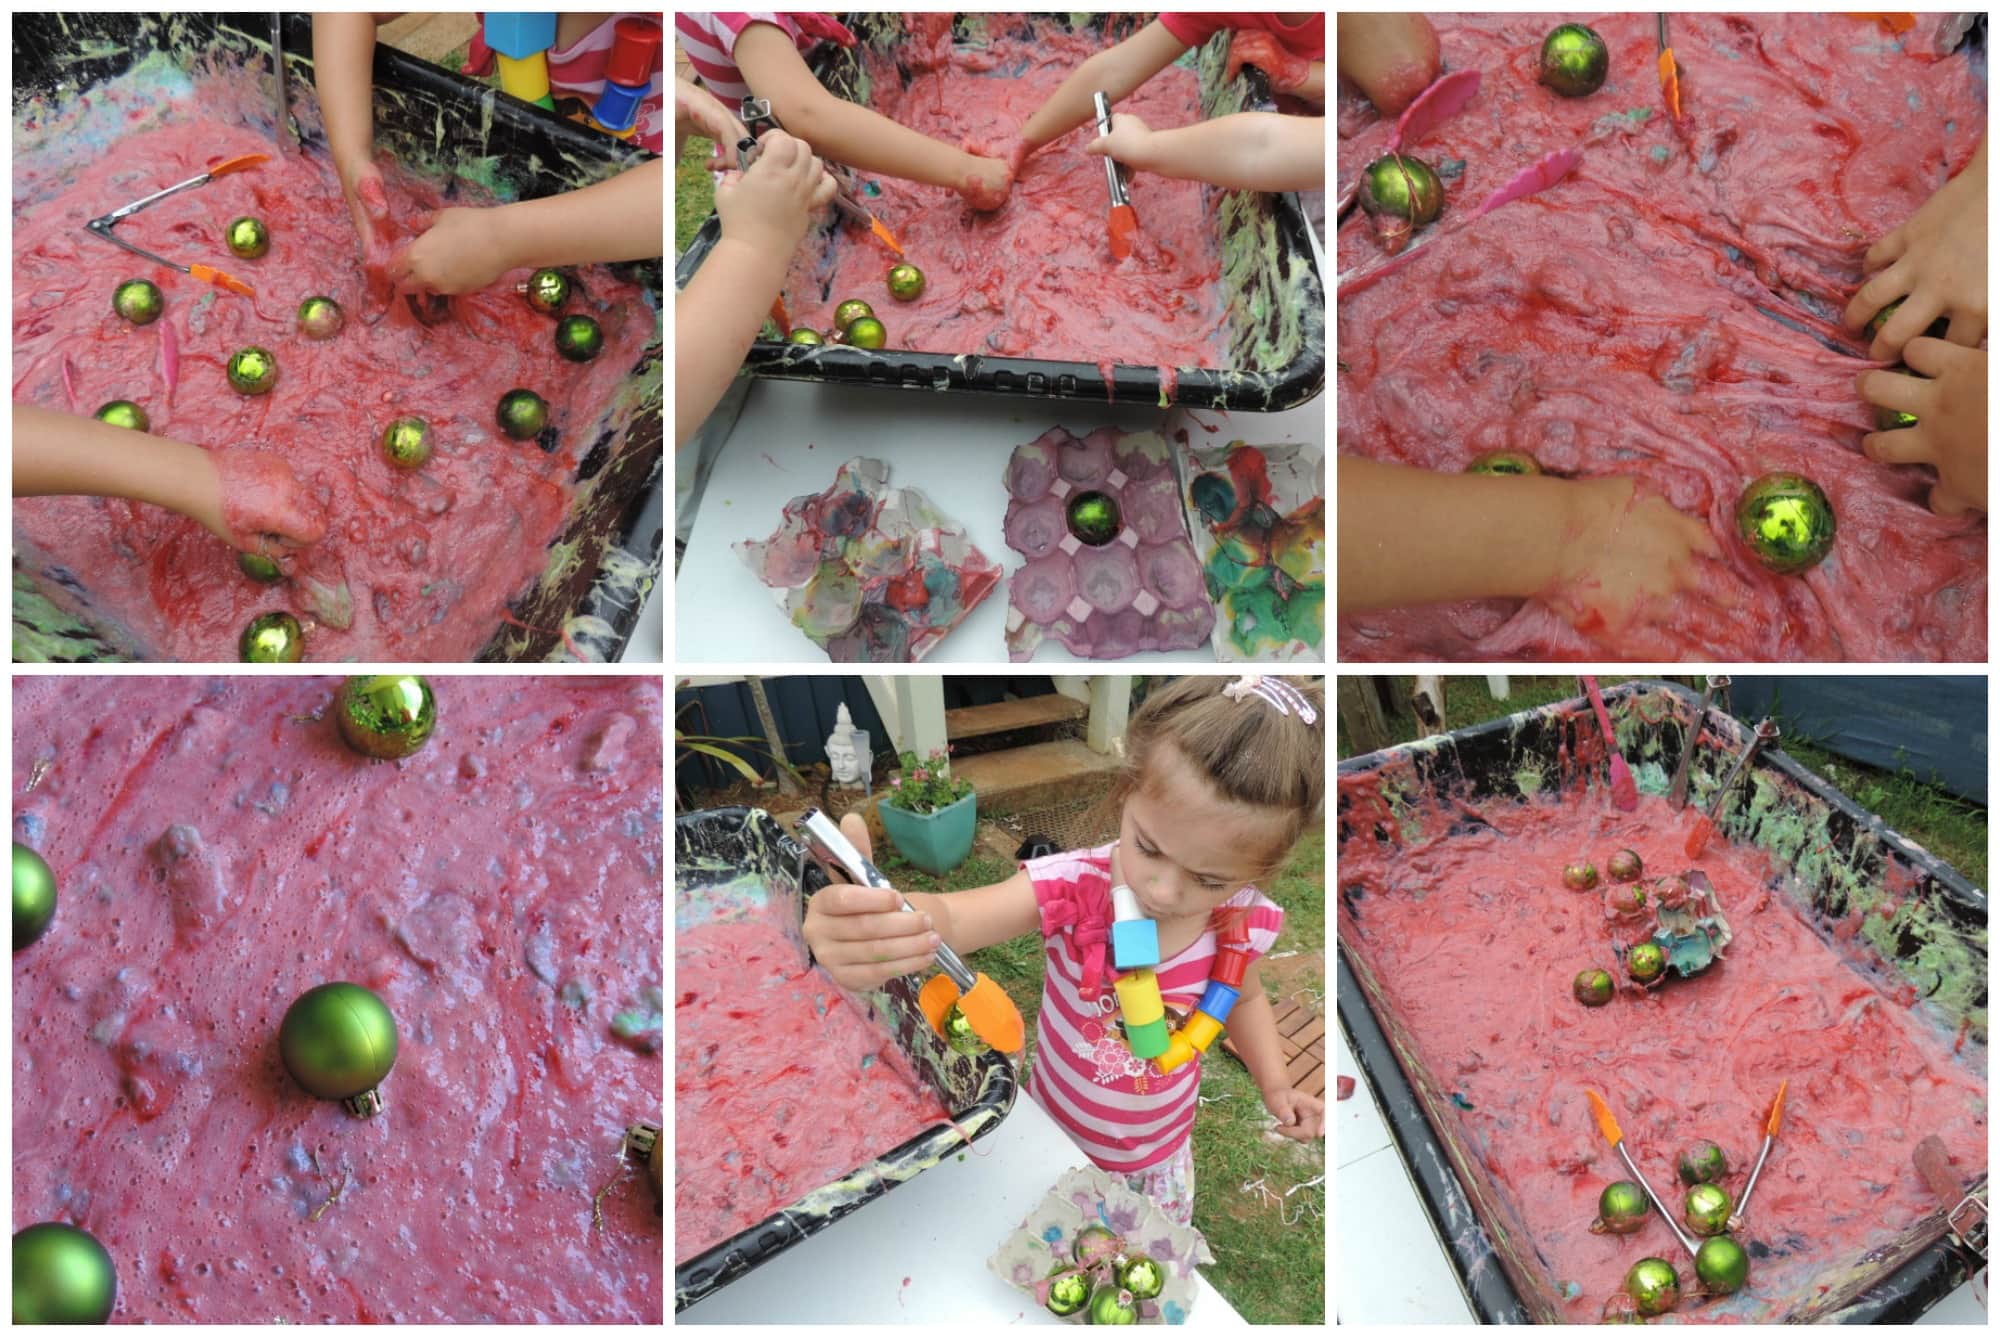
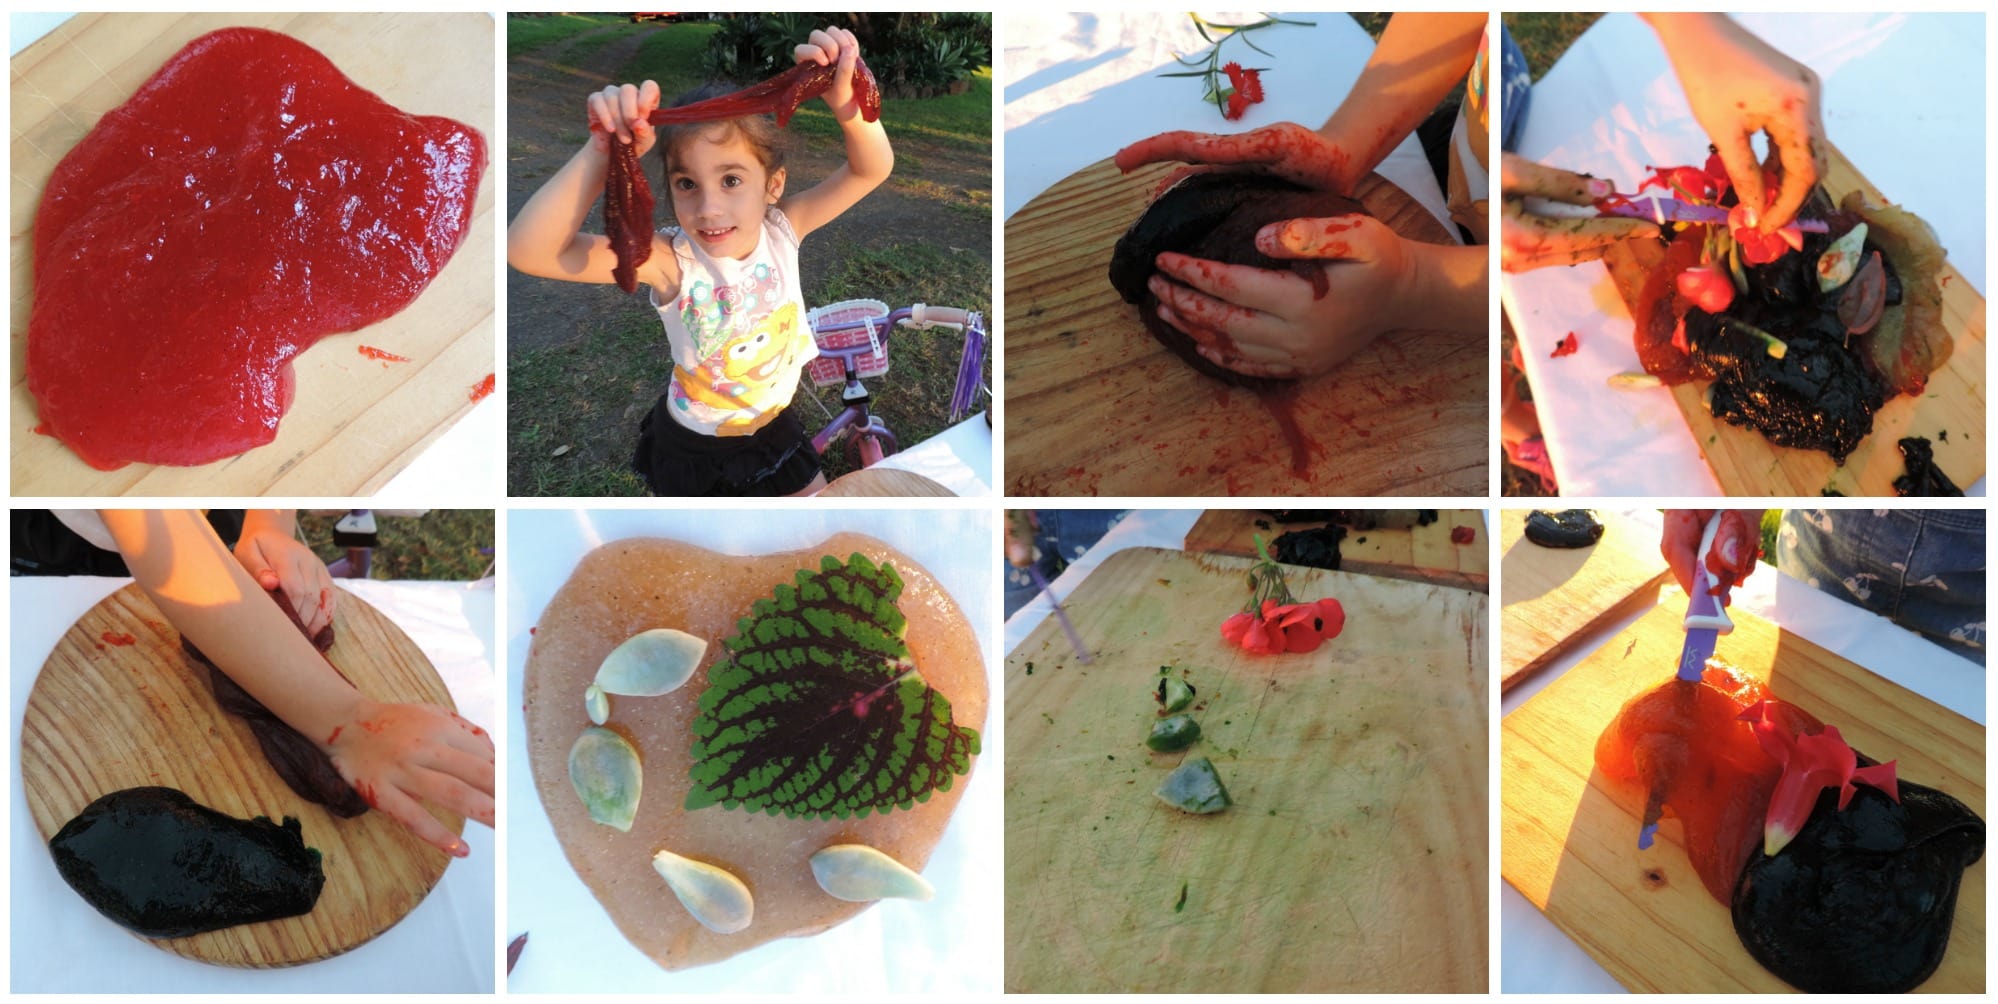
The ingredients above make the amount of slime you see in the red slime picture below . I made a few extra batches after the first trial run. I’d caution against trying to double the recipe as even this small amount easily bubbles over the bowl when making it in the microwave – worth taking a little extra time to make batches separately.
- Add your tbsp of Metamucil to your bowlAdd a few drops of colour or 1/4 teaspoon of edicol dye if you want colour slime
- Pour in your water and whisk well
- Microwave for roughly 5 minutes – all microwaves will vary so you will need to stay and watch – do NOT walk away. Open after 3 minutes and give it all a good stir. It will begin to thicken quickly and this is a fascinating science activity to show the children if they can see safely into your microwave.You will see the mixture begin to froth and bubble – if it looks as though it will overflow just open the door for a minute, give quick stir and then keep going.You will know when it is ready as it begins to pull away from the side of your bowl and forms a lump rather than covering the bottom of the bowl.
- Carefully pour onto a tray or board to cool down. Mine seemed to firm up a little as well after resting . It will be very hot so please be careful transferring from bowl.
By watching carefully as it cooks and taking your bowl out to check you can actually make 2 different slimes – 1 a little more sticky and sort of runny and the other a firmer rubbery gel which is perfect for stretching (and better for those children who dislike messy, sticky hands) I ended up making 2 batches of each version.
For a stickier slime – add a little more water and a little less microwave time
For a firmer, blubbery type slime – Microwave for suggested time and add a little more powder to the recipe if you need to after you try your first batch.
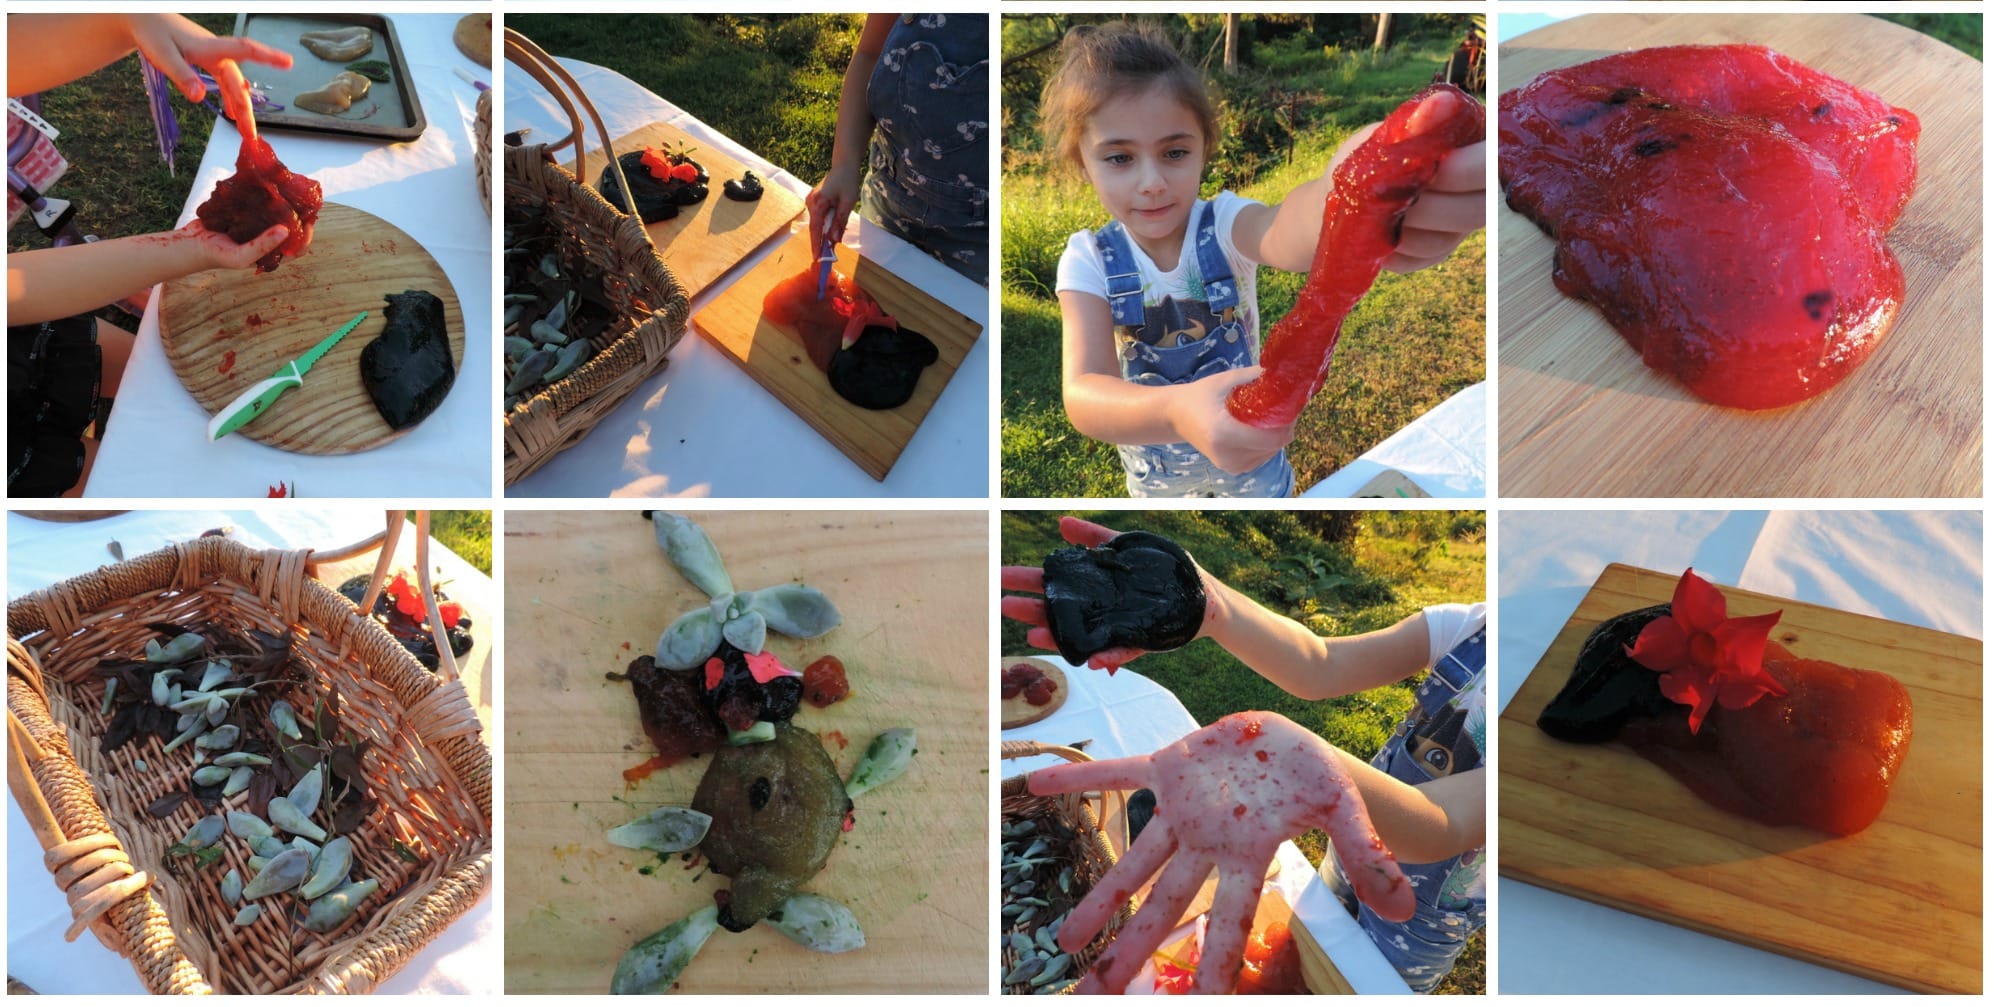
Simple Suggestions for Play
Now it’s time to experiment and extend the fun!
- Add a basket of leaves and twigs for older toddlers to stick into their slime.
- Add scissors for 3 years up and watch as they try to cut through the stretchy slime to make smaller pieces. Provide blunt butter knives as another way to strengthen and explore cutting skills.
- For babies add balls of the slime to a tray placed on the ground so they can reach, grasp and squish. Adding to a fruit net bag and tying the end is also lots of sensory fun as the slime squirts through the holes as they grasp and release.
- Provide cookie cutters to make and cut out shapes from the slime.
- Have a ‘who can stretch their slime out the most' competition.
- Collect flowers together and use the slime pushed into recycled lids as a base to create florist arrangements.
- Make imprints using magnetic letters, cotton reels, seed pods, pine cones and other loose parts.
4. Quick Slime
Recommended for ages – 6 months upward.
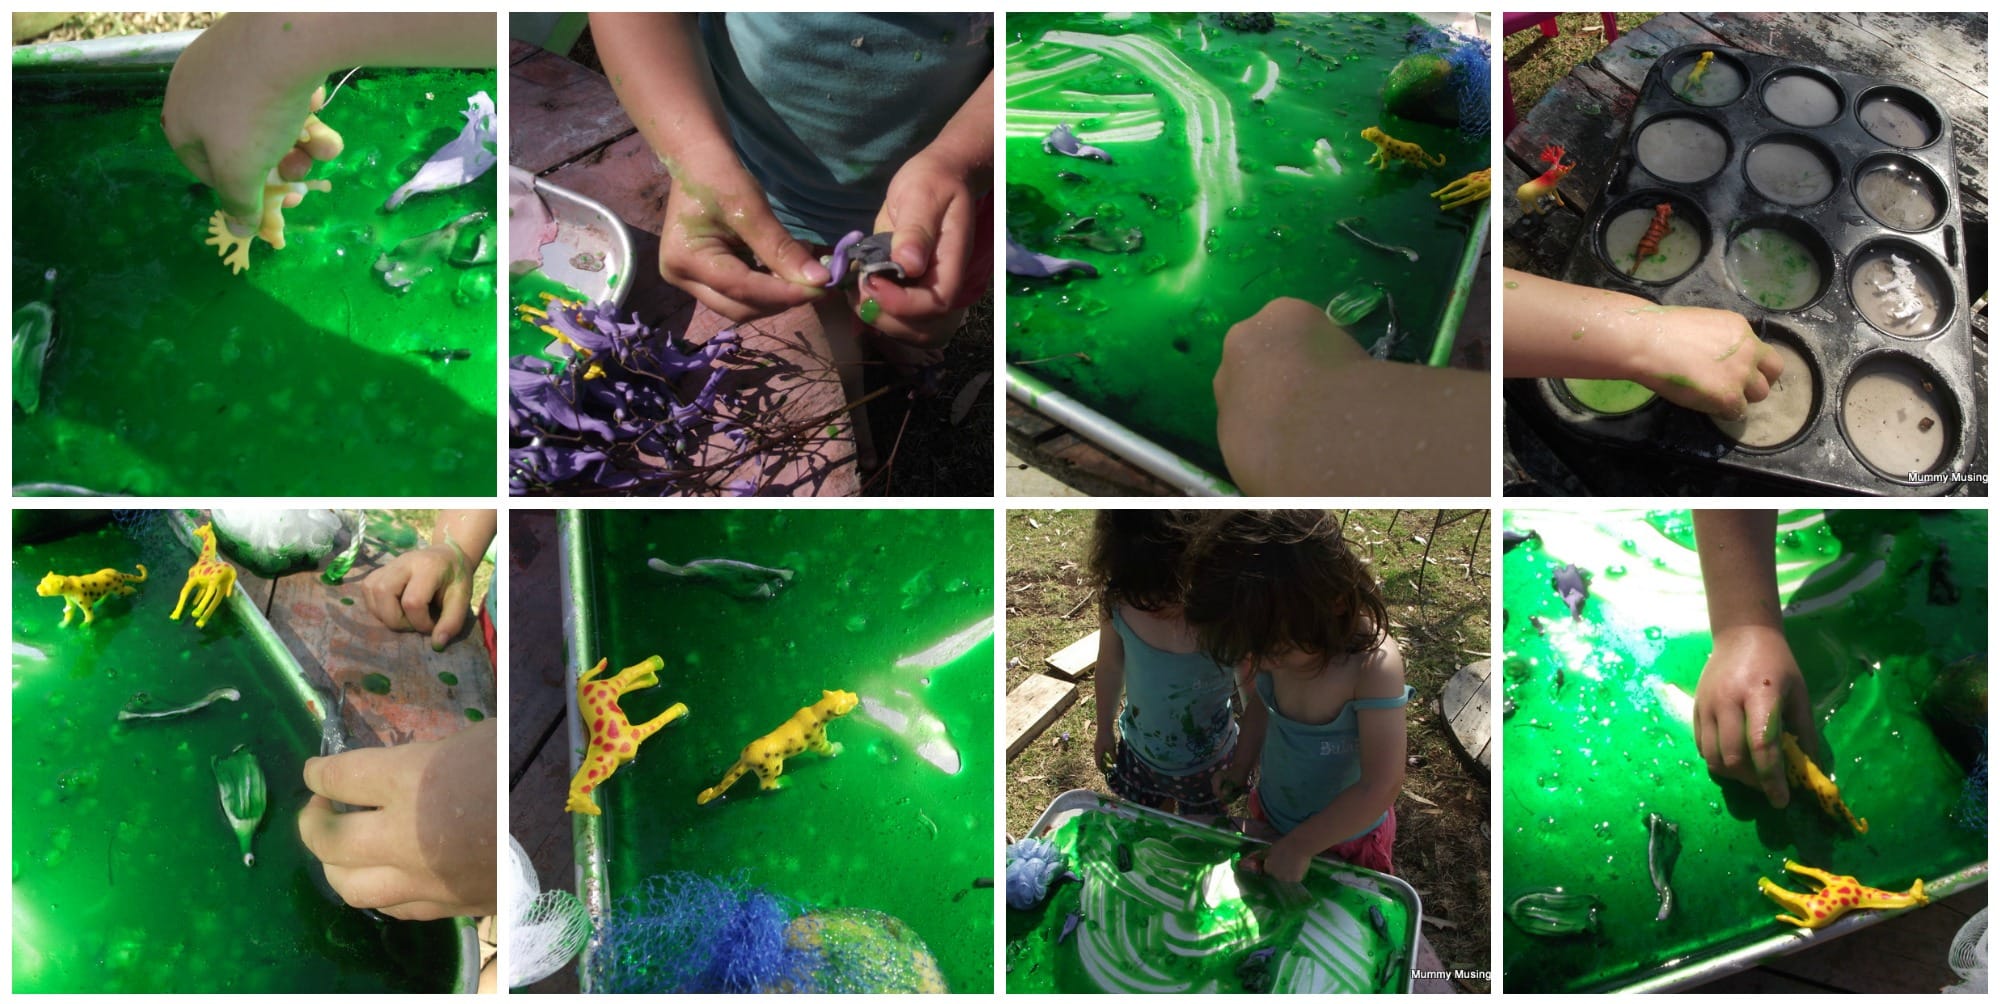
What you will need..
The material used to make this quick slime has been one of my absolute favourites since way back when I started in the early childhood profession – it has so many uses but this time I'm going to show you how to make a very simple slime with plain old Cellmix (available in most craft and educational supply stores and it lasts for ages!!) Cellmix or Mix a Paste is basically just a non toxic powdered glue and when water is added it makes a thick paste – I also add edicol dyes as a quick, easy and budget friendly paint. However – if you add a little more of the powder than you would normally use just for paste or paint and leave sit for a little longer you end up with a wonderful slippery slime!
You really don't need precise measurements for this one – I don't think I have ever measured the powder out, it's all about trial and error and how much you want to make. But you can start with these measurements and modify from there for a large tub.
- 60-80 grams Cellmix/paste powder
- 4 – 6 litres of cold water
- Large tub, deep tray or bucket for mixing
- Edicol dye to colour (optional)
- Whisks
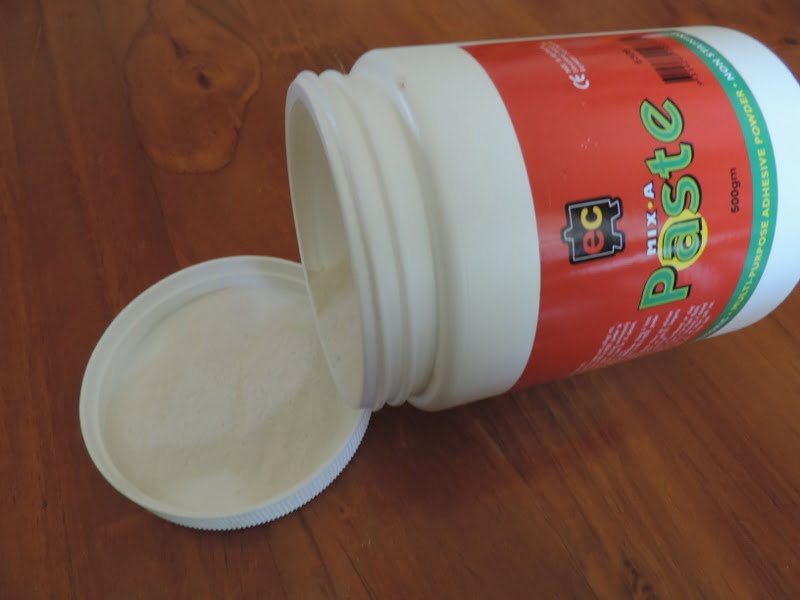
What to do next…
- Add water to the large container or deep tray you are going to use for the slime play.
- Sprinkle the powder across top of water and whisk or stir for around 2 minutes (the kids love doing this part so hand out those whisks!)
- Sprinkle a little edicol dye and mix in if you want coloured slime or leave out for natural.
- Leave for 30 minutes (often you only need 10 but it will be a little slimier if you wait longer!) .
- If you want your slime a little thicker just sprinkle more Cellmix in and stir again.
- If it ends up to thick for your liking just add more water and whisk – simple!
- You want it a little thicker than wallpaper past or paper mache paste consistency but thin enough that children can still move it around easily. don't be concerned if you get lumpy bits – I always do, they dissolve as time goes on but I just leave them as they add to the sensory fun!
The slimy, gooey texture is fantastic for fingerpainting and mark making – especially if used on a table or tray surface. I love that it doesn't stain, is non toxic and you don't need much powder so it's pretty inexpensive!
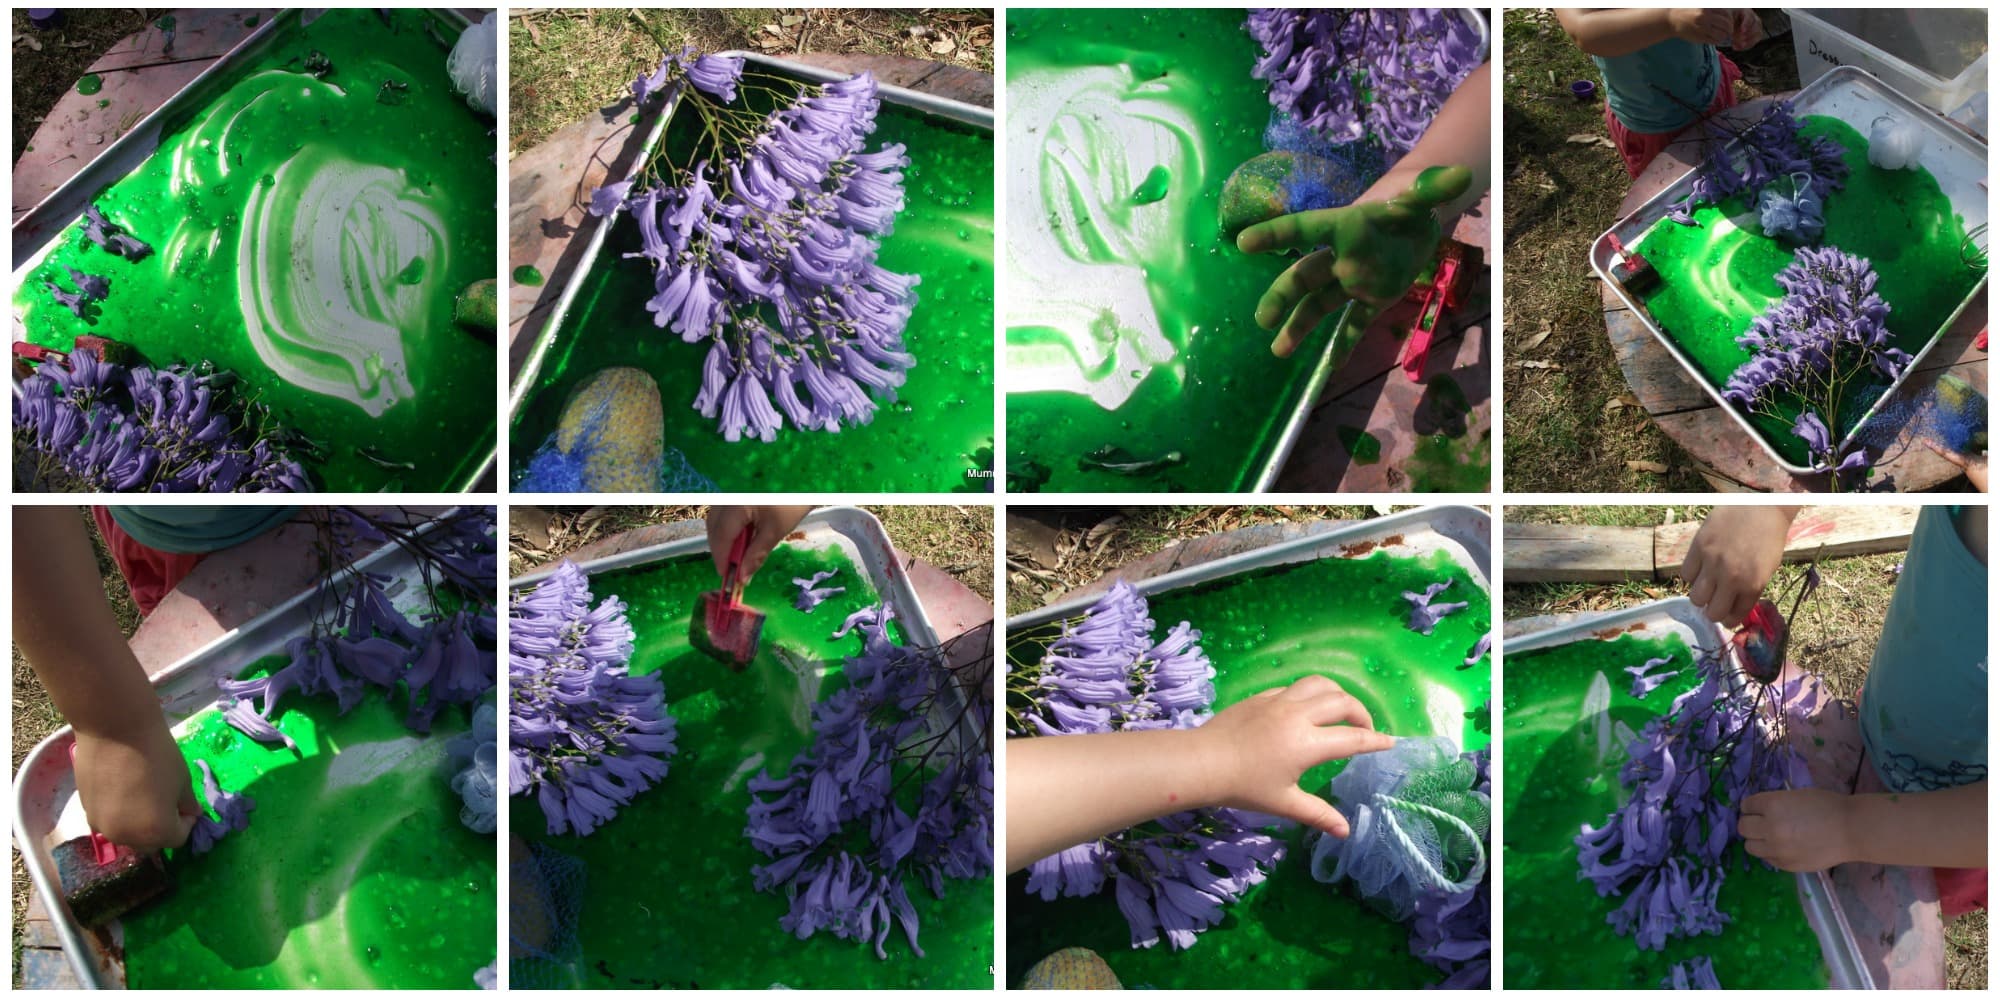
Simple Suggestions for Play
Now it’s time to experiment and extend the fun!
- Cut up different sized and coloured kitchen sponges and scourers and encourage children to squish, create patterns and paint with the slime. If you have children who don't like messy hands just clip a peg to the sponges so they aren't touching the slime yet.
- Add flowers and other natural materials to press into the slime.
- Provide muffin trays, spoons, cups and other real kitchen items for children to use and explore with the slime.
- Use empty spice jars filled with glitter to shake onto the table and create glittery slime.
- Add some favourite figurines and cars for children to create their own small world play
- Pour into a few different trays placed on the grass and help older babies and toddlers walk through the slime or go stomping in slimy puddles!
- Add potato mashers to stamp patterns in the slime trays
5. Squishy Sago Slime
Recommended for ages – 9 months upward.
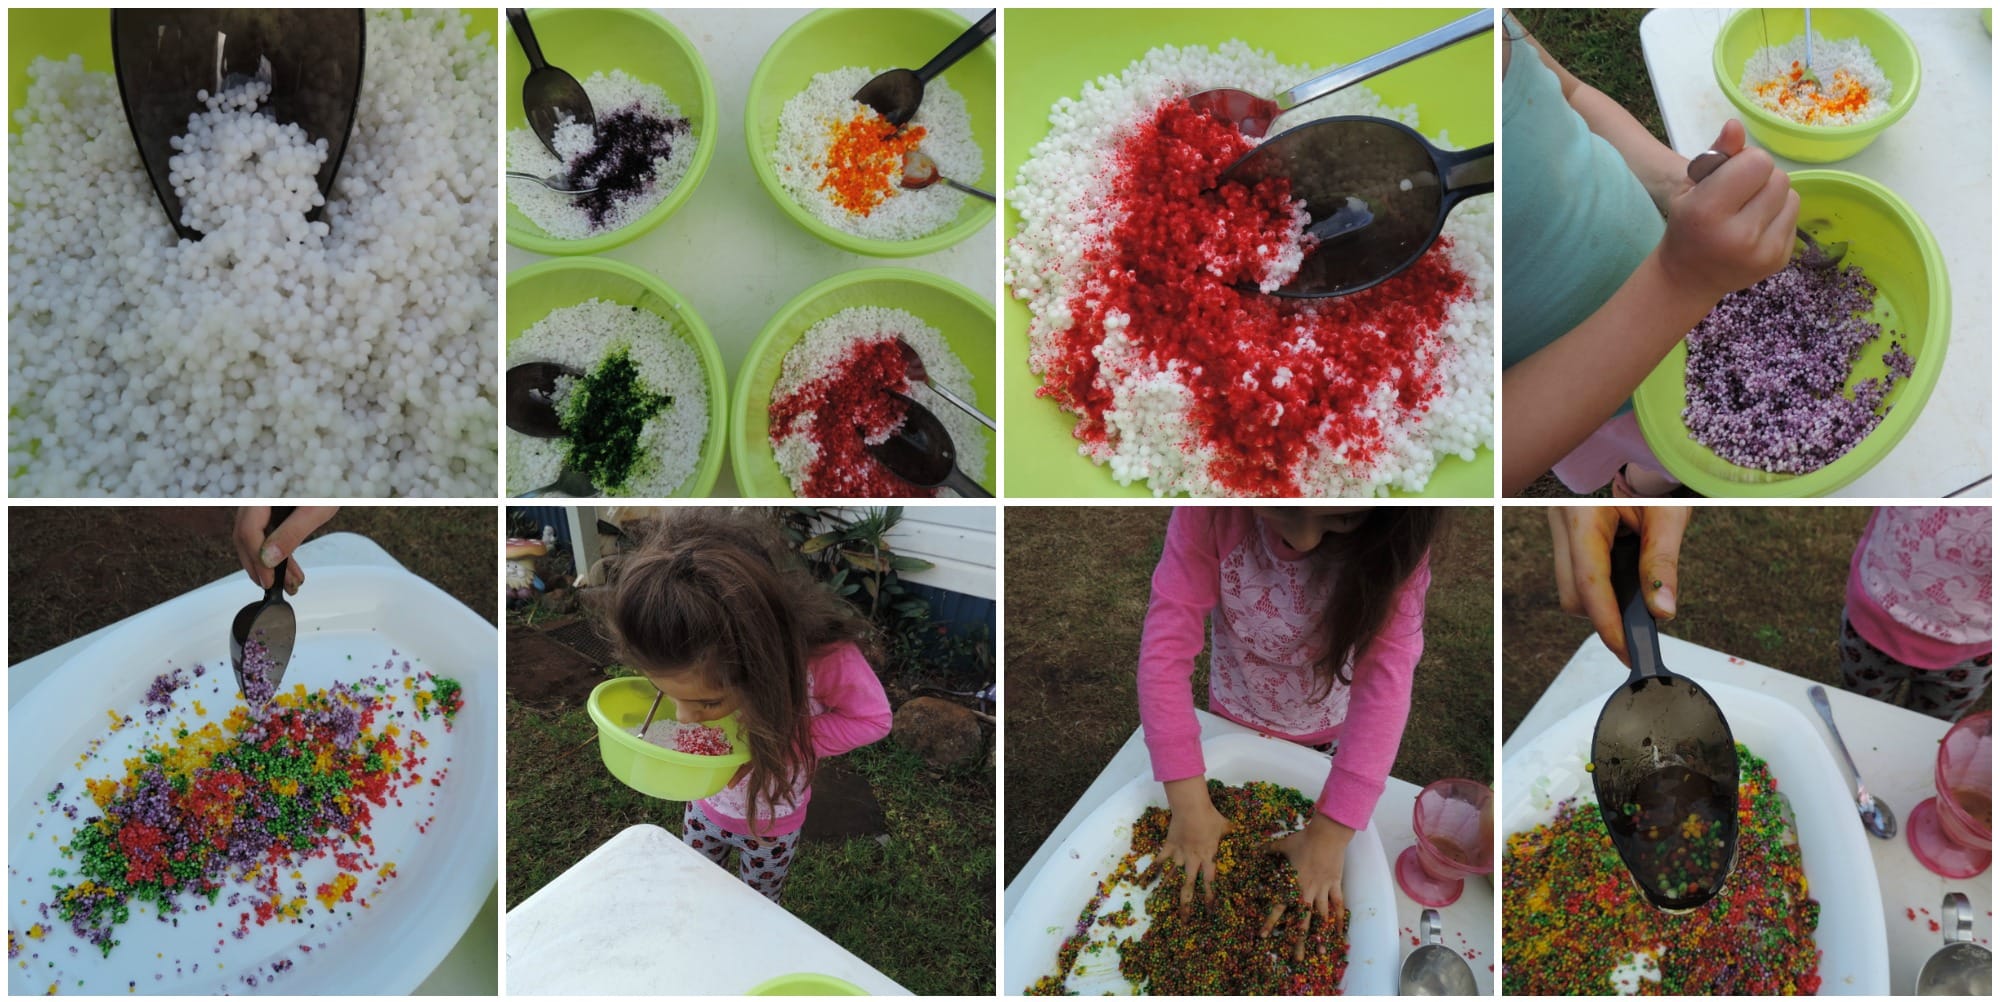
What you will need..
- 1 packet of sago or tapioca balls (found in dessert section of supermarket).
- Jug of tepid water.
- Bowls, spoons, kitchen tools, trays, open ended materials of your choice.
- Edicol powder dyes (optional).
- 2 tablespoons cellmix/paste powder and a few cups of cold water.
What to do next…
This slime recipe is best prepped the night before so the balls have time to draw in the moisture, soften and swell.
I created this slime recipe after using the sago as a safe sensory alternative to water beads with younger children (Water beads are quite the choking hazard!) With the addition of a little cellmix it turned into a wonderful bumpy, mouldable slime.
- Pour the packet of sago into a large bowl and pour in enough tepid water to just cover the sago balls – you don't want to much water.
- Leave on the bench to soak in the water overnight. The balls absorb the water, become nearly translucent and swell (so make sure you use a large bowl!)
- If you want to create different colours for your sago slime separate into a few smaller bowls now and sprinkle a little edicol dye into each bowl. Mix well – this is a wonderful colour mixing and naming activity for the children to take part in so try and involve them in the preparation process if you can. If you would prefer not to add colour it will make no difference whatsoever – the real learning outcome of this activity is the opportunity for sensory exploration.
- Now mix up a few cups of water with the cellmix powder and you have some slippery gel to add to your rainbow ‘beads' I like to pass out the spoons and let the children add their own paste then mix. This way they can decide what consistency and texture they want to play with. You will probably find the spoons get left behind pretty quickly as they can't resist getting those hands in there to start squishing and kneading! The cellmix helps the balls clump together and become mouldable yet still soft.
- For younger children and babies you can help do this step with them of course and I usually make it a little firmer rather than too slippery so they can grasp and manipulate easier.
- As they add more and more gel to the balls the mix will become stickier and provide much amusement as the beads begin to stick to hair and hands. Make sure to have a bucket of water and a few cloths close by for those that need to rinse off their hands regularly.
Simple Suggestions for Play
Now it’s time to experiment and extend the fun!
- Provide lots of cooking tools and real equipment for role play fun
- Jelly moulds or small teacups make excellent little hills when packed firmly with the sago slime then turned upside down.
- Press paper on top of the sago slime to make patterns you can keep.
- Add a little bowl of cornflour (cornstarch) to the table for children to sprinkle onto the slime if it is becoming to sticky for play.
- Place a small amount of the slime in a large ziplock bag, seal then add duct tape to double seal. Place where baby can press with feet or hands and feel the small sago beads.
- Give baby a mini muffin tray with different colours of the slime in the holes. Let them poke and investigate…then tip out and scoop back in.
- Use sticks to draw patterns in the slime or to mix and lift.
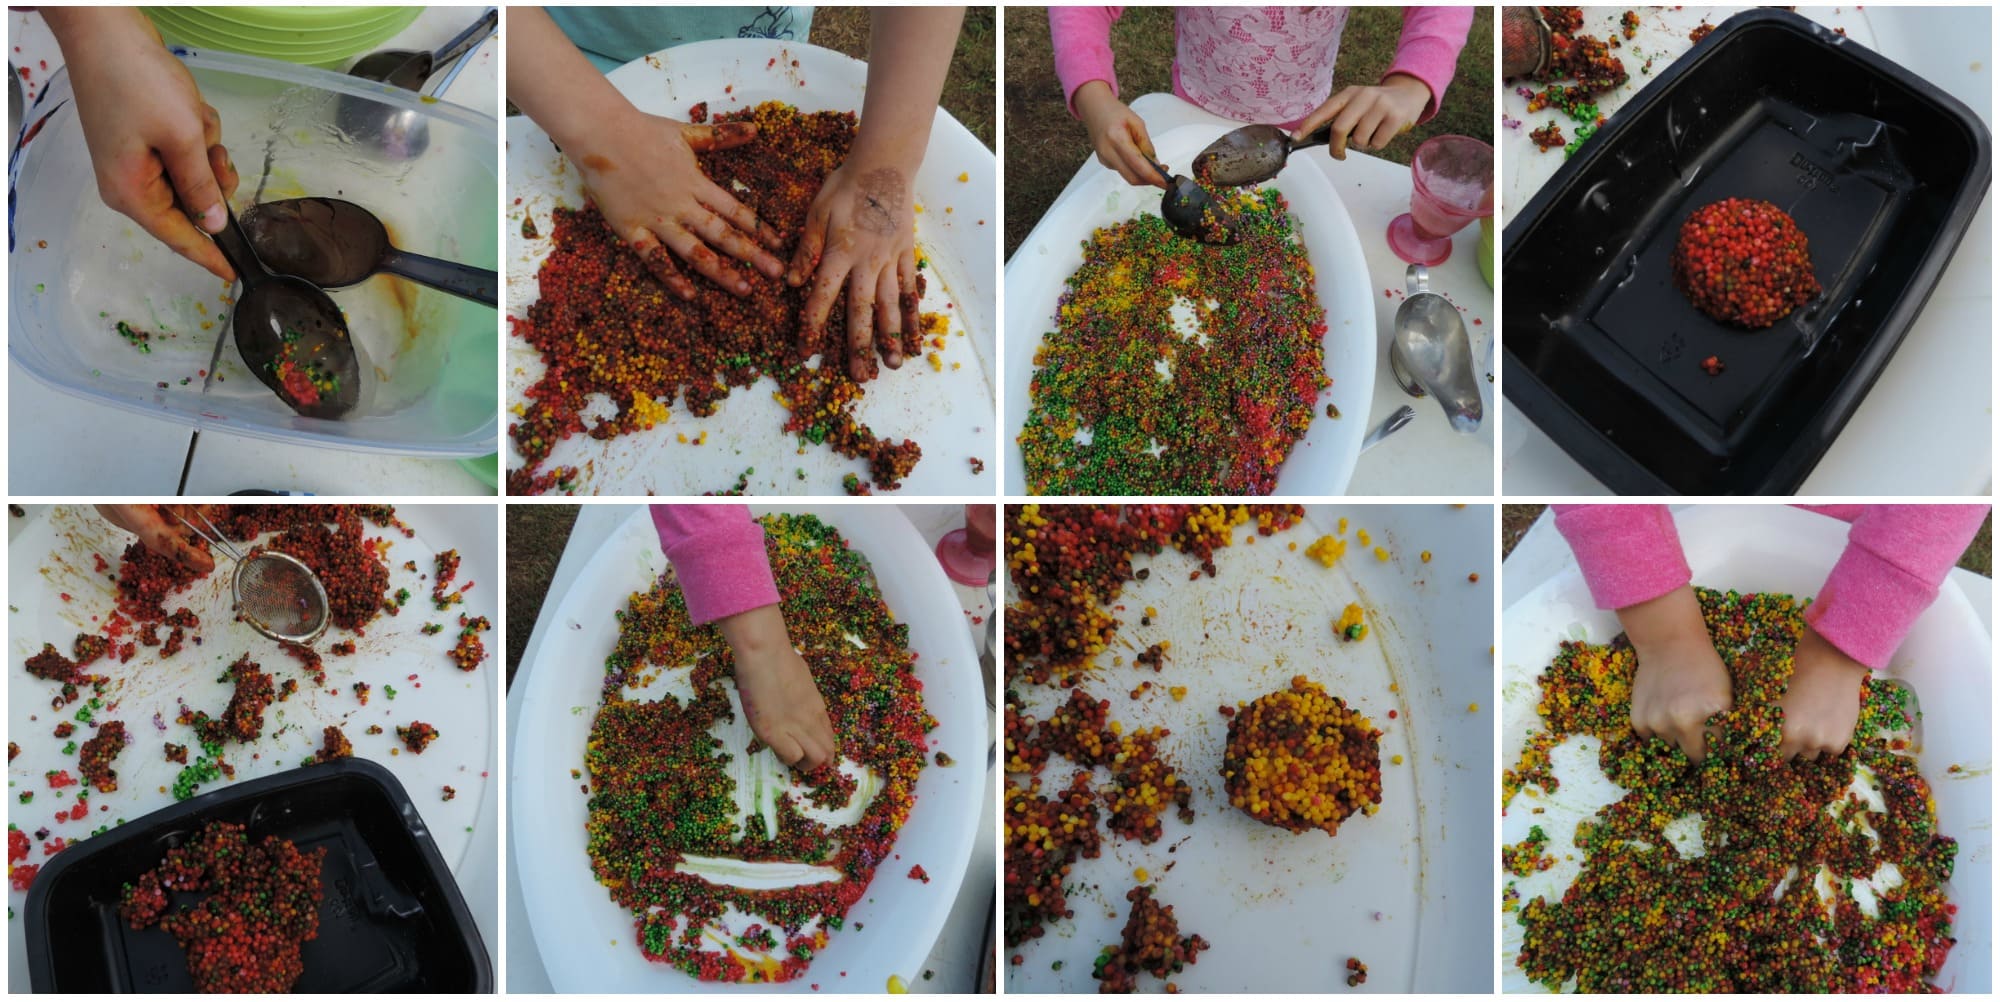
A word of caution…my children are very used to sensory activities like this as we have been doing them regularly since they were babies but if you have a child who is sensitive to material on their hands just keep a bucket of water and cloth close by so they can wash their hands at regular intervals. Never force a sensitive child to engage in these type of activities but don’t stop exposing them either as one day they might just surprise you and it is important that they have the choice and can regularly see others playing safely in this way so make sure you get your hands sticky and messy too!
Use some of the suggestions I have made like pegs for handles or sticks and kitchen tools to provide a barrier between touching the slime but still exposing them to the play and sensory opportunities. With regular exposure they will rely on the tools less and less.
What slime recipe will you start with?
If you would like to see more sensory play activities why not join my free Empowered Educator Facebook Community or follow my Sensory Activities Pinterest board.
A Little About Me

Jodie Clarke is an early childhood professional supporting educators who want and need to stay passionate about the work they do! She has 30 years hands-on experience in the early childhood and human services sectors across many different roles.
Jodie is mum to 3 in Australia and has already helped thousands of educators with their work through her popular blog posts, activity ideas, online training and e-books.

Brilliant! Thank you so much! My daughter works in child care and due to lock down all paint supplies are gone in stores. Just whipped this up, happy days…and kids!
Thank you for the recipes and play!
This might be a silly question — how long are the slimes good for?
Was going to make a batch of slime as a party favor in a jar to take home but don’t want 1.) to prepare it too early and its gross 2.) have the parents forget and it become gross –> I could let them know to use it by what date.
Finally! Slimes that are great and actually work. So many different budget friendly options and suggested play. Thank you. Really really appreciate
I’ve been working in childcare for almost 3 years now, and I don’t know why I never thought of trying to make slime, these recipes have made it so simple and the children have had a blast! Thank you! 🙂 x