You have to try making these easy clay nature ornaments with the children – they were so much fun! We usually make our own microwave salt dough ornaments each year for the Christmas tree but this year I decided to try something different. I also wanted to incorporate a few of nature's treasures as we have a strong interest in all things gardening at the moment. The white ‘clay' dough literally took less than 5 minutes to make so setup is easy too!
The recipe is so easy and you will more than likely have the ingredients already in the cupboard – it only takes a few minutes to cook so it's a fantastic activity for those days when you haven't had a chance to plan or prepare.
How to make white clay nature ornaments.
What you will need.

- 1 Cup Bicarb Soda (Baking Soda)
- 3/4 Cup Warm Water (not hot).
- 2/3 Cup cornflour
- Leaves, twigs, herbs, flowers from the garden (the more textured the better).
- Rolling pins or just collect some small branches like we did to use instead.
- String, cord or twine to thread through holes and hang.Straw for pressing holes (we just used our crazy straws to add a little fun and they are easy for little hands to hold).
- Cookie cutter or playdough shapes – no need to do a Christmas theme obviously!
What you do now.
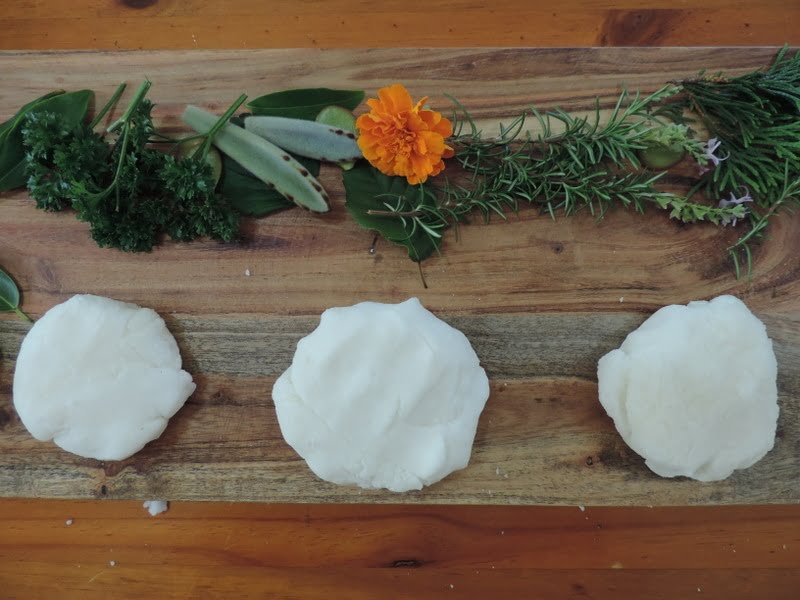
I like to incorporate a nature walk and collect with the children first. Pass out some buckets, bags or baskets and take a wander around the yard, local park or other outside area and see what interesting leaves,herbs, petals and twigs you can find. Talk about textures, colours and smells.
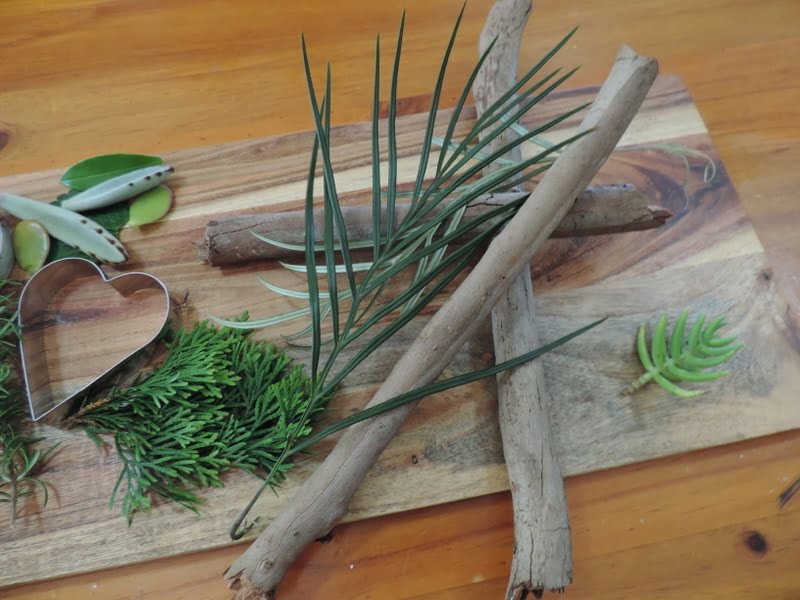
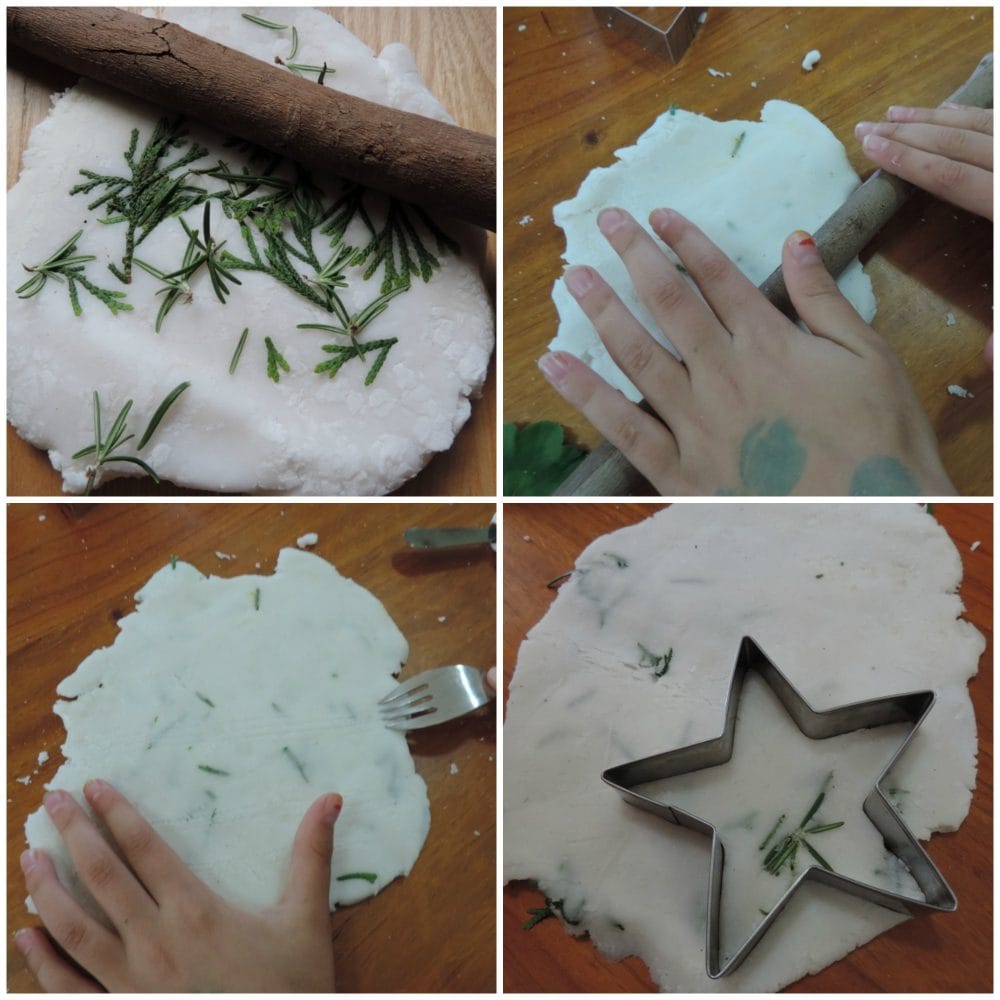
When you have your collection, head back and decide together what treasures from nature will make the best imprints in the clay or look interesting when squished inside the dough and rolled out. Show children how to pull apart the leaves and flowers to make smaller pieces to press into the dough.
We included some beautiful flowering lavender that made our clay dough smell wonderful.
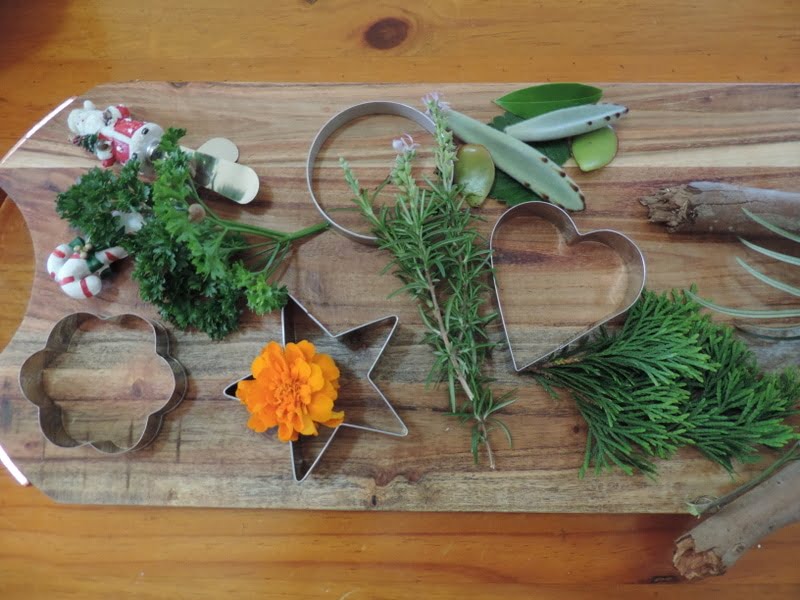
Time to make your clay while the children work on sorting out and investigating the natural items they want to use.
- Measure and add the bicarb and cornflour to a saucepan (I suggest non stick if you have it!)
- Measure the warm water and stir through the dry ingredients.
- Make sure to try and include the children in the 2 steps above if you can to incorporate measurement, counting, mixing and volume!
- Place saucepan on a medium heat and whisk gently until the mixture begins to bubble – doesn't take long so don't leave unattended.
- Now use a wooden spoon to stir the mix quickly until you see it begin to come together like a soft cooked playdough. Don't wait until there is no stickiness left or you will end up with a very crumbly dough as the heat continues to cook from inside.
- Take off the heat and cool while you set up the creative space. Place a damp washer over the top of the dough so it doesn't dry out and begin to form a crust.
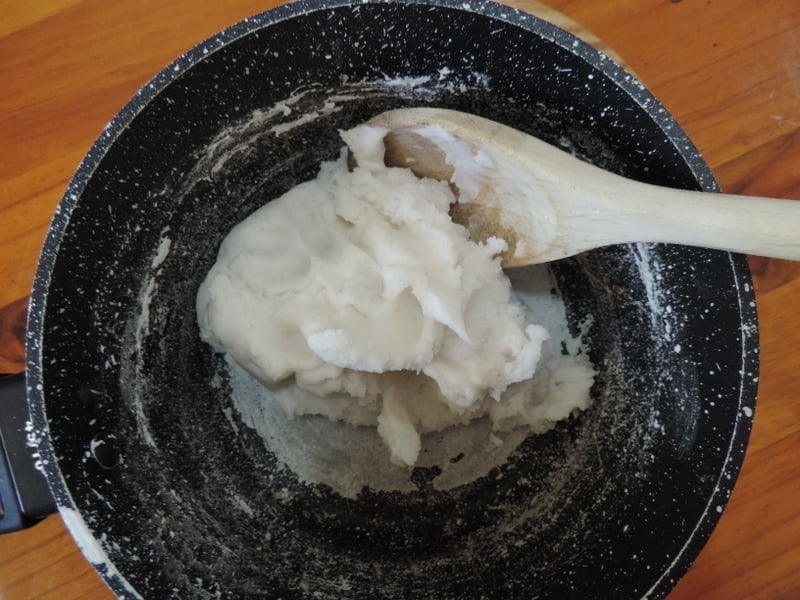
Pass out smaller sections of the clay dough and show children how to knead it or squish together in hands until it is soft and comes together ready to roll out. It should look similar to white playdough.
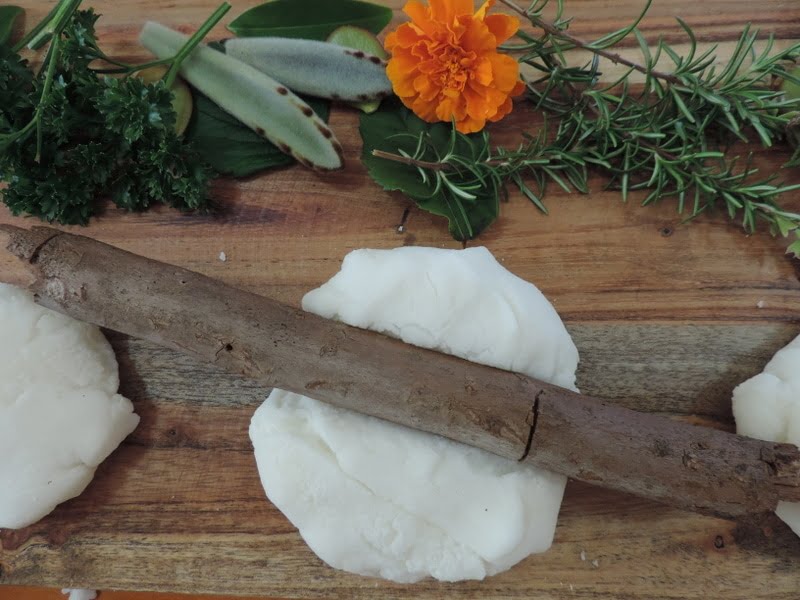
Use the branches or rolling pins and push out (younger children can also just use hands to press if they find that easier) until about 1.5cm thick – you don't need to be exact on this, just be aware that too thin and it is hard for children to peel up the shapes when cut and they are easily broken – too thick and they take a long time to dry out in the oven.
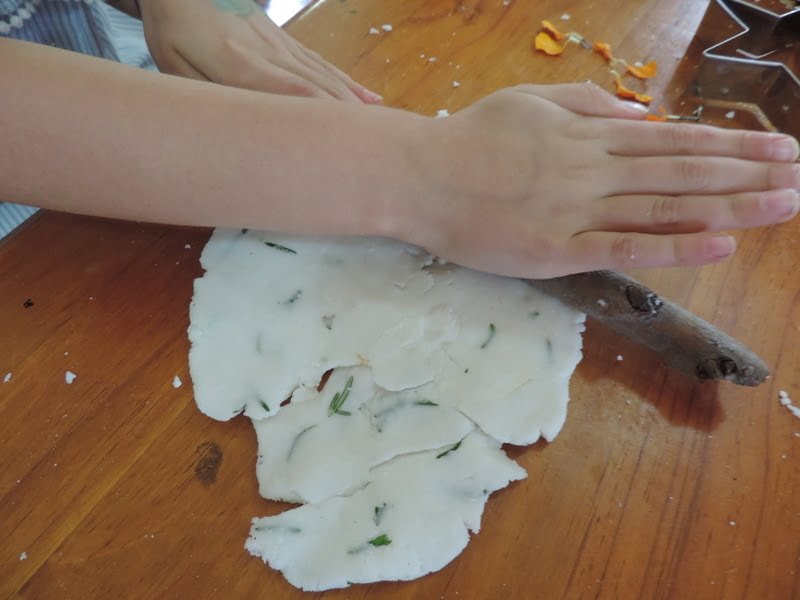
We decided to try making some patterns in our clay first and realised that you needed to push them very hard into the dough. The succulent and firmer leaves worked best.

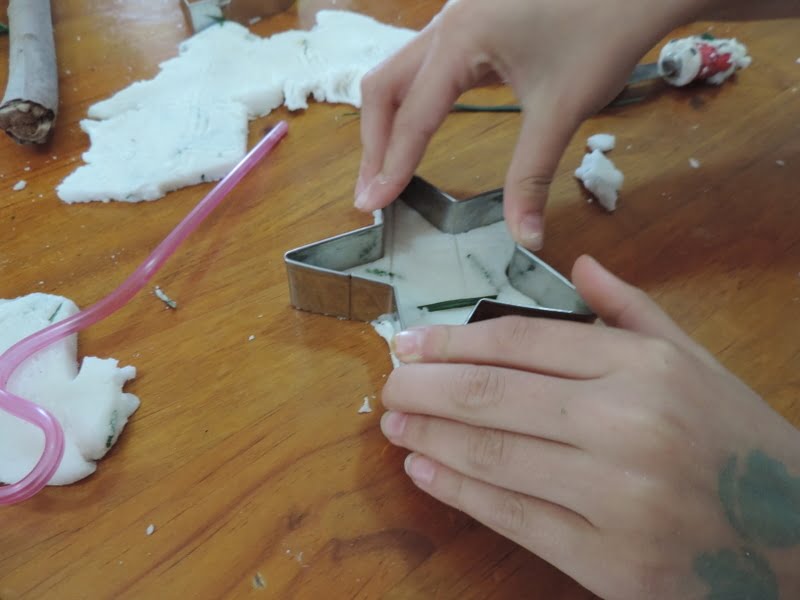
It was also decided that they got better results if they rolled over the top using the branch rolling pins instead of their hands. They then used different cookie cutters to make the shapes they wanted for the ornaments.
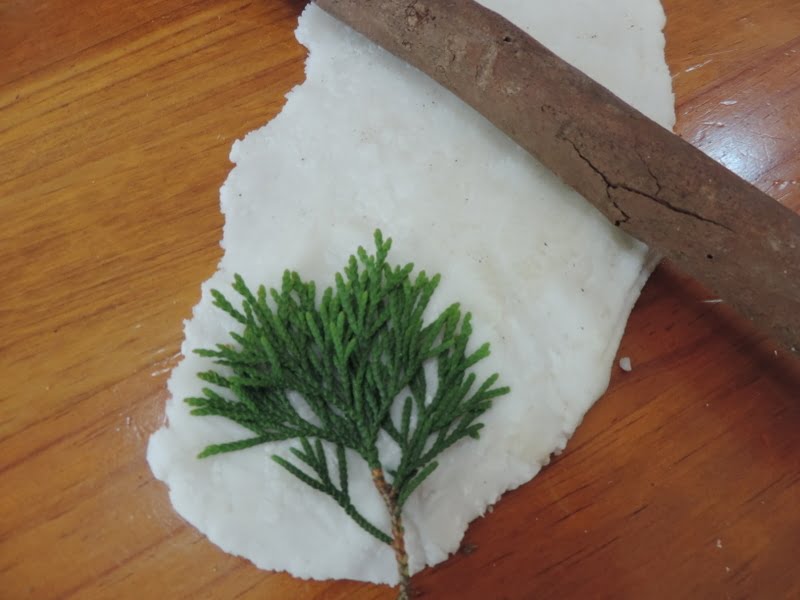
Got to be honest with you though – this was more about the process of choosing the natural item and just having fun seeing what patterns they could make because I'm not sure how they get those fancy looking ornaments with beautiful leaf designs you see on Pinterest but it didn't happen for us and was way to fiddly in my opinion for children to have fun with!! This would make a nice challenging activity for the school age children though. We evolved the play into something a little different.
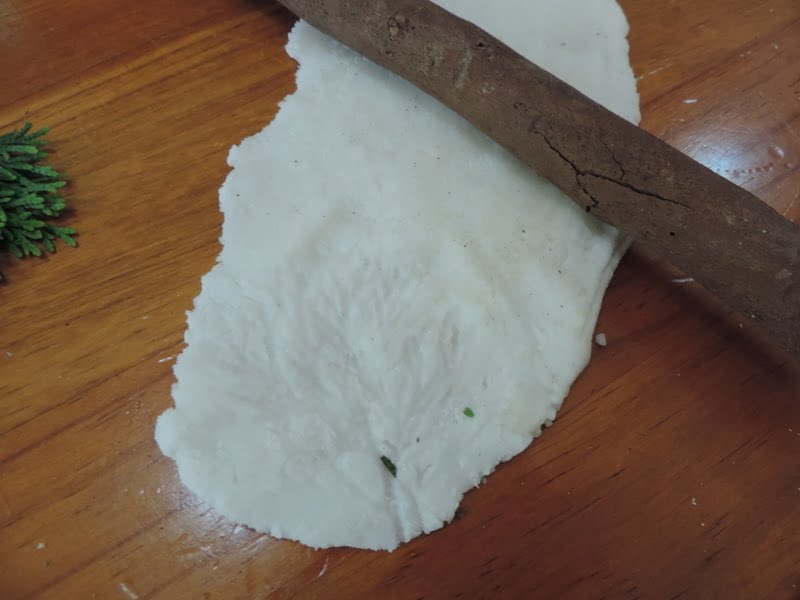
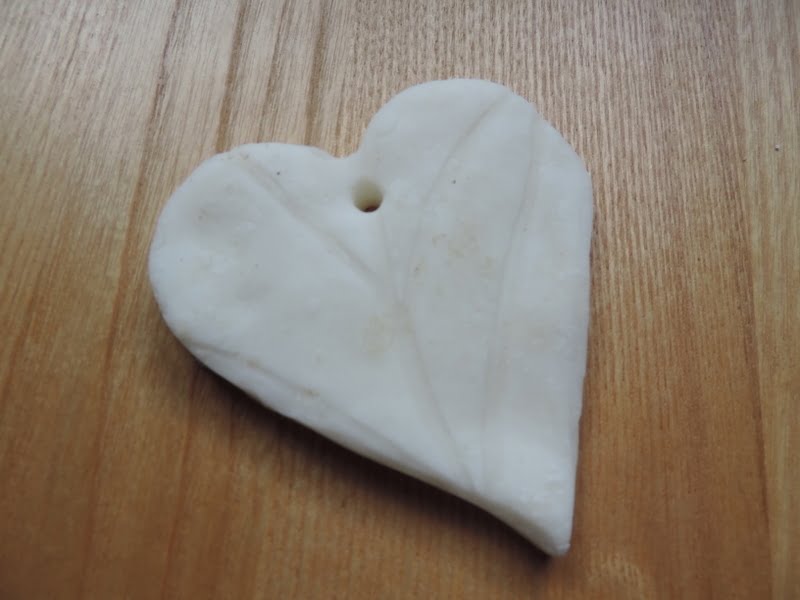
If doing this activity with toddlers I suggest just letting them explore and experiment with the different textures and pointing out the patterns they have made rather than trying to get a ‘perfect imprint' to cut a shape from. This activity is meant to be a little sensory fun using treasures from nature and creating something to share – not ending up with the perfect ornament to hang!
So I decided to modify the original idea I had for this activity and make it a little more fun (and also easier for little hands).
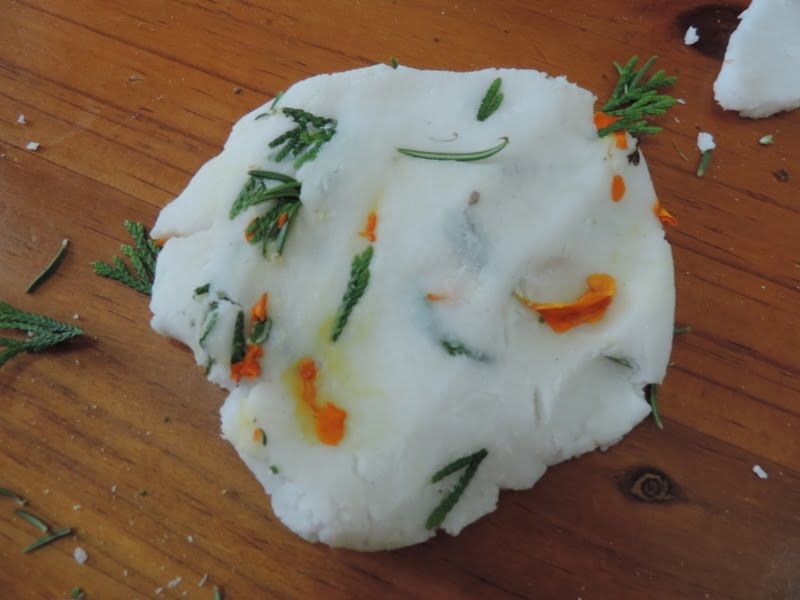
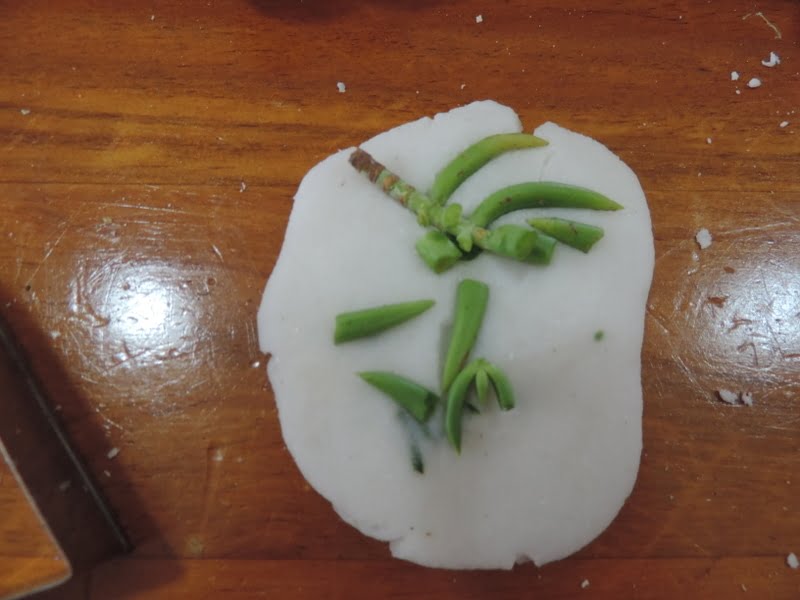
We began adding all the little bits of leaf, petal, lavender and other flowers to our dough and squishing and rolling to get it all inside the dough. Then the children pressed and rolled then cut out their shapes.

One of my 7 year olds decided she wanted to make a ‘crosshatch' design on hers so requested a fork to make patterns on the surface then added leaves to finish her design.
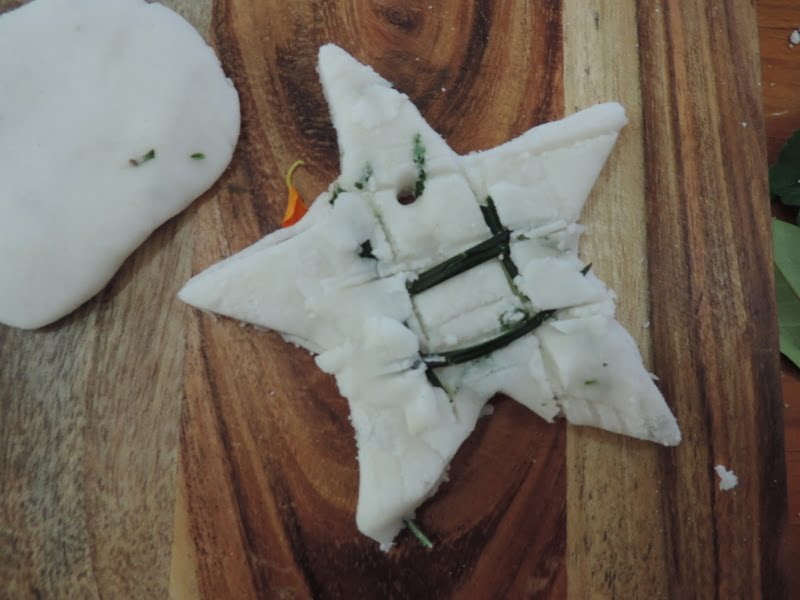
Another decided she wanted to make a ‘funny flower face'. You don't even need to use the shape cutters if they prefer to make their own shapes or balls. My girls went on to make lounges, tables and food for their Barbies (including the ‘hot dog' and ‘burger' you see below. Ahem… perhaps a little to much takeaway while Mummy has been busy lately I think 😉 Ooops)!
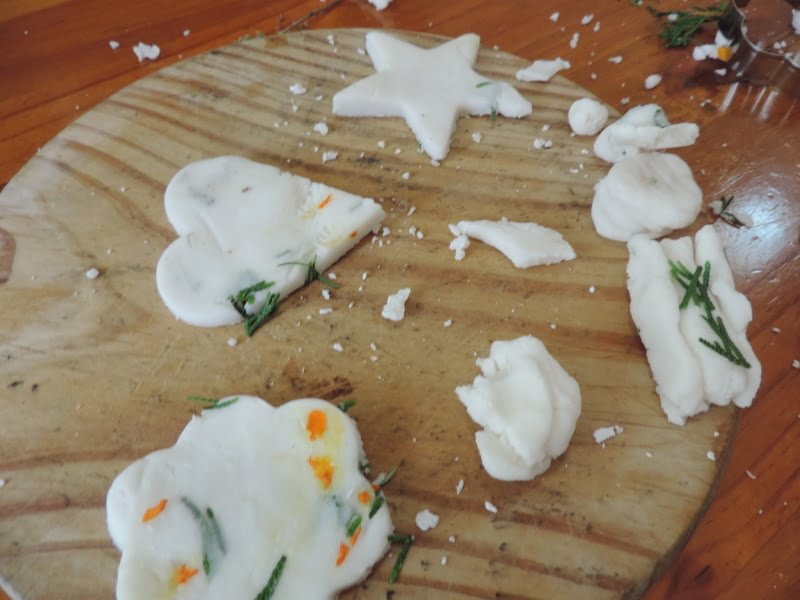
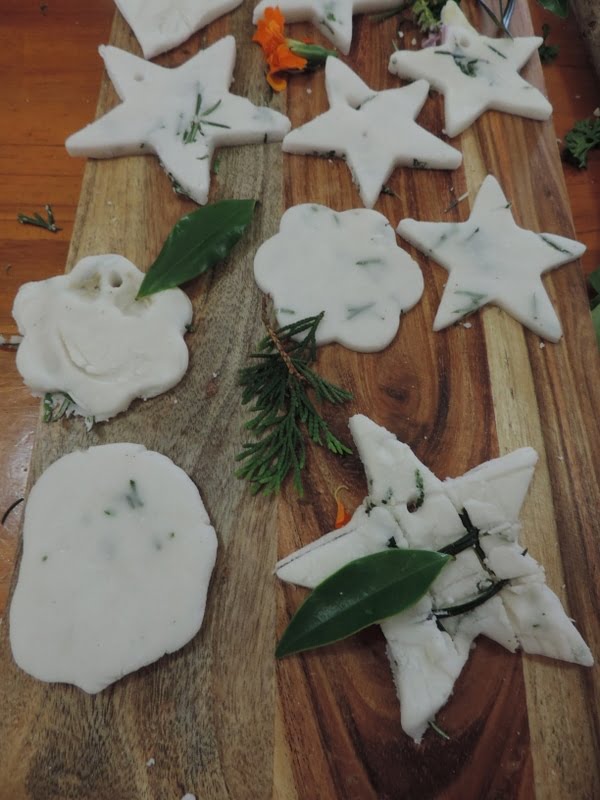
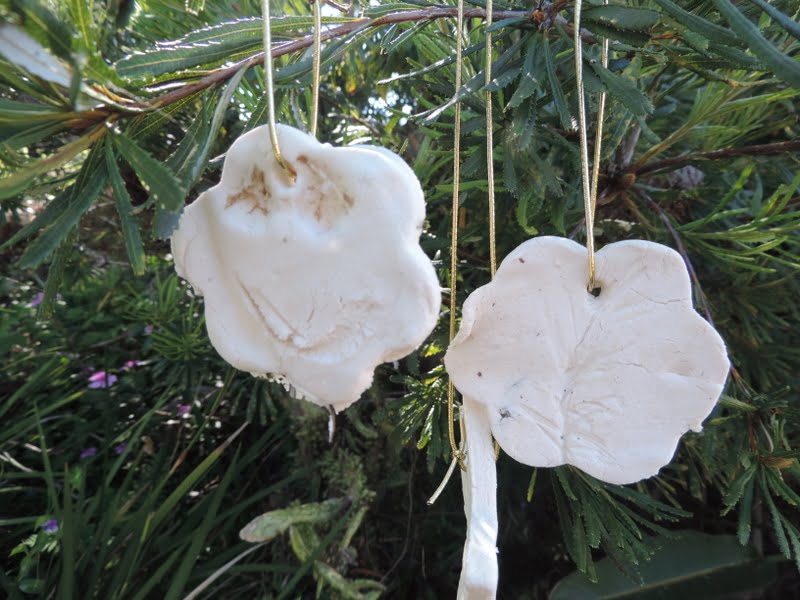
When they are happy with their creations show the children how to gently press the straws through the top of each shape and explain this is what we will use to thread the string through to hang on the tree. Obviously you will need to help toddlers with this step.

Place on an oven tray and bake in a very slow oven (100 degrees Celsius) for around 1 hour – I turn them over half way through so both sides dry out well. Just keep an eye on them because according to thickness and different ovens you may need yours in for a shorter or longer time.
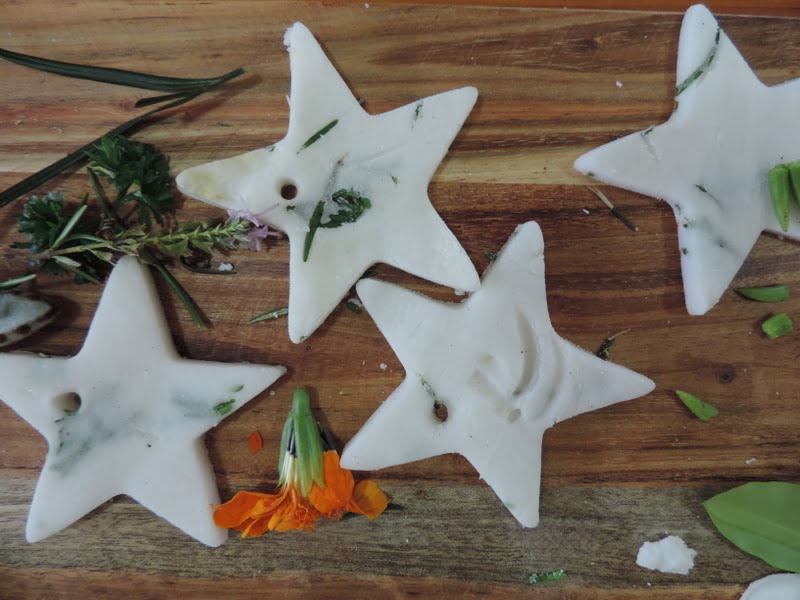
When dry and hard you could brush over a little PVA glue watered down (my cheat's version of modge podge) or even some varnish but I honestly think they are fine just the way they are. I love the bits of nature poking through the white clay.
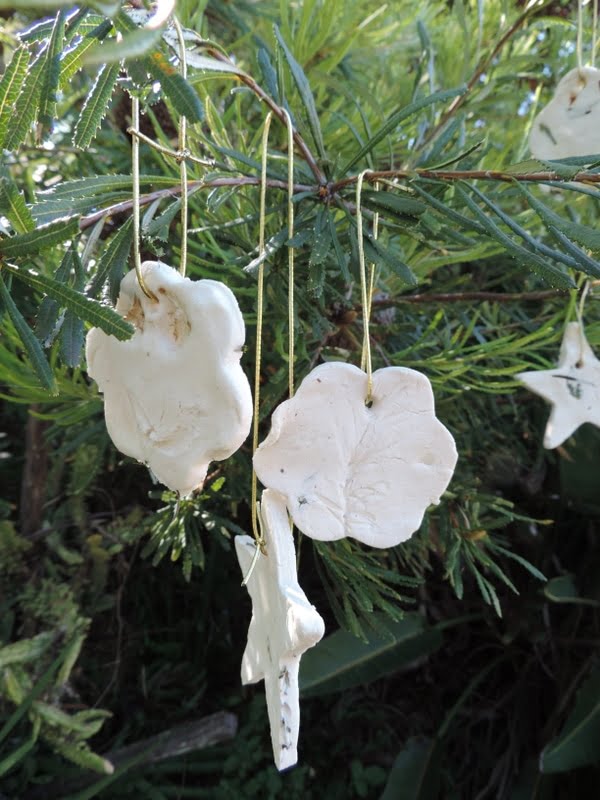
I think they look wonderful and very unique to each child who chose their greenery and flowers, rolled and squished, cut or moulded, imprinted, made marks or drew pictures and patterns.
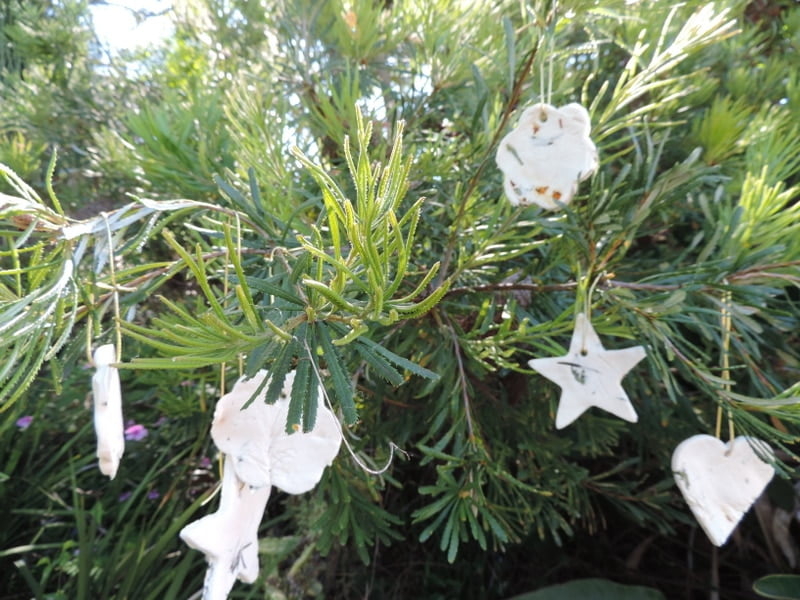
This was such a fun sensory activity that kept evolving in different ways and the children were in awe of their creations changing from soft to hard. The older children thread a piece of string through the holes and then they were ready to hang and admire! Some will be given as gifts.
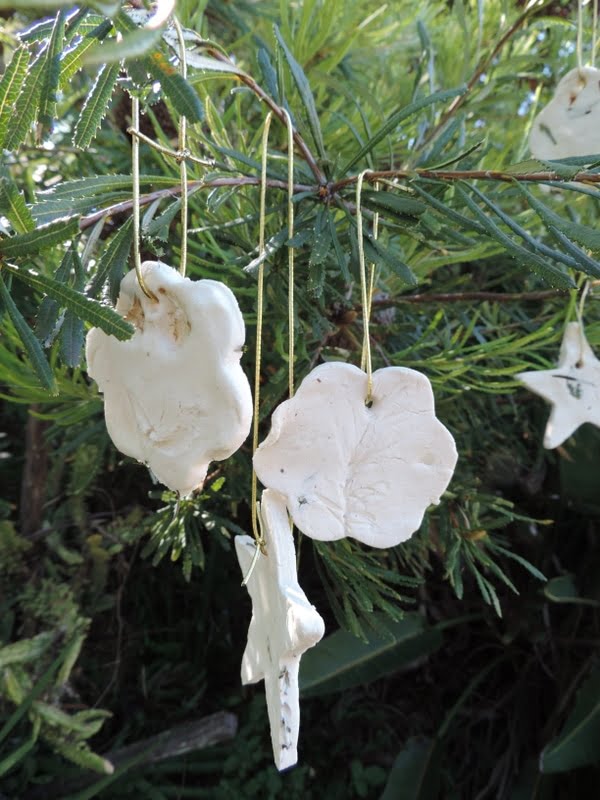
So many learning possibilities making these clay nature ornaments! Here are just a few …
- Strengthening fine motor skills when kneading, rolling, cutting, pressing, squishing, pinching, cutting.
- Exploring math and science concepts when measuring, pouring, experimenting, creating patterns, investigating changes from liquid to solid, soft to hard.
- Using the senses when collecting from nature, smelling plants and flowers, touching different textures.
- Developing literacy and listening skills when following directions, looking at a recipe, naming plants and flowers.
So don't just save this activity for Christmas time – think about other ways you might use white clay as an alternative to playdough and extend the play in different ways!
Why not join our Empowered Ed Community – you will find early childhood educators from around the world sharing ideas, inspiration and support!
If you loved this post why not Pin it – you can also follow my Sensory Play Board on Pinterest.
A Little About Me

Jodie Clarke is an early childhood professional supporting educators who want and need to stay passionate about the work they do! She has 30 years hands-on experience in the early childhood and human services sectors across many different roles.
Jodie is mum to 3 in Australia and has already helped thousands of educators with their work through her popular blog posts, activity ideas, online training and e-books.

Thank you so much, I was looking for an easy cook dough