Designing outdoor play spaces for children can seem a difficult process when doing it yourself, even if you are just modifying – there are often unforeseen obstacles, questions and problems that come up and these can very easily turn into excuses or reasons why you should give up and just leave the space as it is!
Or at the very least begin buying more lotto entries in the hope you will magically find the budget to hire a landscape designer!!
You know you want to incorporate more challenges for the children, a more natural environment with learning opportunities and show a commitment to eco friendly practices. But how can you do this on your own with a limited budget?
By going back to simple! And through this blog series I aim to share some ideas and strategies to help you at least get started and move forward at a pace (and cost) you can handle yourself!
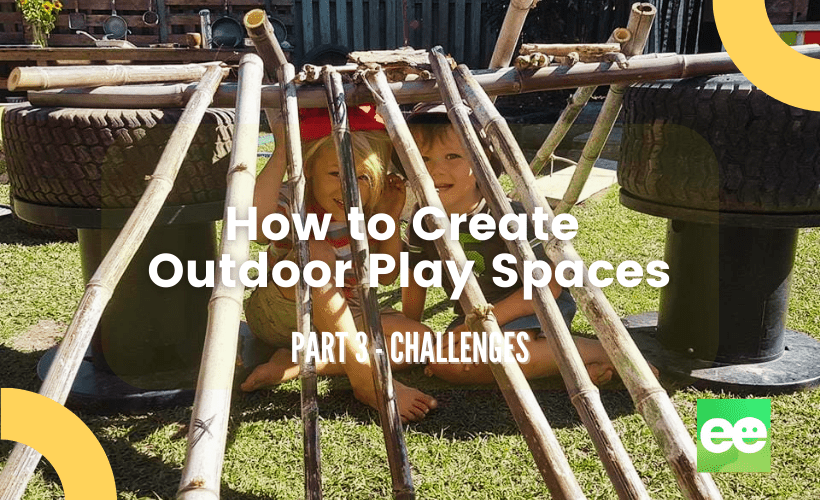
In Part 1 I showed you how to assess what you already have, what you want, why you want it and how you are going to make it happen. You can start the series HERE.
In Part 2 I shared tips, strategies and action steps to help get you started with the designing and creating part of your new natural outdoor play area. You can catch up here.
In Part 3 I'm going to be showing you how to simplify and approach some of those common challenges and practicalities that you might come across when setting up your outdoor play space. Hopefully the strategies and ideas in this post will help you ditch those excuses and inspire you to keep going!
As always with this series – I want you to know that I am in no way a qualified landscaper or designer of any kind…just a Mum and early childhood educator who understands how and what children need to embrace outdoor play…and I don’t mind getting my hands dirty in the garden, getting creative with recycled and natural materials or using some simple tools to save money!
Let's jump into Part 3….
The Challenges & Practicalities of Outdoor Play Spaces
I've chosen 4 of the most common challenges to explore in this post. There are of course more but these are the main ones that educators often ask me about so I thought it was a good place to start.
The 4 areas include:
- Storage of outdoor resources & equipment
- Small spaces
- Shared outdoor spaces
- Accessibility & Independence
I'm giving you a list of ideas and/or strategies for each area and you can take away what you feel might be a possible solution or two to try for your individual space, children and current resources.
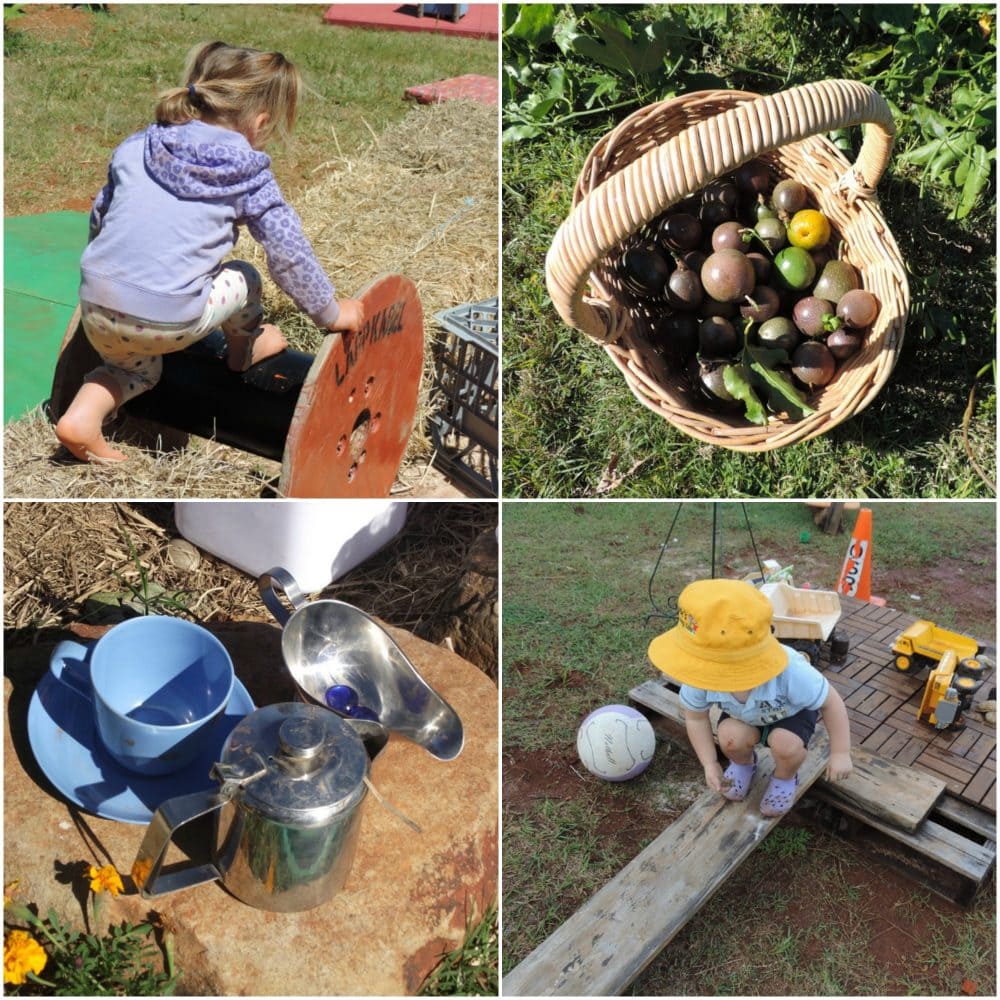
You can also take a look at the photo inspiration in the collages for each area. I've collected ideas from around the web, my own environments and our clever Empowered Ed community members!
Challenge 1 – Equipment Storage for outdoor play spaces.
Having limited storage space doesn't mean you can only use the same few materials every day. You need to get organised and get creative!
Try some of the following ideas….
- Take a piece of paper and pen (yep, we are going old school here!)and when you have a moment without the children around lay out your outdoor equipment on the grass and take a basic inventory of what you have and what you need to store.
- Identify what storage areas and materials you already have – sometimes we find empty containers and tubs when we begin clearing those shelves or cupboards out properly!
- List your preferred options for additional storage solutions.
- Set aside time to sort and declutter regularly. Be tough and also mark it in your diary or phone calendar with a reminder so that you make it happen on a consistent basis!
- Decide what equipment can be left outside, stored outside or needs to be moved inside daily. This can make a big difference – not everything needs to be locked in a shed!
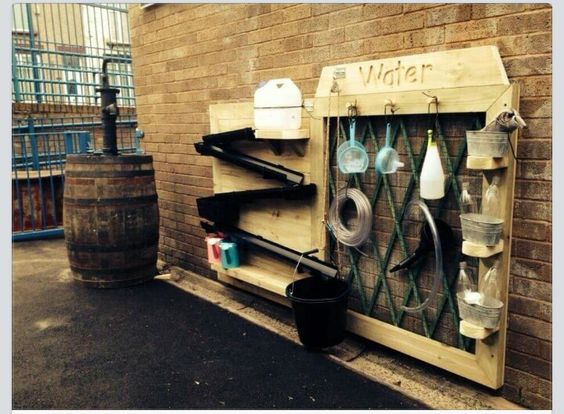
- Write down equipment & materials that are regularly used for specific areas.
- Display before and after photos of your storage setup/areas – this is especially useful if you work in a community/school hall or large centre with different staff often packing away.
- Have a weekly check in to reorganise spaces if daily packups have been chaotic. This is a good strategy whether you work on your own or as part of a team.
- Separate into ‘open storage solutions' and ‘closed storage solutions' depending on the space you have available.
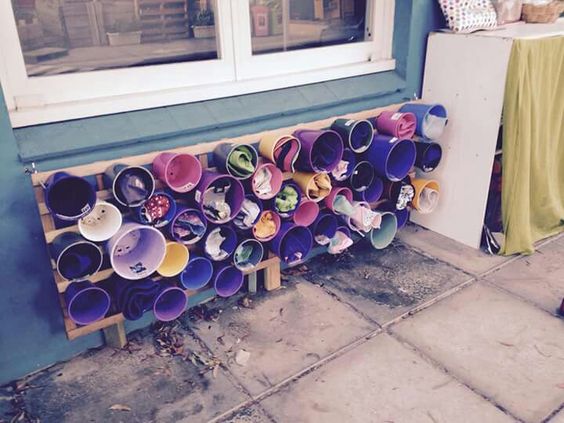
Open Storage Ideas might include…
- Using colour coded boxes/baskets/containers that can be brought out and put away easily.
- Labeling boxes with pictures for easy pack up by children and adults.
- Rotating resources monthly – don't display everything at once.
- Hanging hooks on fences and trees – use rubber tubs, washing baskets, hanging planters, milk crates.
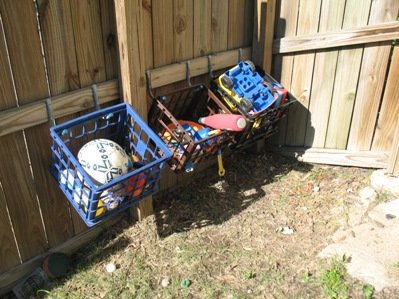
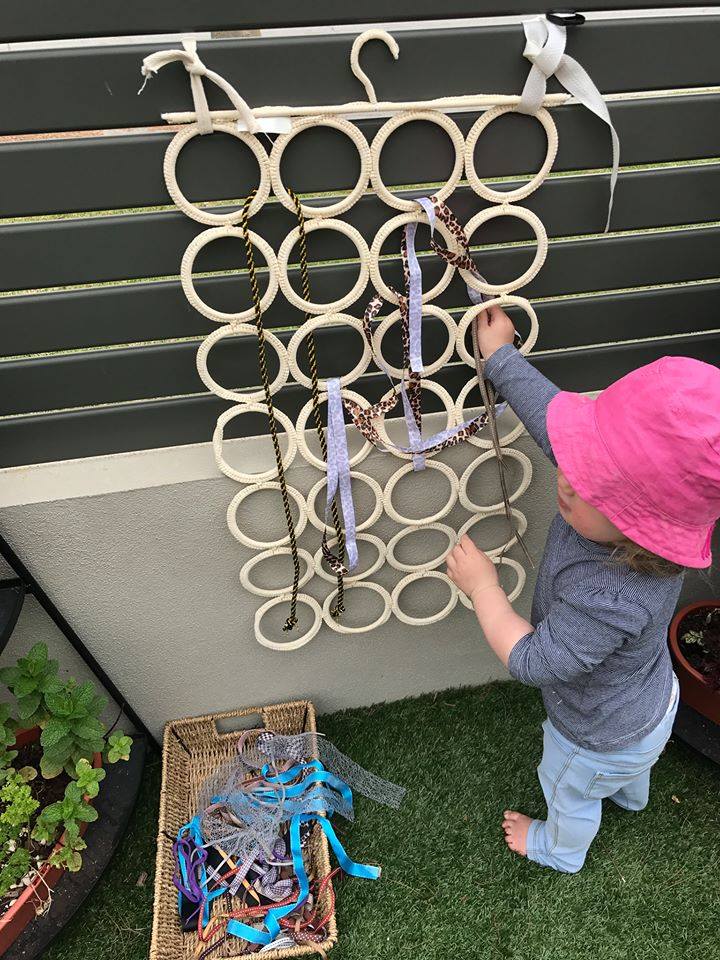
Wall Threading shared by Empowered Ed Community Member Abigail Brown
- Use wire baskets or add holes to buckets & tubs to allow for drainage so water doesn't collect on rainy days.
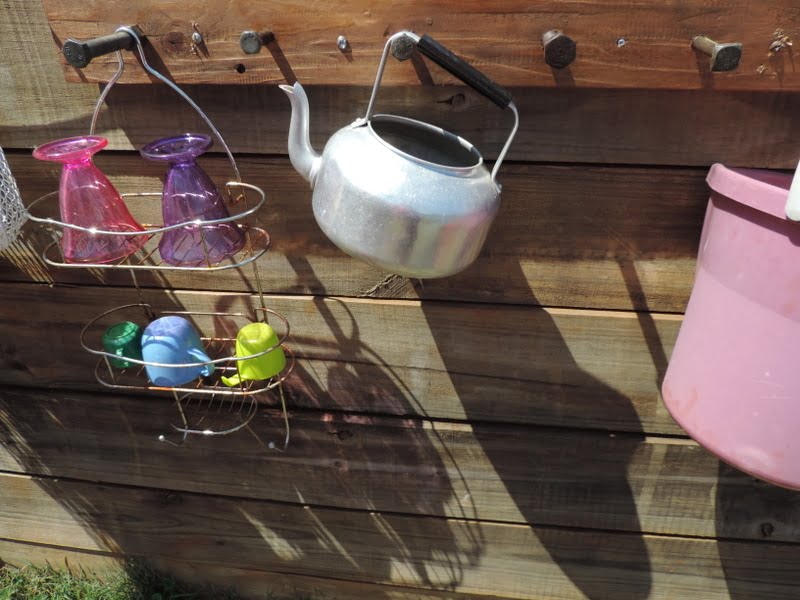
- Wall planters make great storage for loose parts around yard.
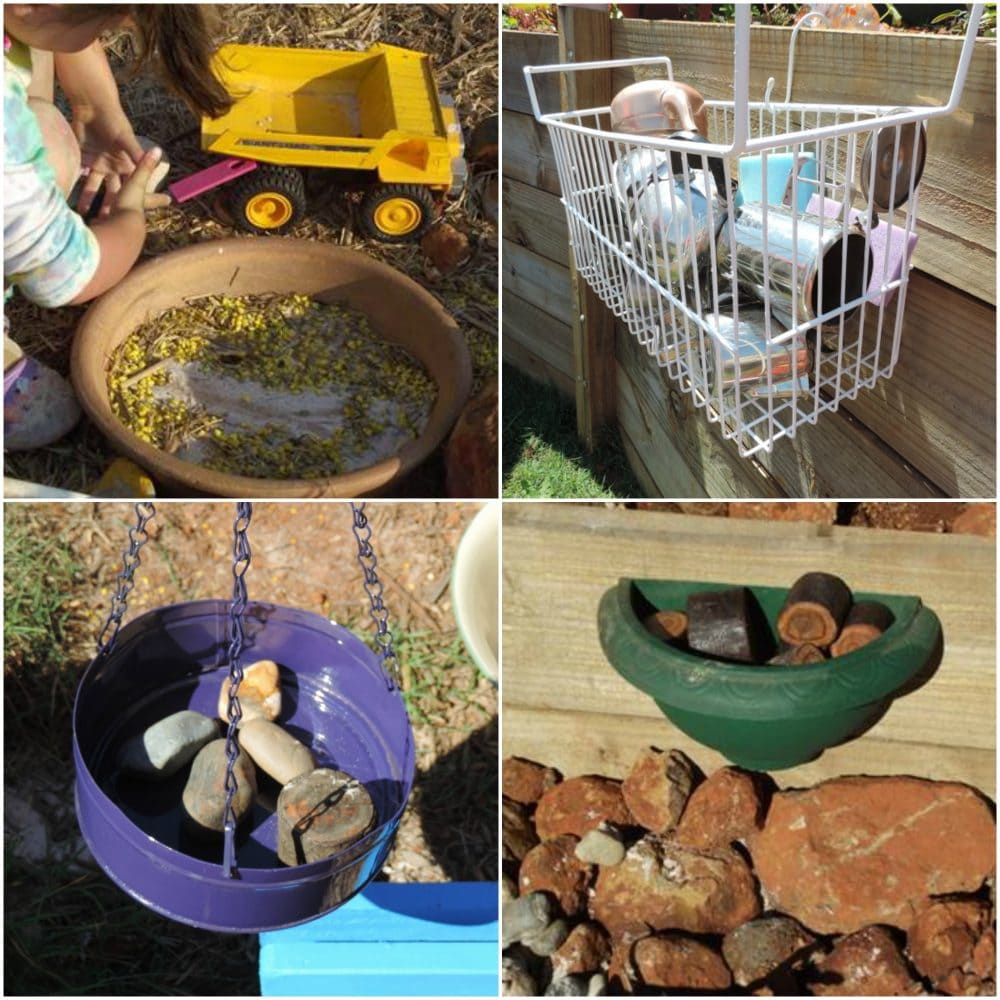
- Using hooks, shelves and other storage tricks in the small garden shed.
- Adding dividers inside garden seats to use as outdoor storage – just add a padlock for security if you need.
- Using pot saucers, plant pots, old baskets and wall hangers to store & display loose parts around the yard – no need to pack away!
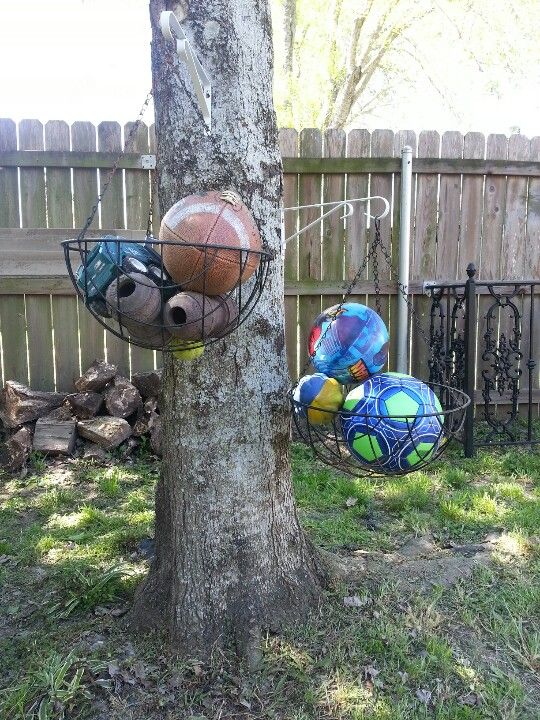

Closed Storage Ideas could include…
- Using small wheelie bins to bring out ready prepared props/craft materials
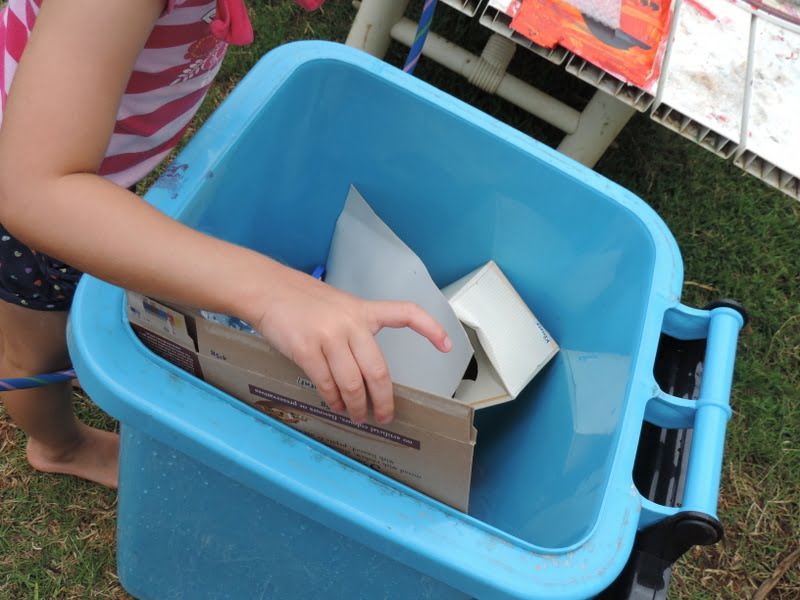
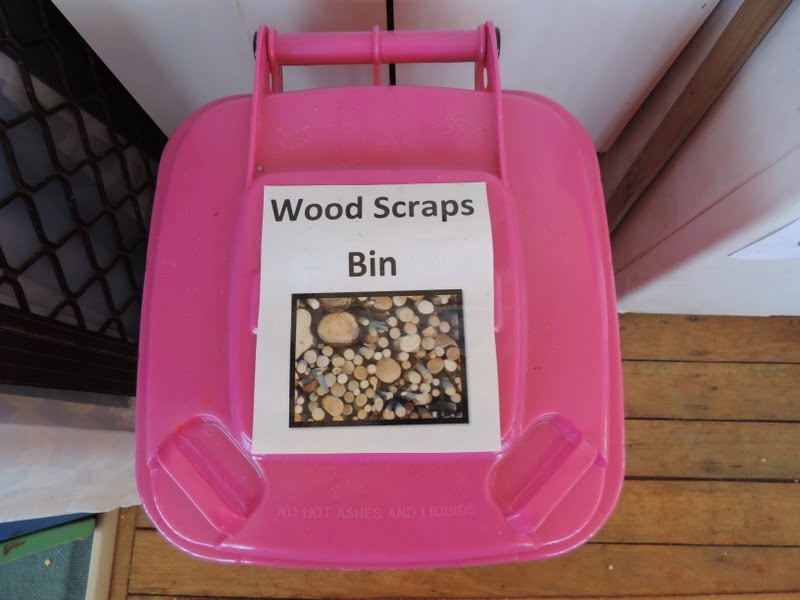
- Labeling cupboards, drawers, sheds etc with the items stored there.
- Draw a rough outline for others to follow easily.
- Ensuring large plastic containers have lids and are of similar size to allow for stacking.
- Containers with wheels are handy for taking outside regularly.
- Check condition of tubs for cracking or wear weekly.
- Using old cupboards and shelving that can stay outdoors
- Using see through baskets and tubs and labels.
- Turning seating into hidden toy storage
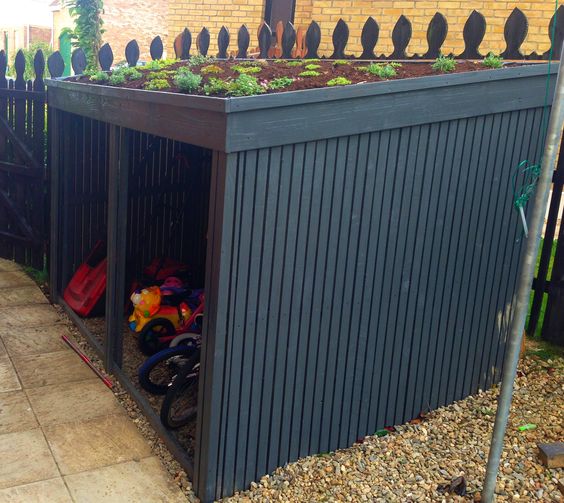
So what can we take away from this challenge area?
Assess, remove, organise, review regularly.
Challenge 2 – Working with smaller outdoor play spaces.
Having a smaller outdoor space to work with just means to you need to be a little more creative with how you setup your spaces and the materials you choose to add.
Try some of the following ideas to help you think outside the box and stop moaning about your small space!
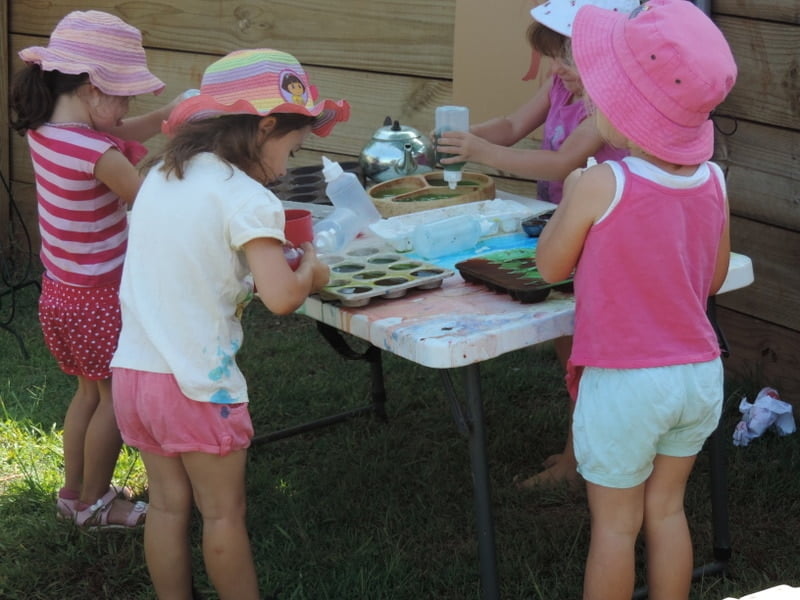
- If you don't have the space for large sandpits and digging areas consider adding a small mudkitchen or similar.
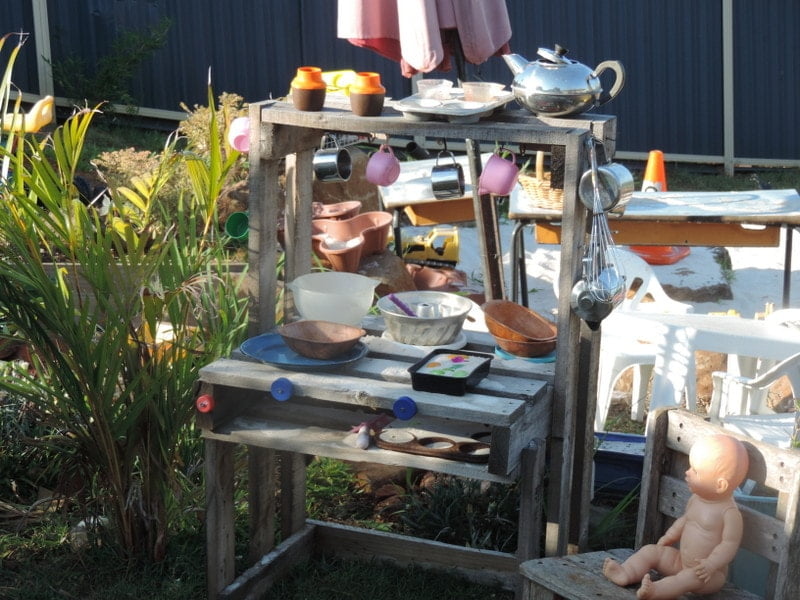
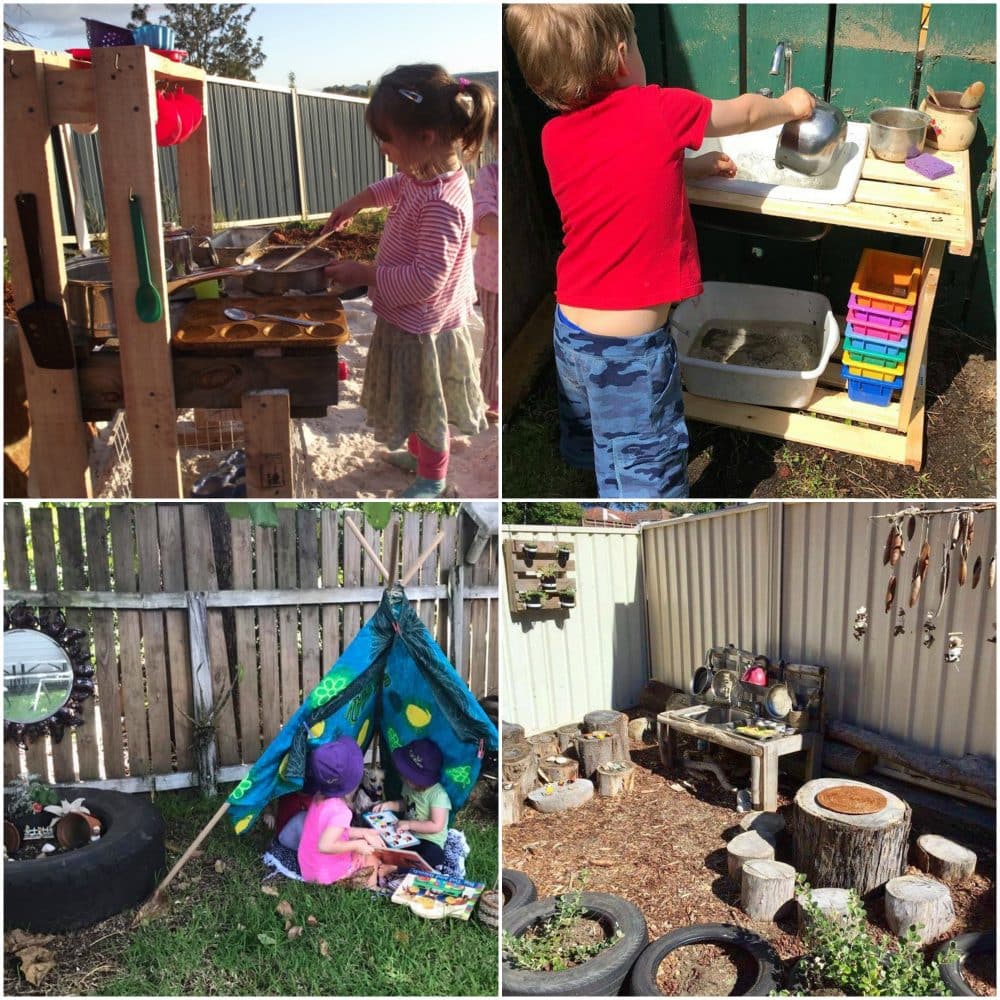
Photo Sources (working clockwise from top left corner)
- The Empowered Educator
- Educator Heather Dickerson
- Educator Renata Plesa Stipanovic
- Educator Sarah Blackman
- Use buckets and trays with sand, dirt and other items from nature.
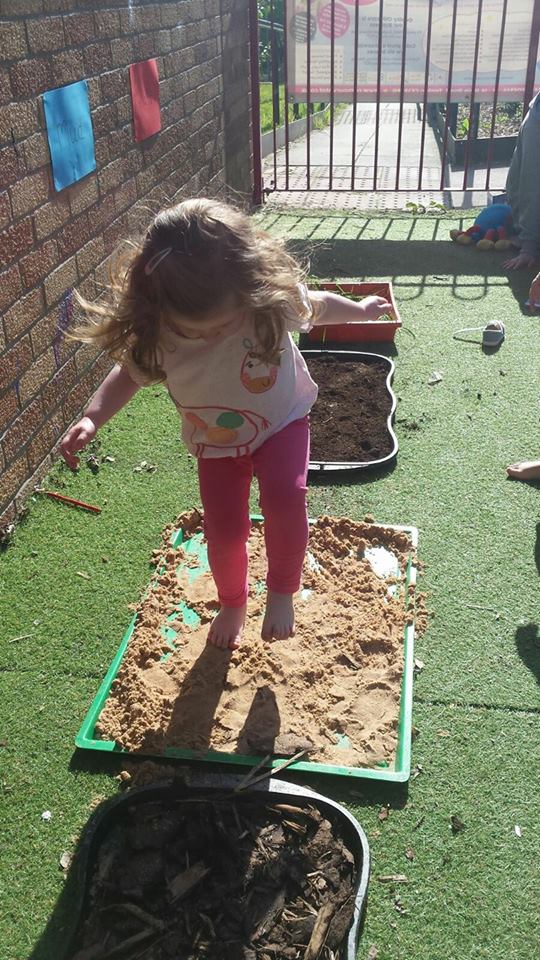
Sensory Trays shared by Empowered Ed Community Member Christine Walker
- Create smaller secret spaces within the environment to give illusion of more areas to play.

Secret Space shared by Empowered Educator Community Member Carlene Cox-Newton
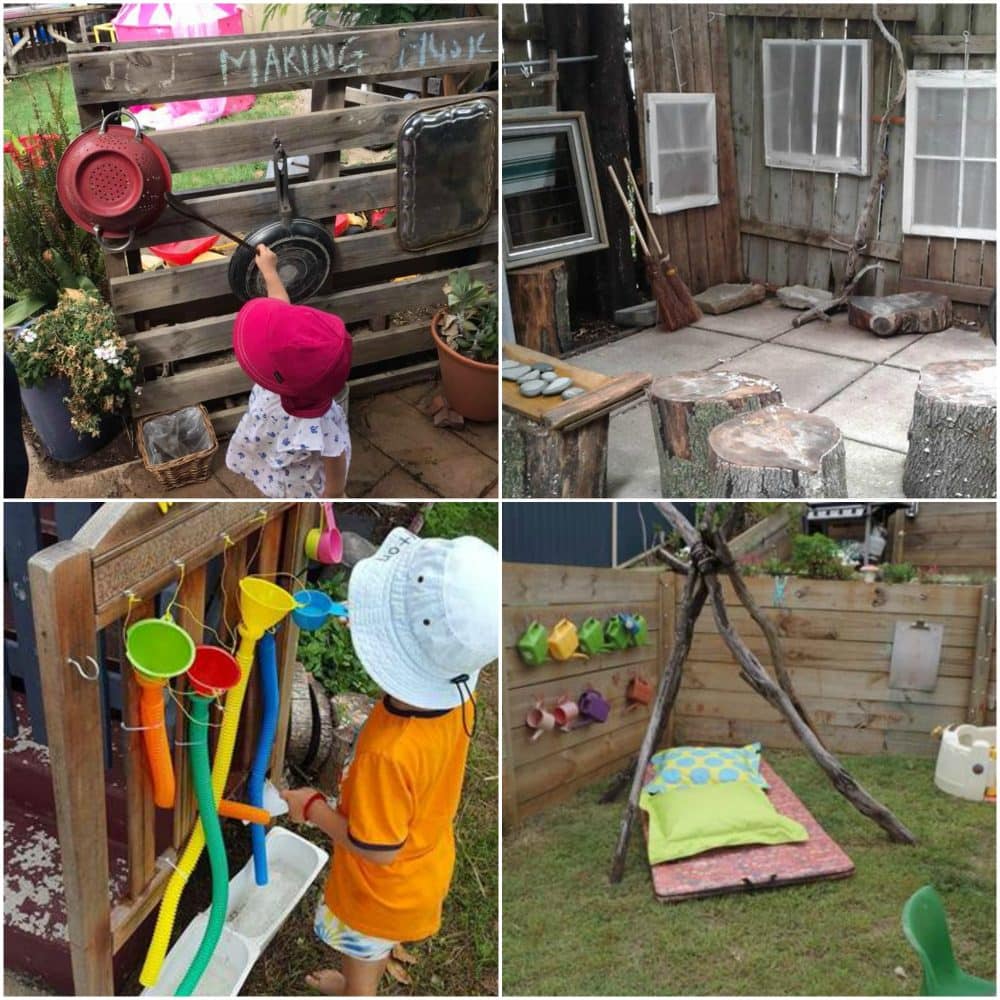
Photo Sources (working clockwise from top left corner)
- Educator Tonia Bartels
- Educator Dawn Hall
- The Empowered Educator
- Educator Helen Evans
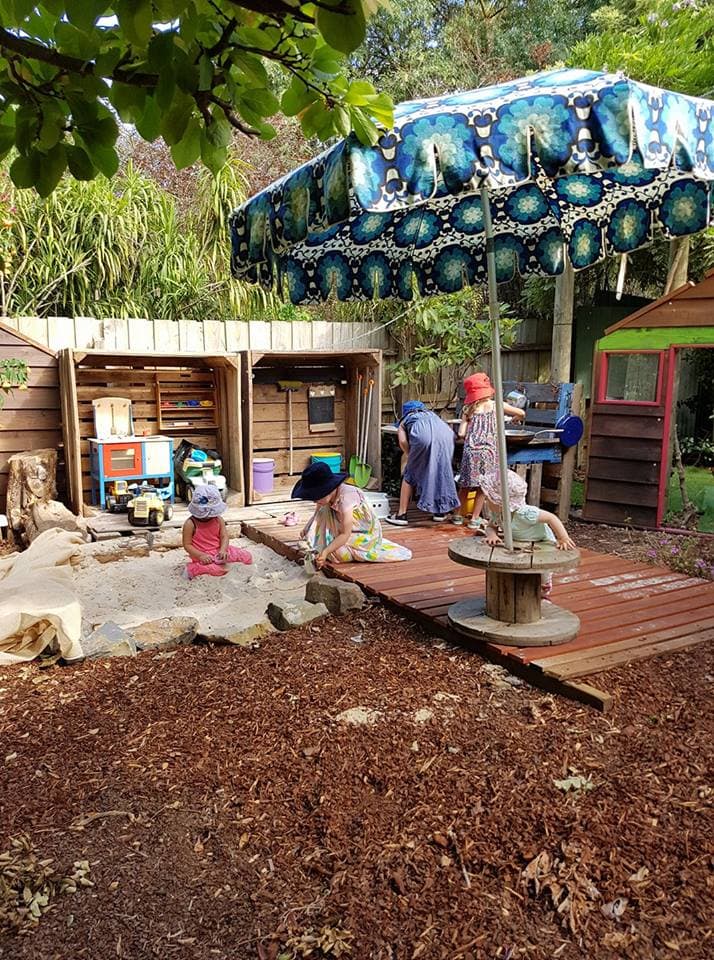
Sand play area shared by Empowered Ed Community Member Annette Simpson
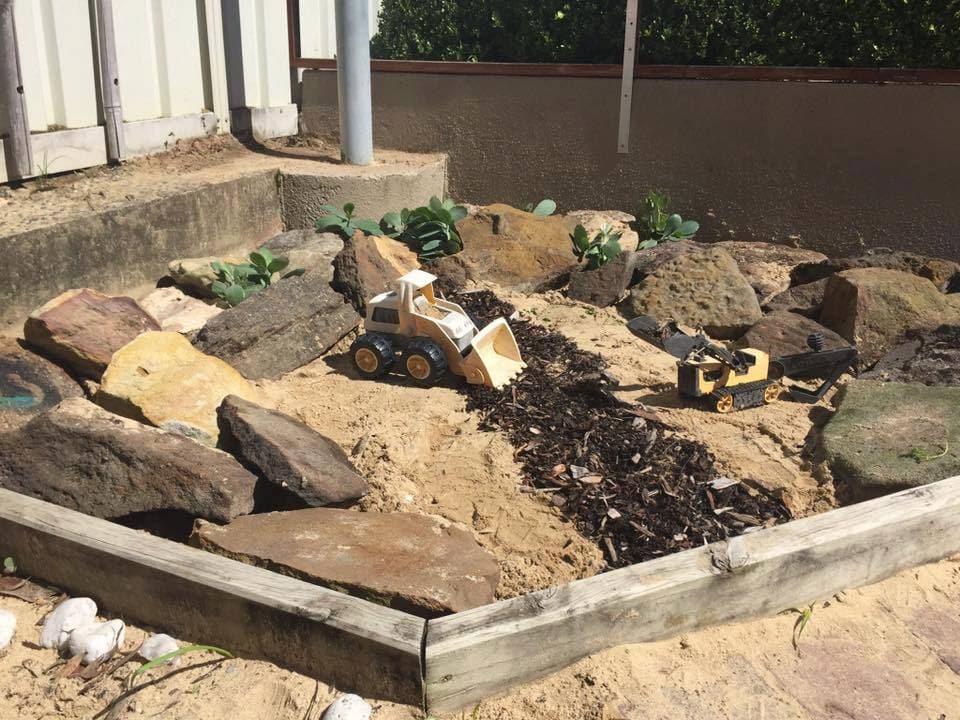
Digging space shared by Empowered Ed Community Renata Plesa Stipanovic
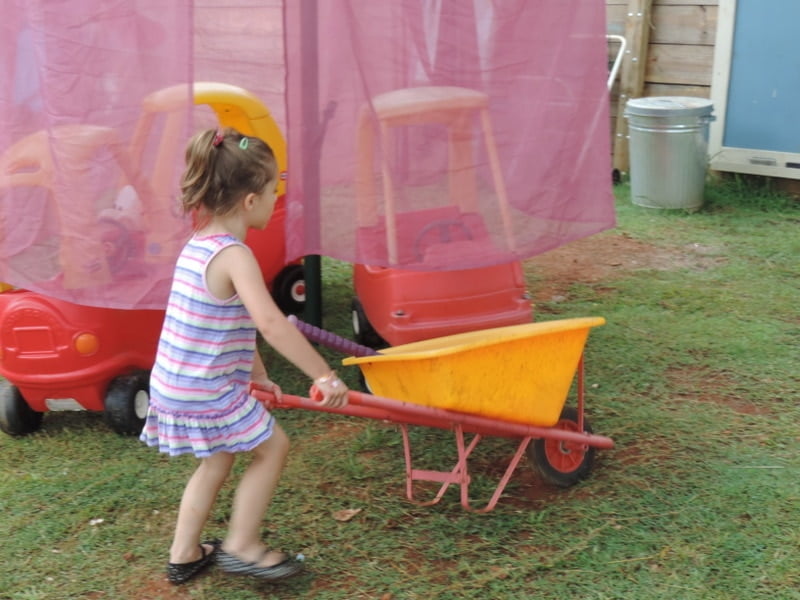
- Use old curtains and sheets to create temporary ‘walls'.
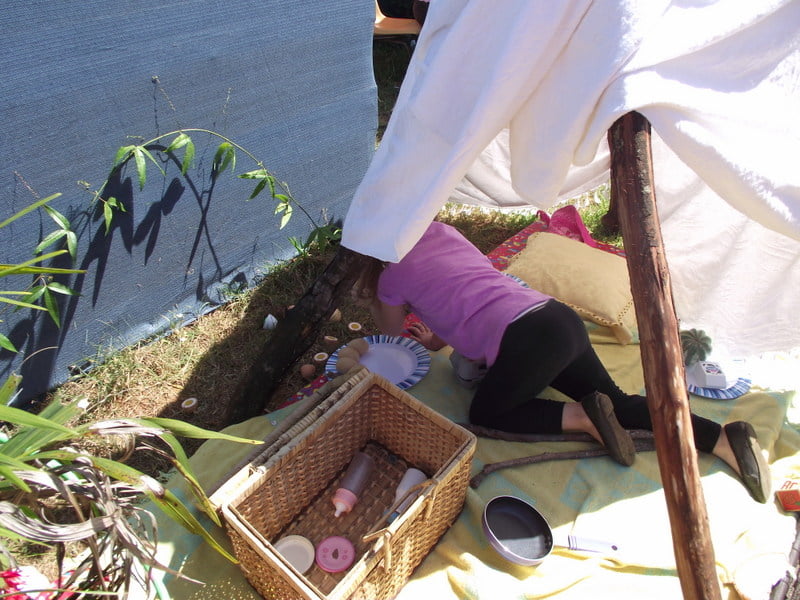
- No room for a big garden? Use pots or child height tubs to create boundaries and spaces.
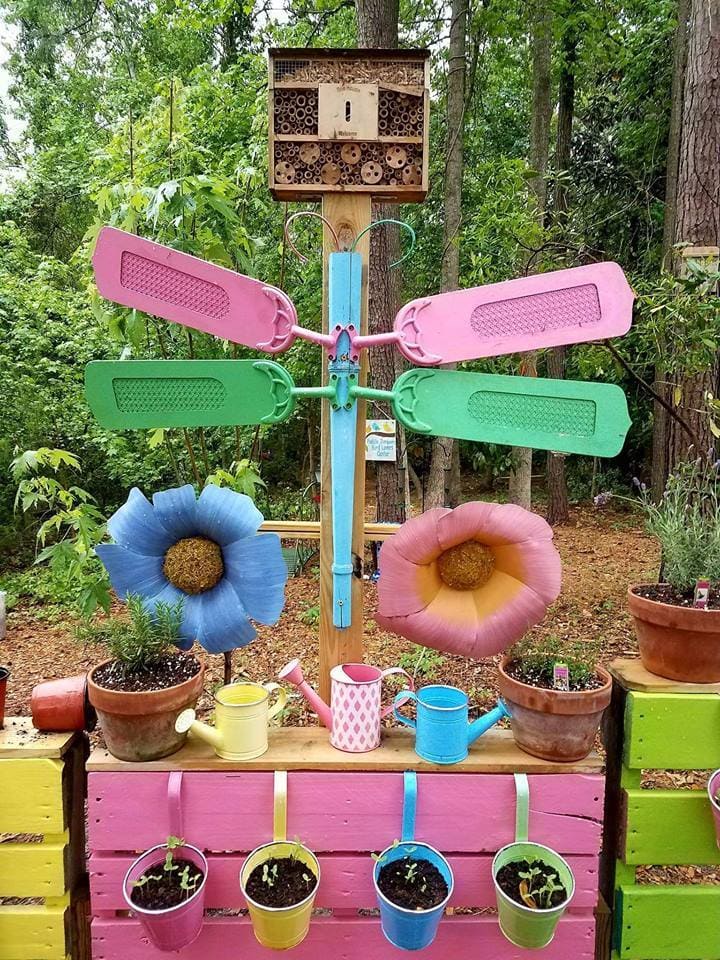
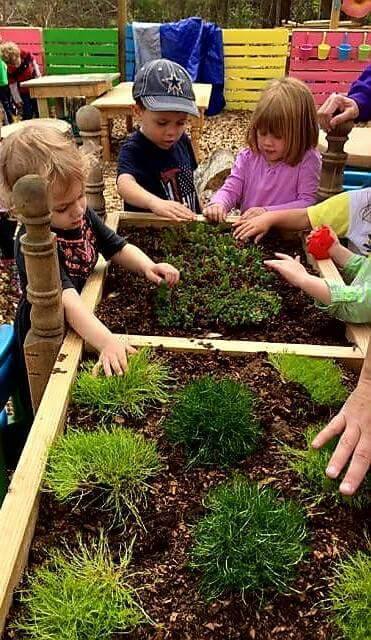

Inviting hands on garden areas above shared by Community Member Misty Fisher
- Make little pathways behind obstacles to invite exploration using pavers, stones, wood logs and planks.
- Use old wheelbarrows and carts to create mobile gardens.
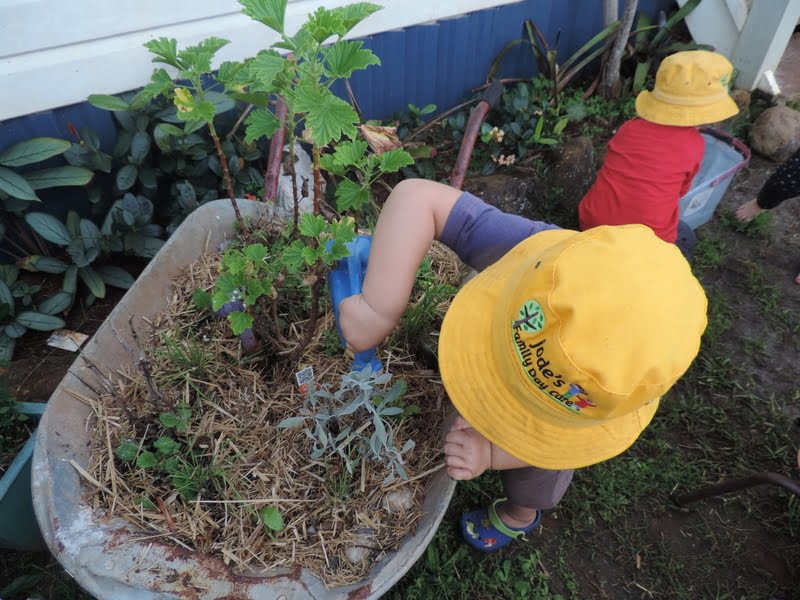
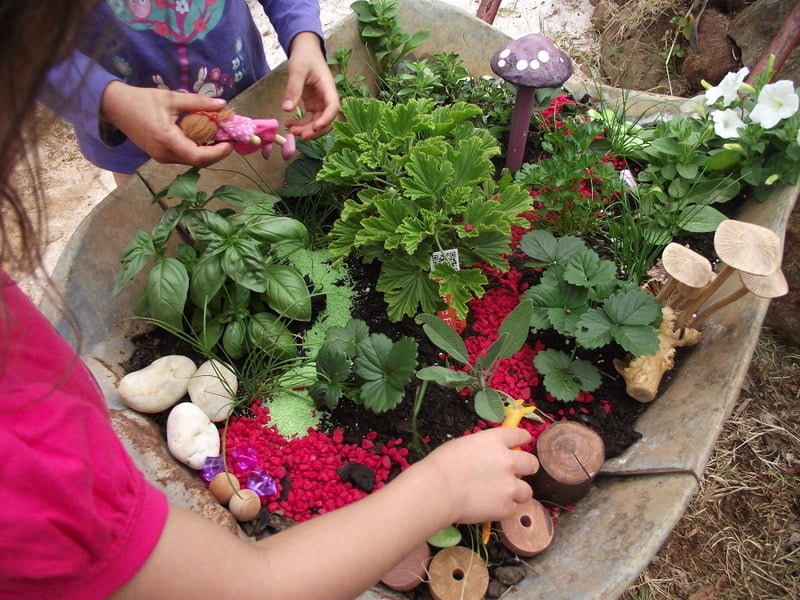
- If large trees overhang your yard use for storage, nail planks to trunk for climbing, make cubbies using draped fabric, plant small sensory gardens around the base.
- Wooden stumps can double as garden edging as well as stepping stones.
- Use walls for gardens, storage, painting easels, blackboards and more.
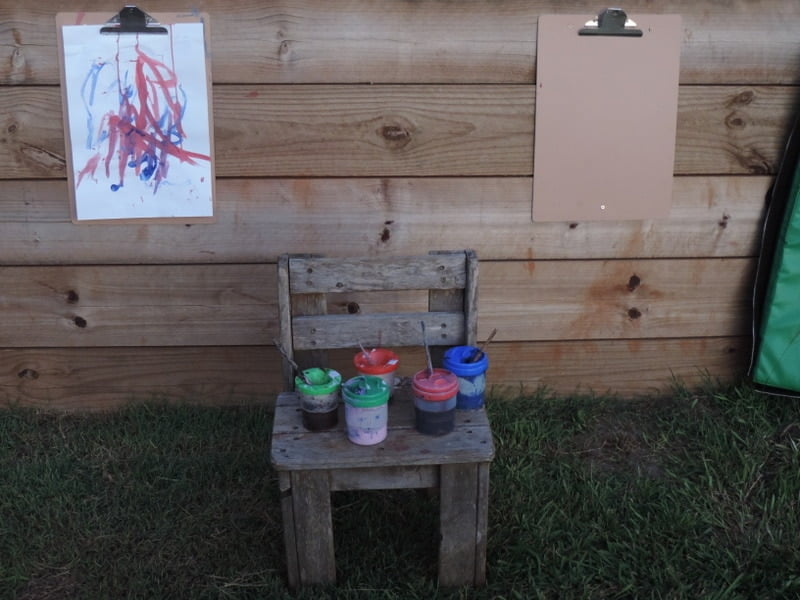
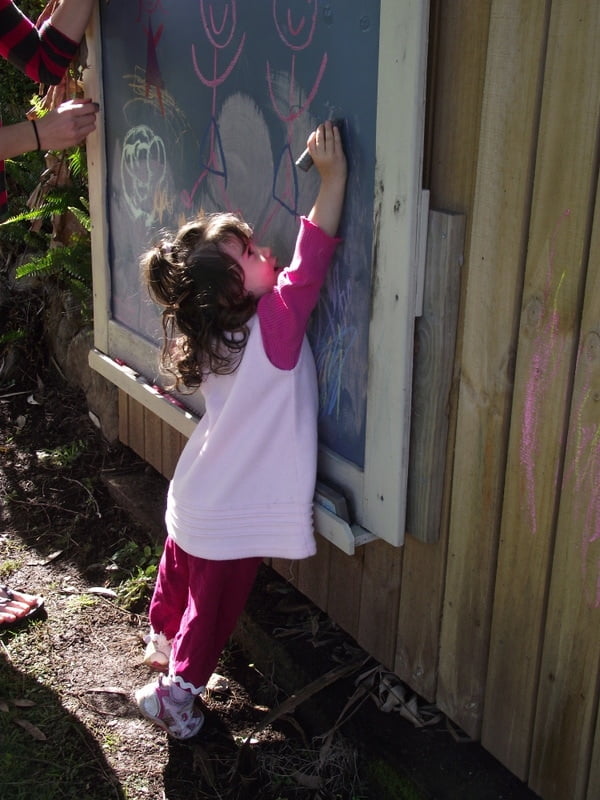
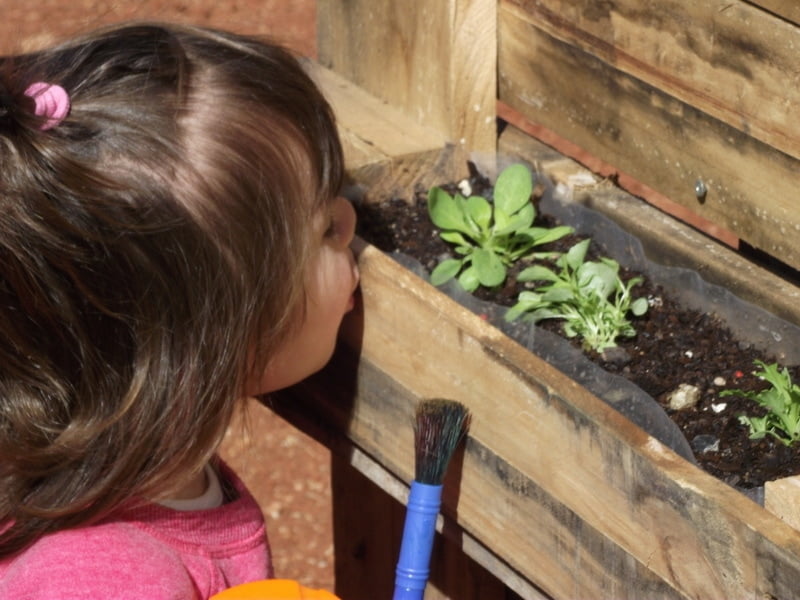
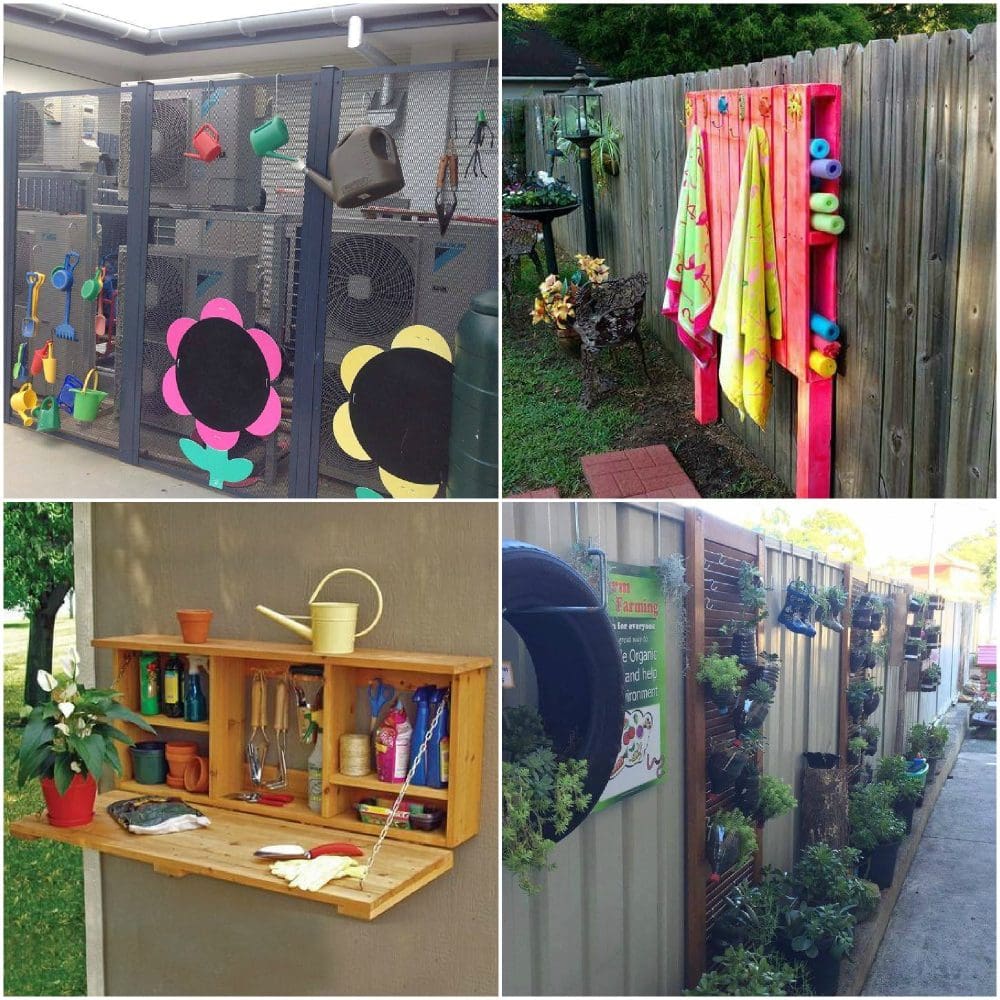
Photo Sources (working clockwise from top left corner)
- Educator Sally Mallett
- Found on Pinterest here.
- Educator Renata Plesa Stipanovic
- Gardening Living
- Planks, wood offcuts, sticks and bamboo can be moved around the yard by children – store upright against fence at end of day.
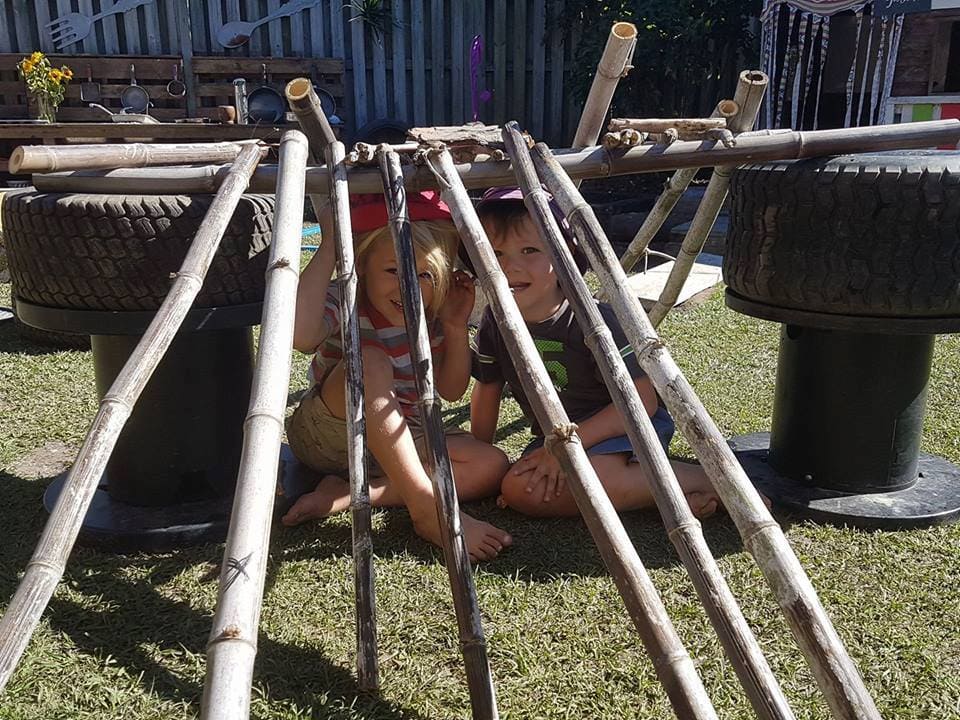
Bamboo cubby shared by Empowered Ed Community Member Carlene Cox Newton
- Create small world areas in the tiniest of spaces – use old trays, tubs, shaded spots in the garden, pots.
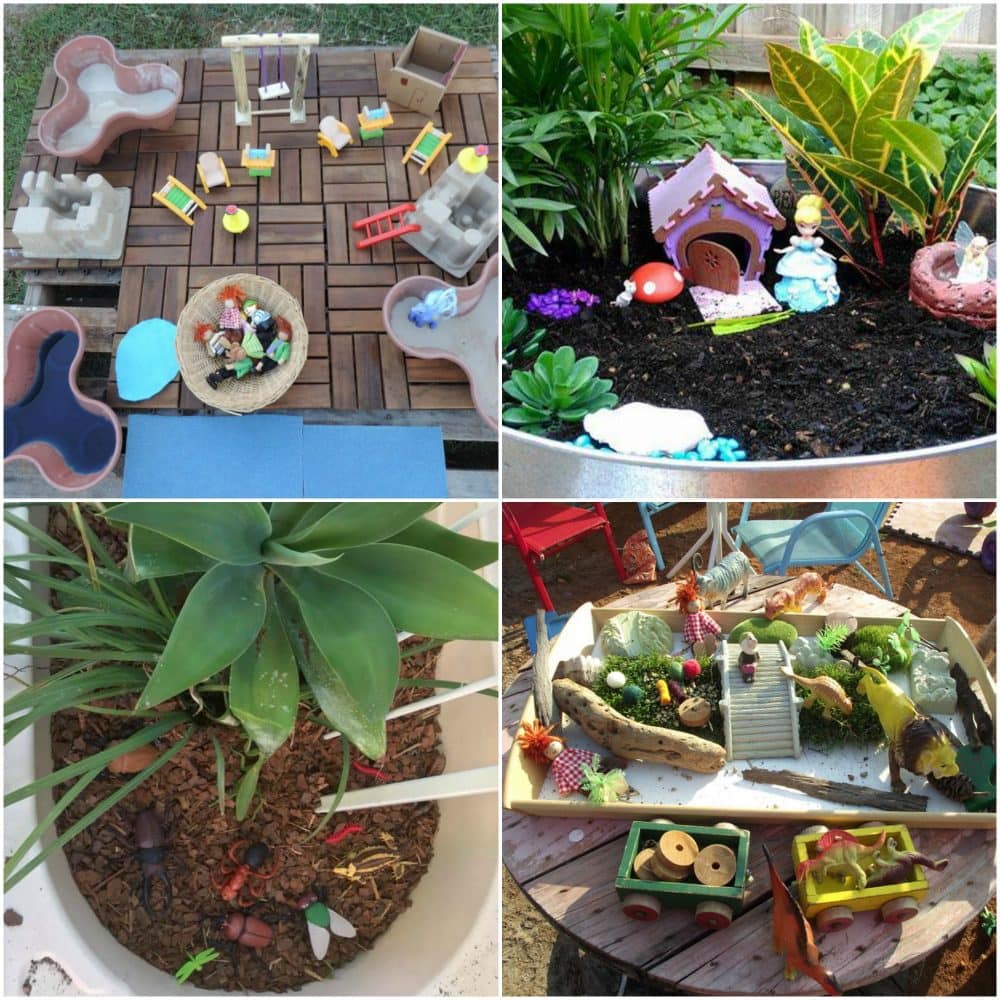
Photo Sources (working clockwise from top left corner)
- The Empowered Educator
- Educator Ritu Reddy
- The Empowered Educator
- Educator Tonia Bartels

Small world basket shared by Empowered Educator Community Member Renata Plesa Stipanovic
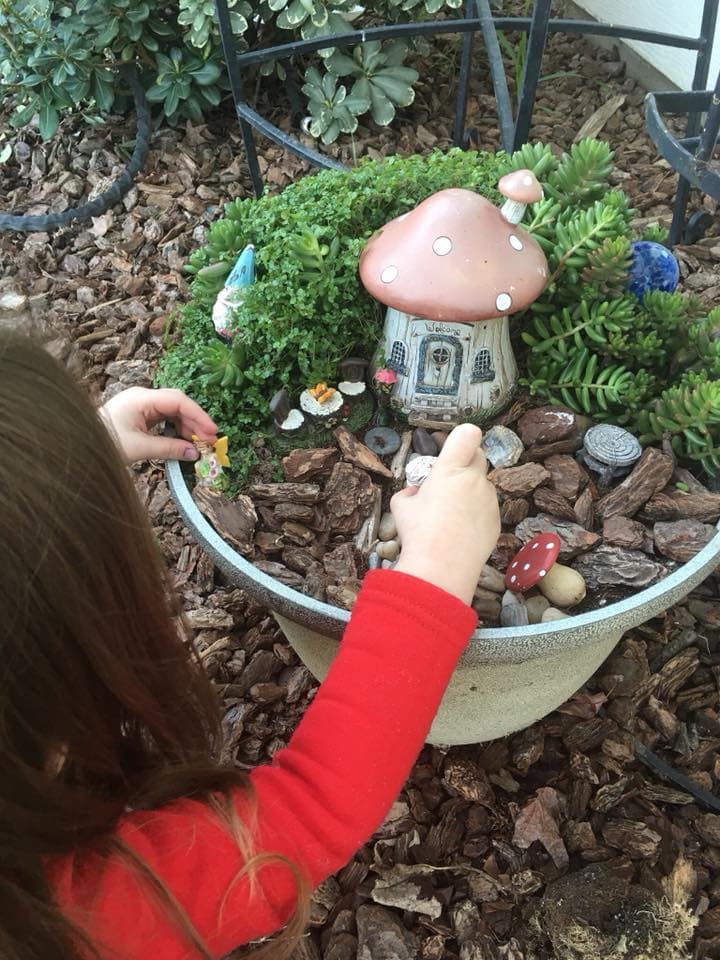
Magical Pot Small World shared by Empowered Ed Community Member Kristina Conner
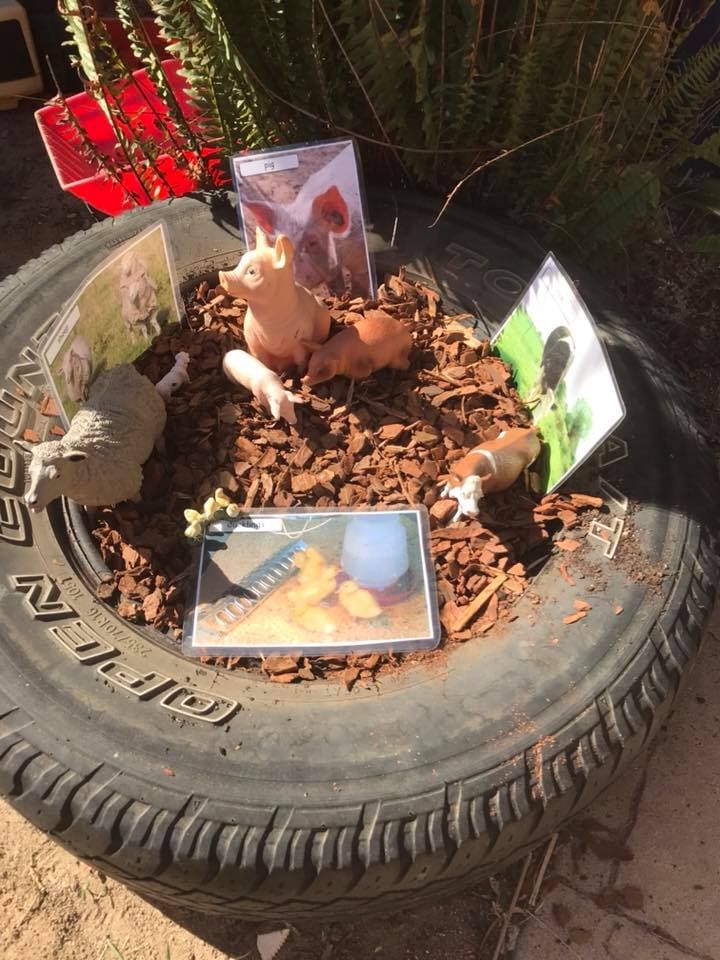
Mini Farmyard Fun shared by Empowered Ed Community Member Tonia Bartels
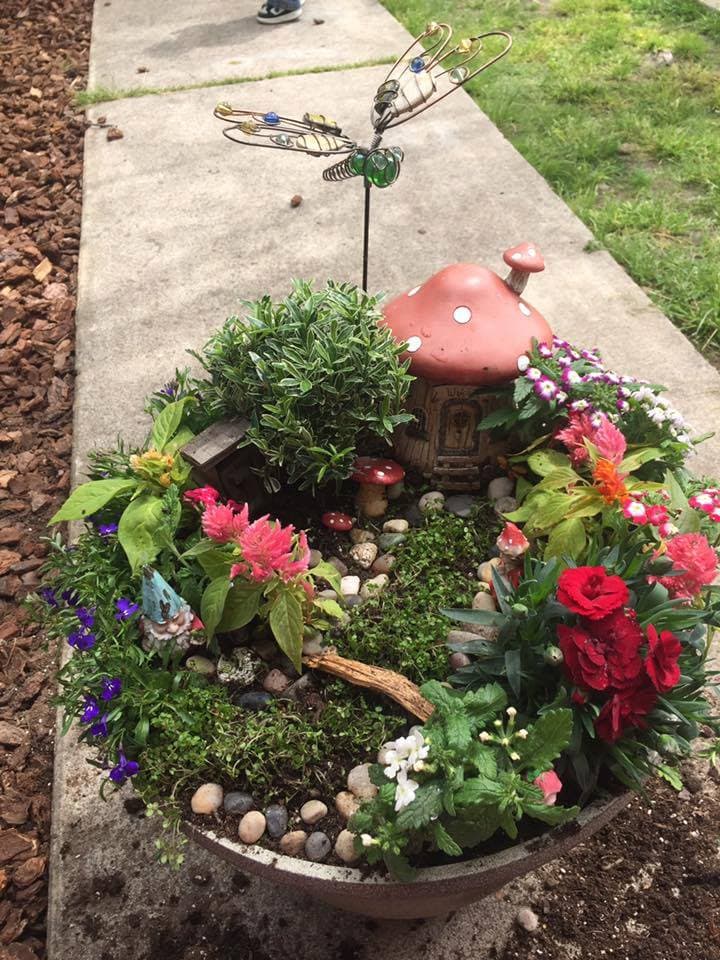
Mini fairy garden shared by Empowered Ed Community Member Kristina Conner
- Modify furniture to keep to child height and take up less room.
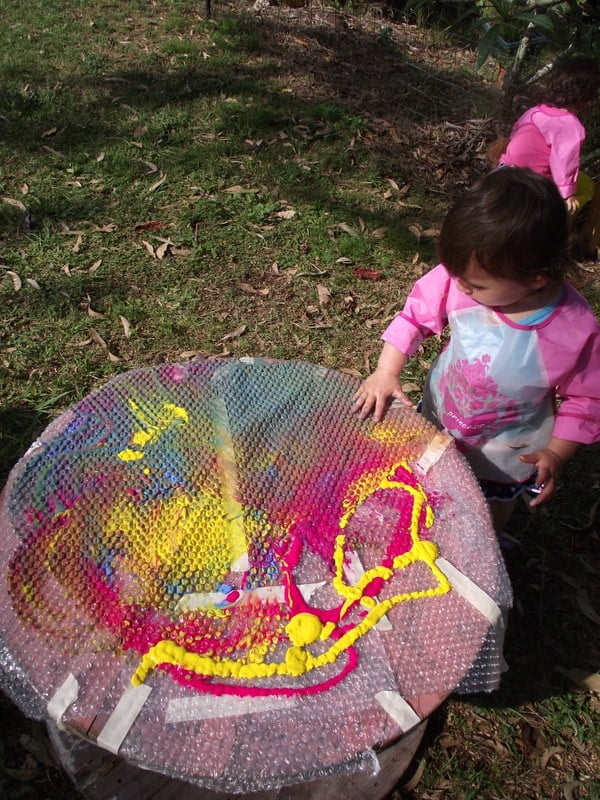
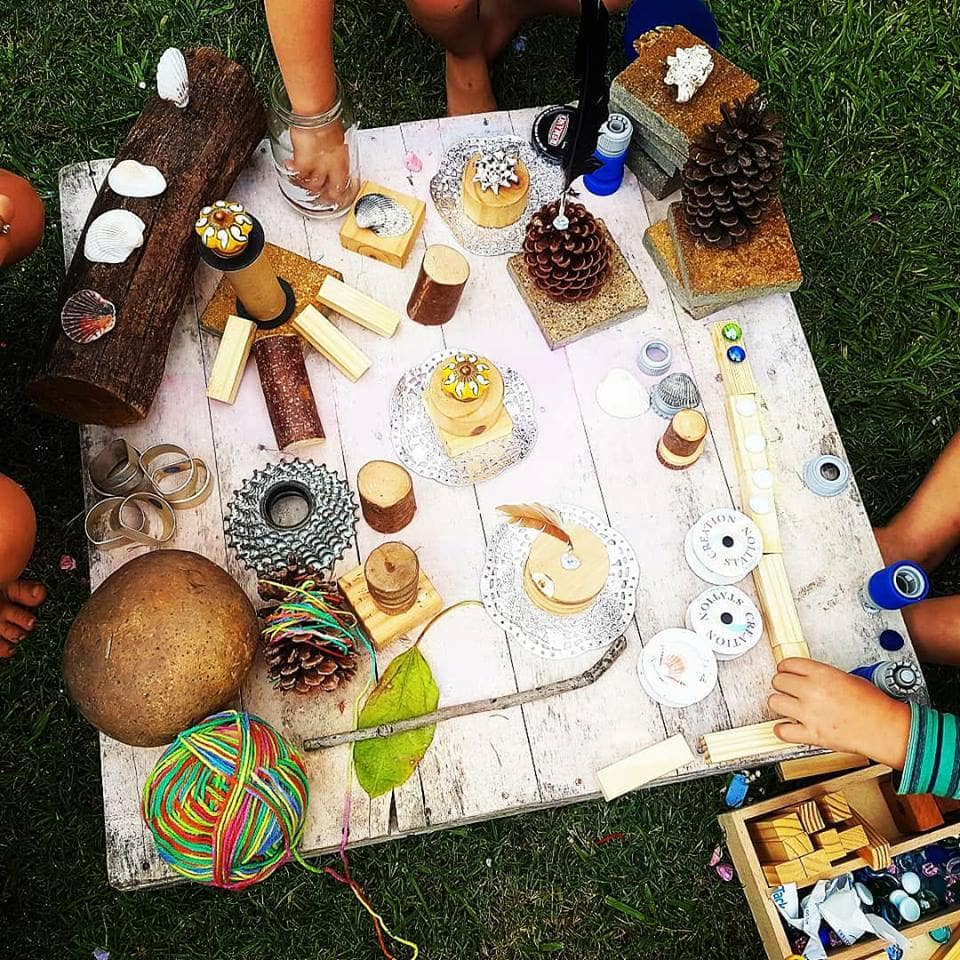
Low loose parts table space shared by Empowered Ed Community Member Carlene Cox-Newton
- Use smaller sand trays, sensory tubs and DIY water walls to save space.
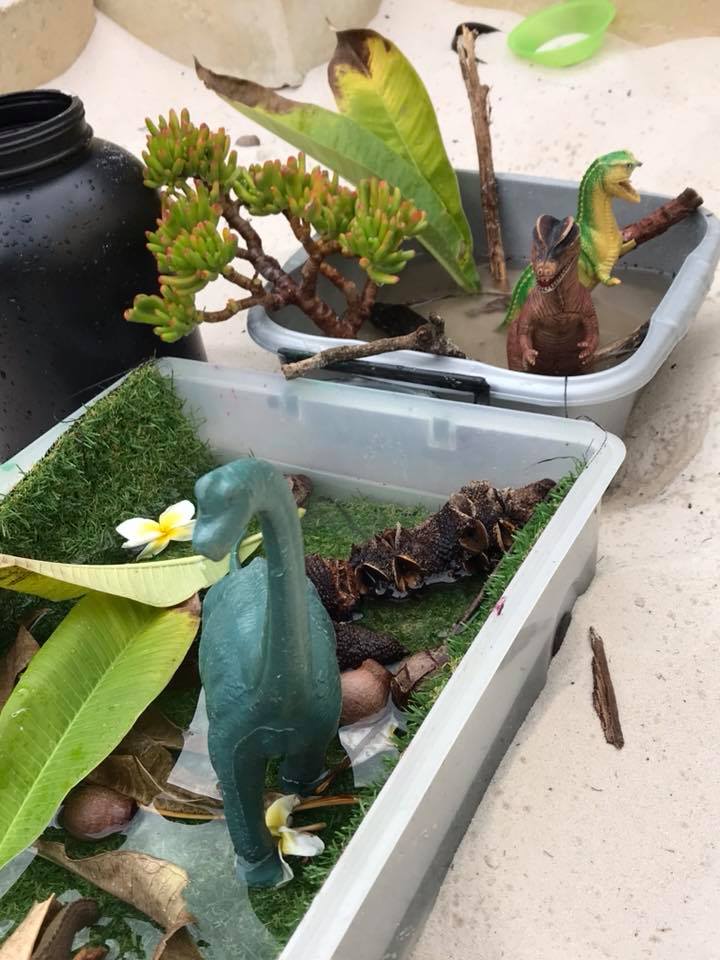
Dinosaur Lands shared by Empowered Ed Community Member Joanne Wooding
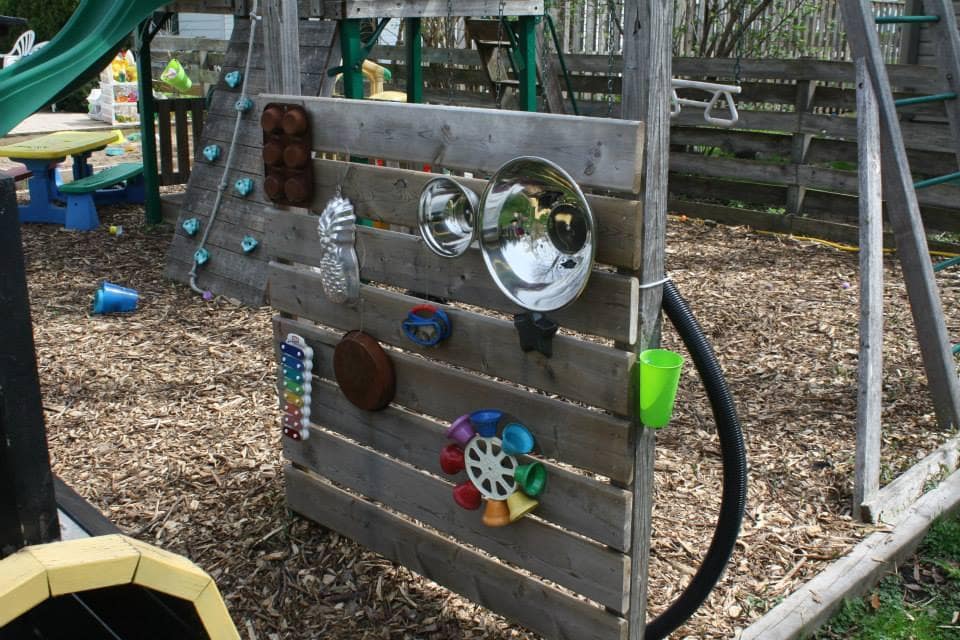
Pallet Music Wall shared by Empowered Ed Community Member Melissa McDowell
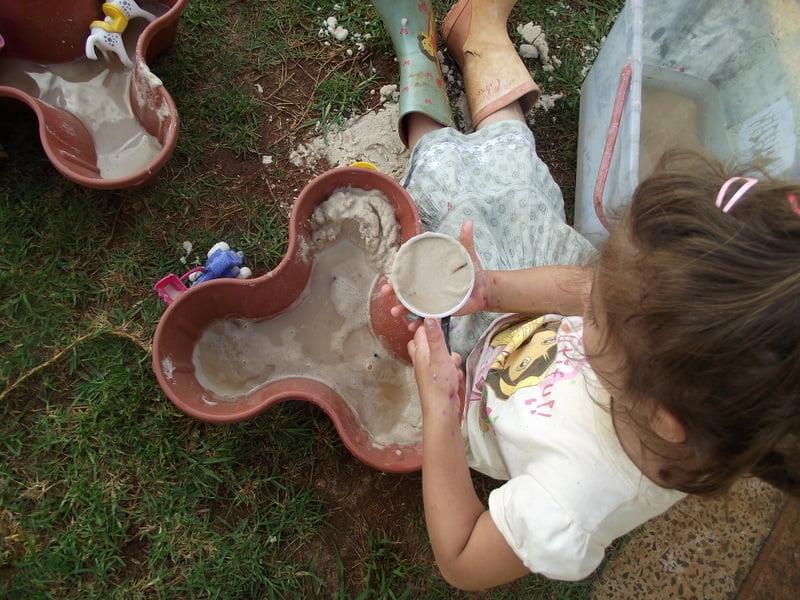
- Put together a ‘soft play' box for outdoors -bring out cushions, material, mats to create small spaces for relaxing.
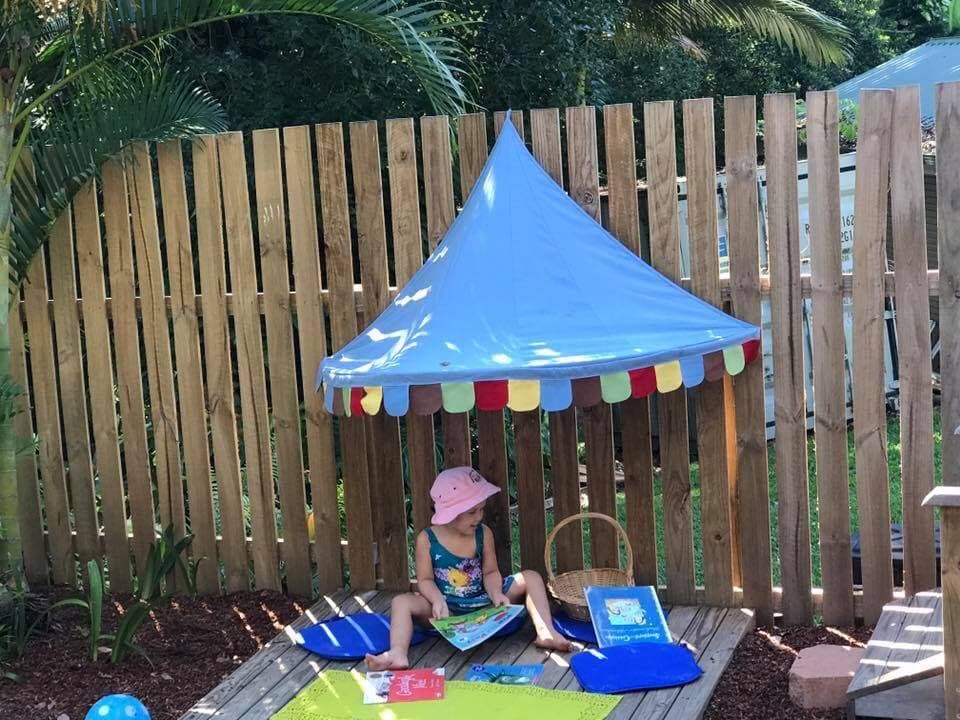
Reading Space shared by Empowered Ed Community Member Lani Corissa Burns
- Get creative with storage and use some of the tips from the first challenge area!
Challenge 3 – Managing shared outdoor play spaces.
Having to share your outdoor play spaces is a common challenge and obvious practicality when working in a multi age early learning centre, outside school hours care environment,community playgroup or occasional care service.
I know from personal experience that it's tough when you can't leave things out in the outdoor space or there is a large range of ages and developmental stages to accommodate so i'm certainly not going to tell you that I have a magical solution to this particular challenge!
But there are some strategies and steps I've tried over the years that you can also try to help make the situation less frustrating and time consuming for setup and packing away.
It's important that you get in the right frame of mind – you need to get creative and think about what you CAN do instead of CAN'T do.
- Create portable boundaries – this is one of my favourites! Use material, large mats, furniture on wheels, prop boxes, cushions,foldable tables to define smaller spaces.
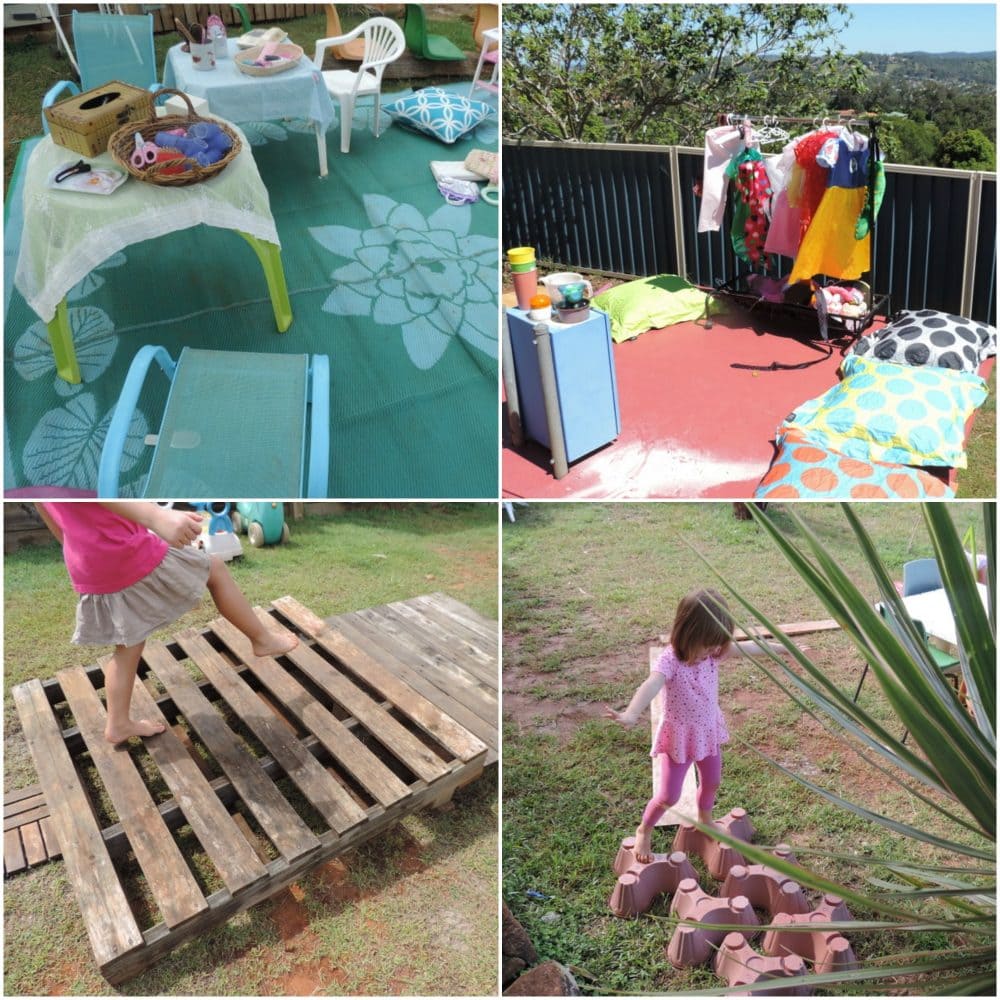
- Use only lightweight materials and resources that are easy to lift, move and pack away.
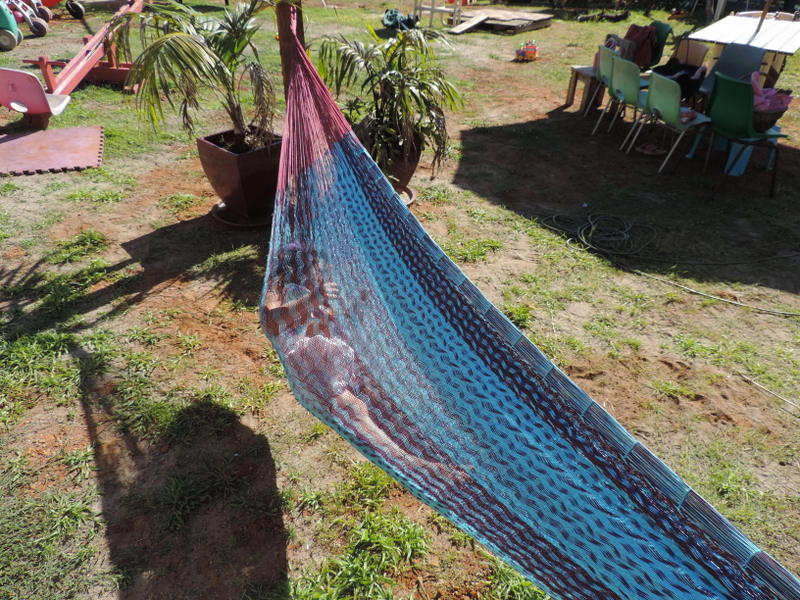
- Take some time to think about how to setup and display outdoor materials – not just everything in big bins.
- Use a rotation system to change things around each week. Label boxes with lids.
- Open ended materials & loose parts will allow children to play in different ways according to age & move around space.
- Carry out safety checks at beginning of each session
- Ensure portable shade by using draped fabric, shadecloth, tarps,umbrellas.
- Ensure spaces are defined for noisy rough play, quieter relaxation spaces, group games, sensory exploration, construction, areas for older children to connect.

- Use trees, rocks, sports fields, cement areas, chalk lines, gardens and courts to help define spaces.
- Consider the supervision required for fixed equipment areas.
- Give all children a bag they can keep to store ongoing projects or craft materials in so they can continue work next session.
- Ensure you communicate clear boundaries that have been developed in consultation with the children using the outdoor space.
- Use sheets to pin photos and notes to and hang in outdoor areas – easily removed at end of session.
- Ensure a few permanent play areas outdoors so children always find familiarity
- Initiate and build good communication system with owner of the building/school/venue/hall. Find ways to nurture relationships.
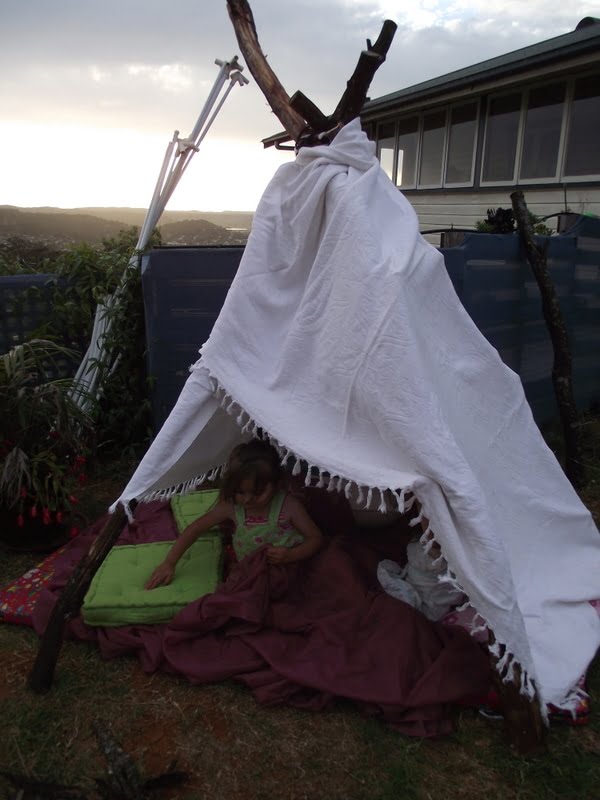
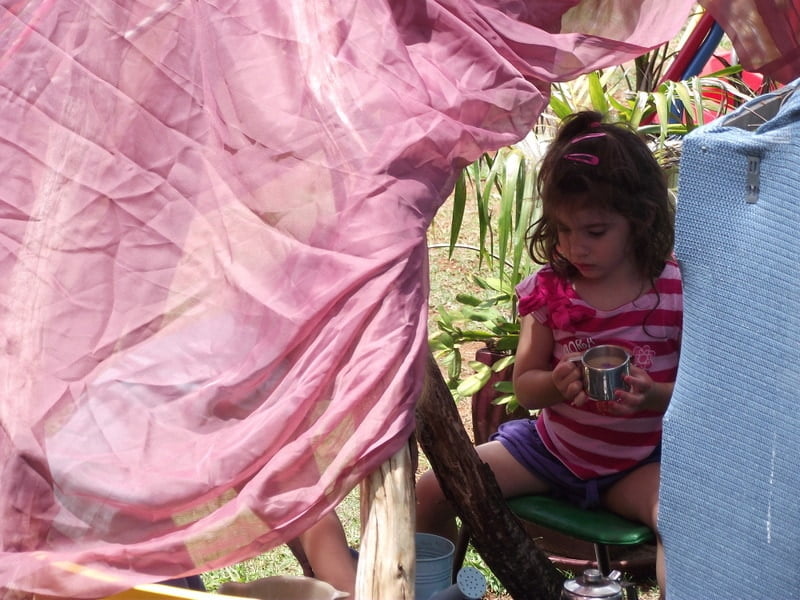
- Use pop up tents, lightweight foldable chairs and tablecloths for trestle tables.

Teepee Play shared by Empowered Ed Community Member Lara Cox
- Use planters on wheels to move around and help create smaller spaces.
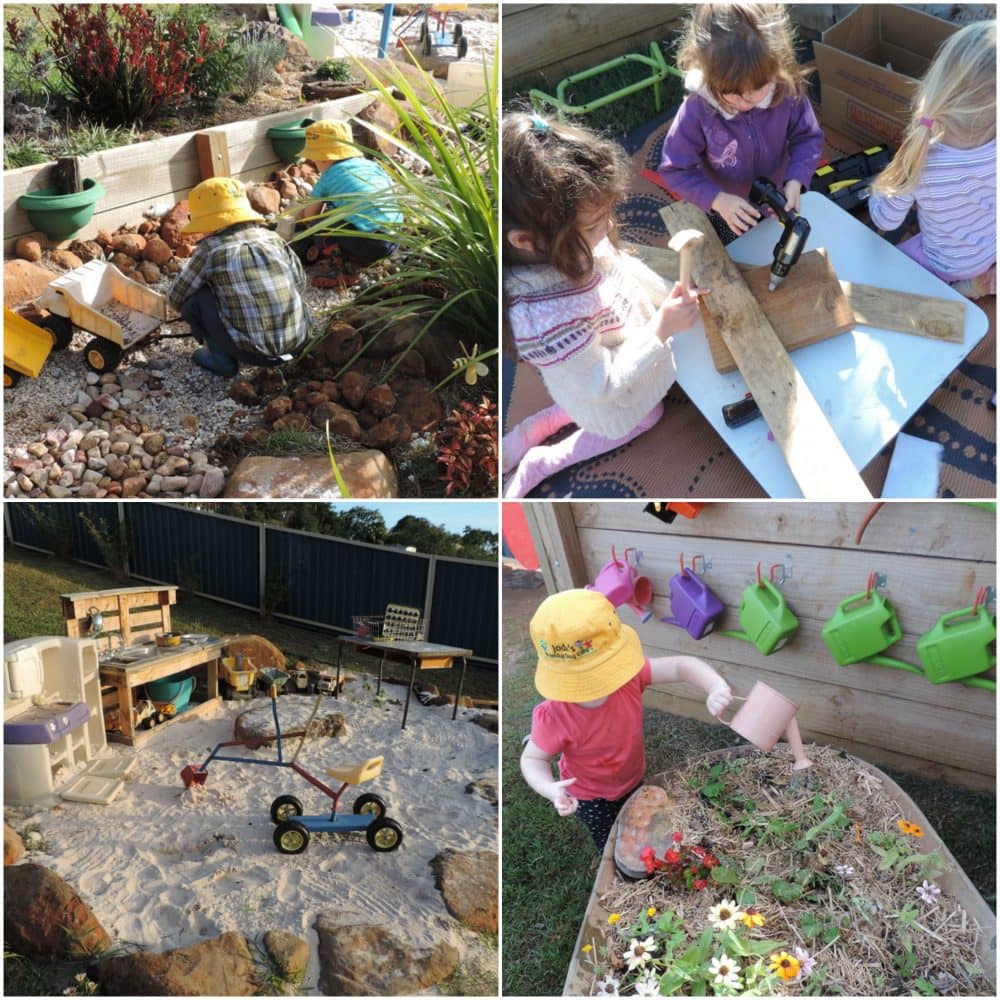
- Ensure all equipment has a well defined home so children can help with setup and pack away.
Challenge 4 – Accessibility & the Child's Perspective
It is important to think about how you can set up your outdoor space so that it sends a clear message to the children that says'I can do things myself here'. This is my space. I belong here.
Focusing on how you might display and store materials in the outdoor environment at the initial design stage can provide greater opportunities for independence, a sense of belonging and ownership of the space for children.
Try some of the following suggestions to help you incorporate accessibility as an important aspect in your outdoor spaces…
- Avoid disorganisation & clutter – go back to the tips in the storage challenge section and think about how you will approach this ahead of time.
- Ensure you provide a selection of diverse range of materials that children can access to use in their play, games and setups.
- Label storage shelves, buckets, walls so children can help to look after their space. Involve the children in making and sorting the labels – use drawings or photos depending on ages.
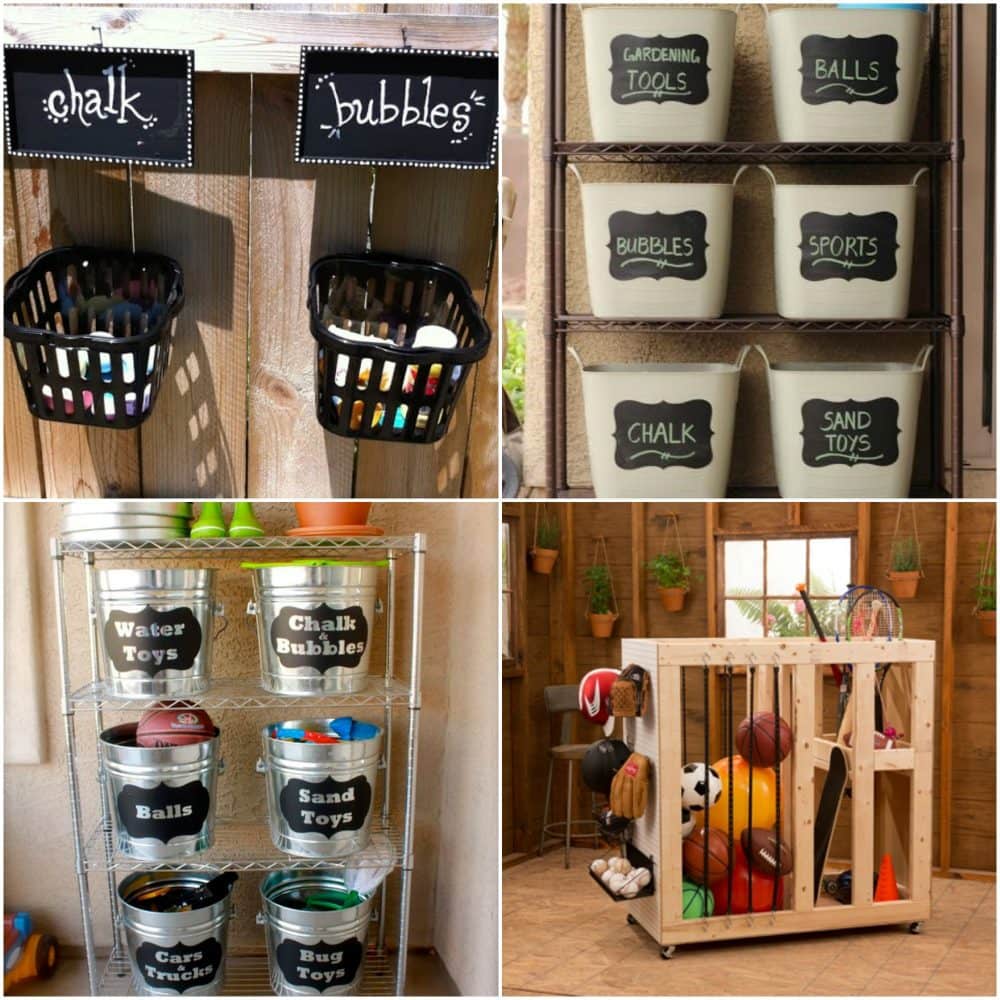
Photo Sources (working clockwise from top left corner)
- Found on Pinterest here.
- Midwest Modern Momma
- Found on Pinterest here.
- Today's Creative Ideas
- Organise for easy use, independence. Store like materials together so they are easier to find during busy play sessions.
- Keep loose parts easily accessible to move.
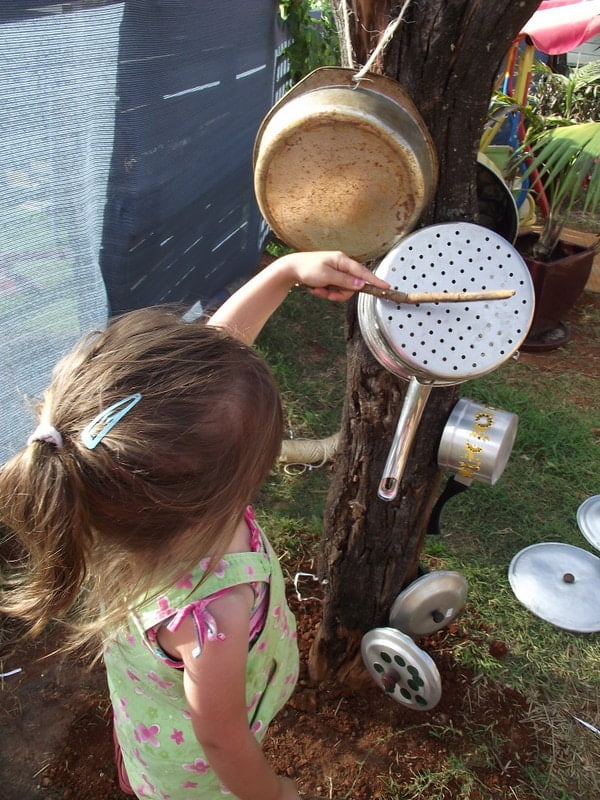
- Provide easy visual cues throughout the space like ‘drinking station' ‘sun safety spot' ‘Fairy garden path' ‘sensory garden' so children are aware of different spaces and their expectations.Clearly defined spaces can lead to either loud, active, or quiet play. Children of all ages come to understand the boundaries and possibilities of each space and feel a sense of ownership as they explore and extend play.
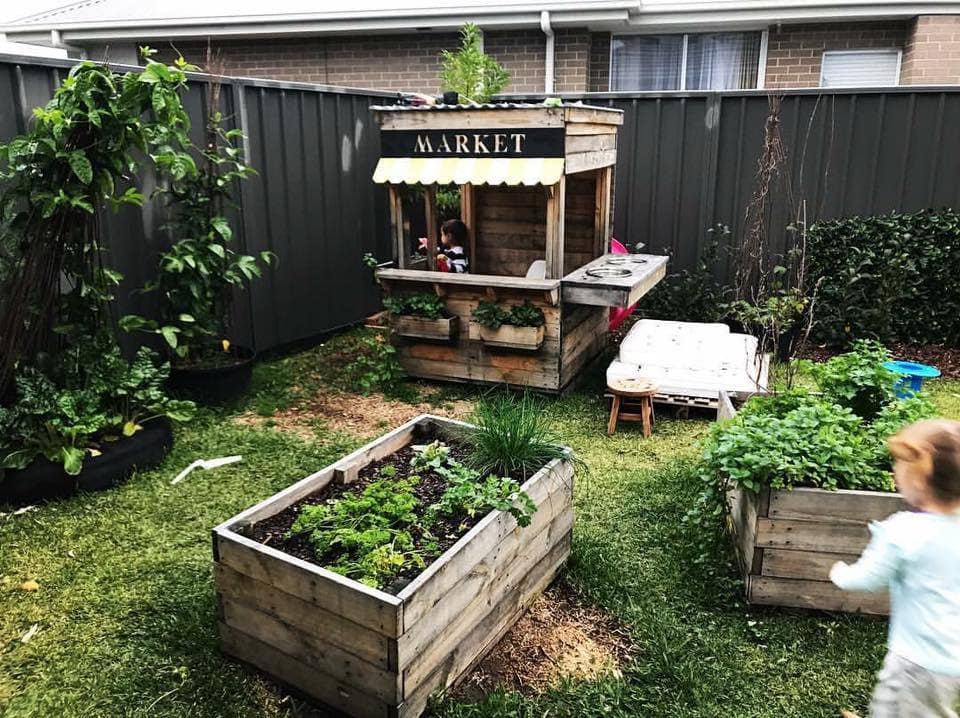
Pallet market space shared by Empowered Educator Community Member Clare Louise
- Put some time and thought into arranging materials to use the space you have wisely.
- Use a mix of the closed and open storage solutions
- Plan ahead on your program to define resources needed.
- Ensure you have arranged and some displayed materials so that children can modify and change aspects of their own environment if they want to.
- If possible leave some outdoor spaces ready to ‘play again' tomorrow to extend on interests and allow children to continue to direct their own play
I hope the suggestions and strategies in this post help you to find solutions to some of those common outdoor place space challenges.
Putting a little extra thought and creativity into your outdoor design and setup will ensure that your space becomes and outdoor learning environment no matter what you have to work with. Don't let practicalities and problems become reasons for not embracing outdoor play and the learning opportunities it offers.
If you would like more ideas and resources to help you with planning for outdoor play and learning click here to learn more about the Educator's Outdoor Play Toolkit. I know it will make your job a whole lot easier!

A Little About Me

Jodie Clarke is an early childhood professional supporting educators who want and need to stay passionate about the work they do! She has 30 years hands-on experience in the early childhood and human services sectors across many different roles.
Jodie is mum to 3 in Australia and has already helped thousands of educators with their work through her popular blog posts, activity ideas, online training and e-books.
Leave a Reply