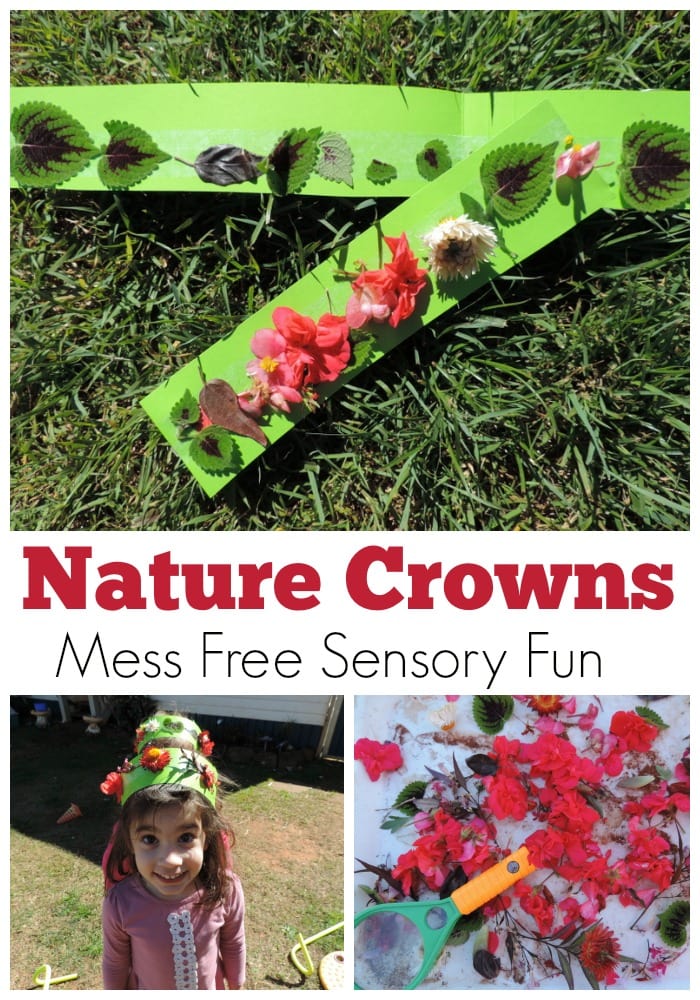
Regular readers will know how much I love to incorporate natural elements and hands on sensory experiences into our play and this activity does both! It's very simple to set up but offers many opportunities for investigation and use of the senses..and for those who are yet to embrace messy sensory play I promise this activity won't cause you to hyperventilate when it comes to clean up time!
What do you need?
- Some strips of cardboard (can be coloured or plain – you will need at least a heavyweight paper if you don't have cardboard though)
- A roll of double sided tape – I recommend a wide size for younger children and thinner for older children.
- Magnifying glasses (optional)
- Baskets, bowls or buckets to collect flowers and leaves
- Access to flowers and greenery in a garden
What do you do now?
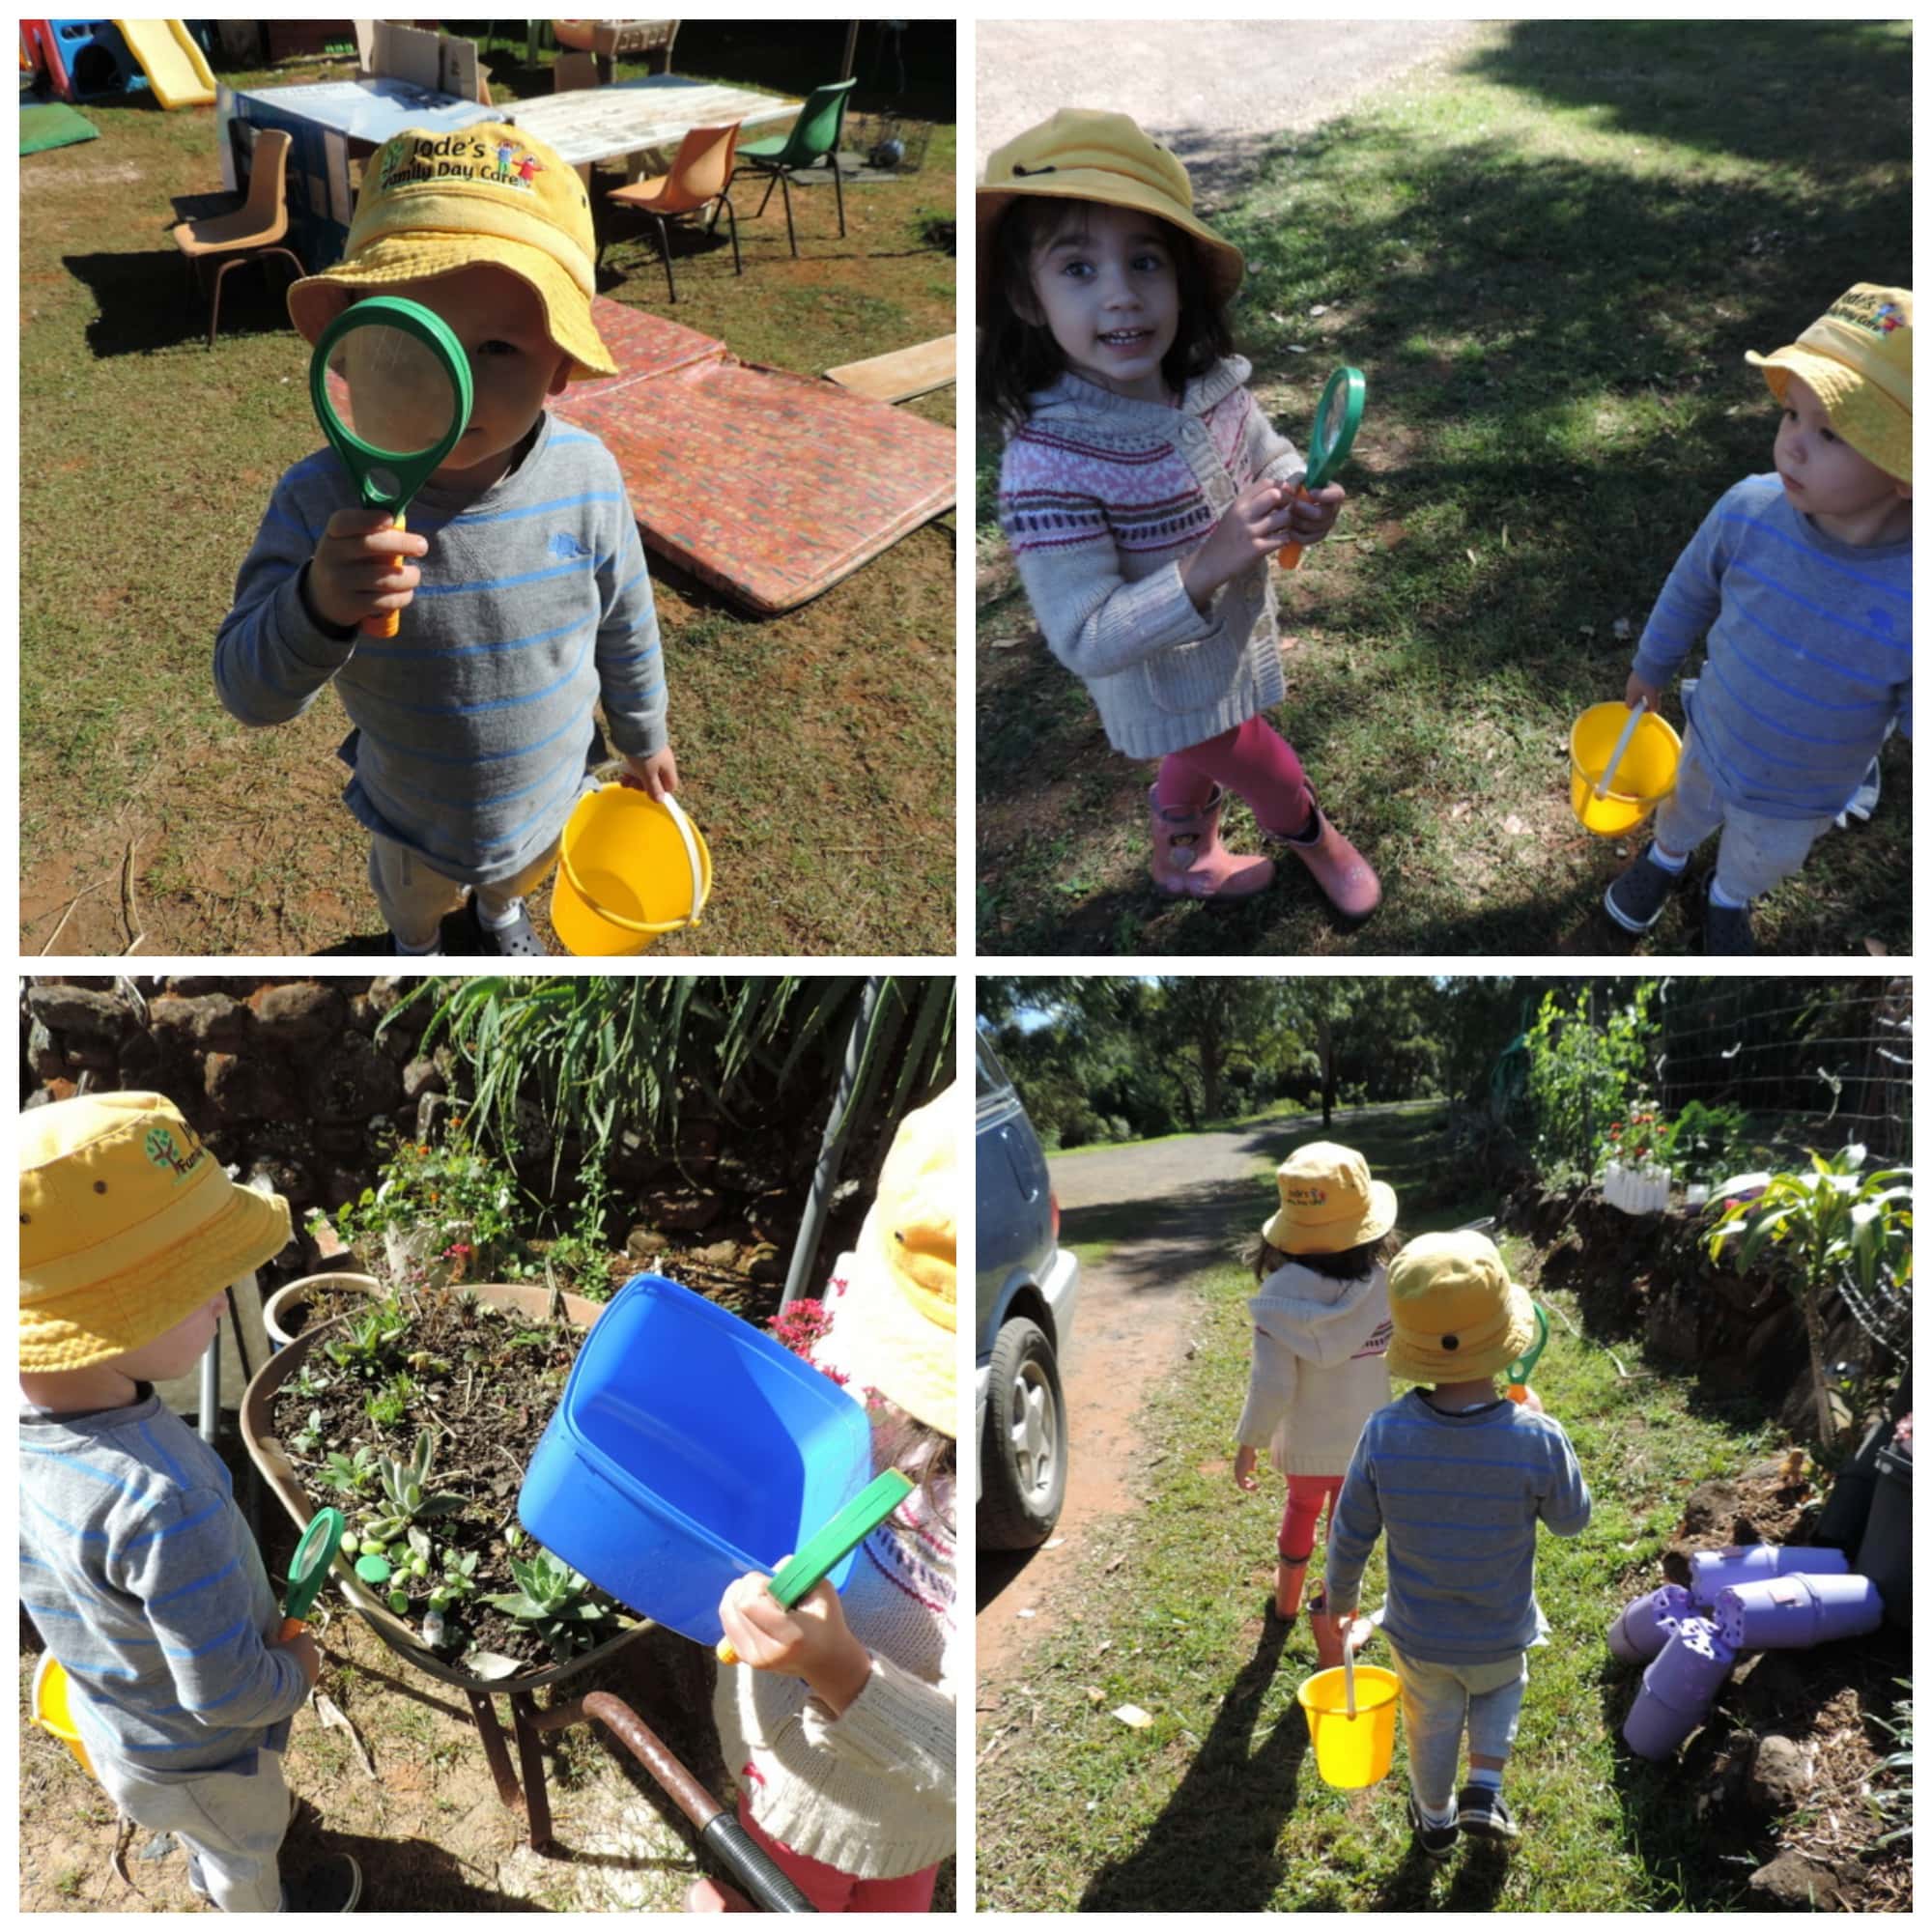
Simply gather your buckets and baskets and go for a wander around the garden…we explored the vegetable garden and the flowers in our front yard. Talk about colours, smells, textures, patterns, shadows, how plants grow and any other interesting questions the children ask! This is a lovely opportunity for investigation and communication…don't rush the process, it's all part of the activity.
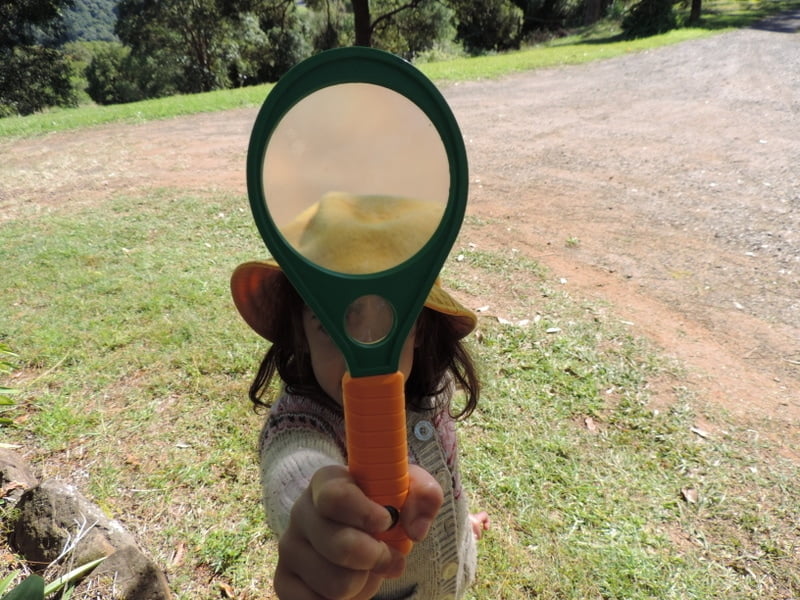
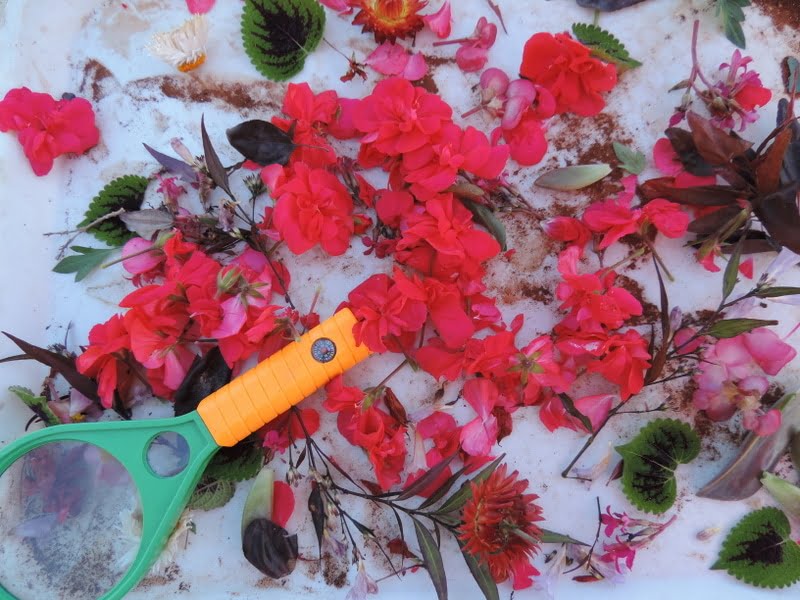
We used our magnifying glasses to really explore the plants, flowers and any bugs we found close up. It's not essential if you don't have them though!
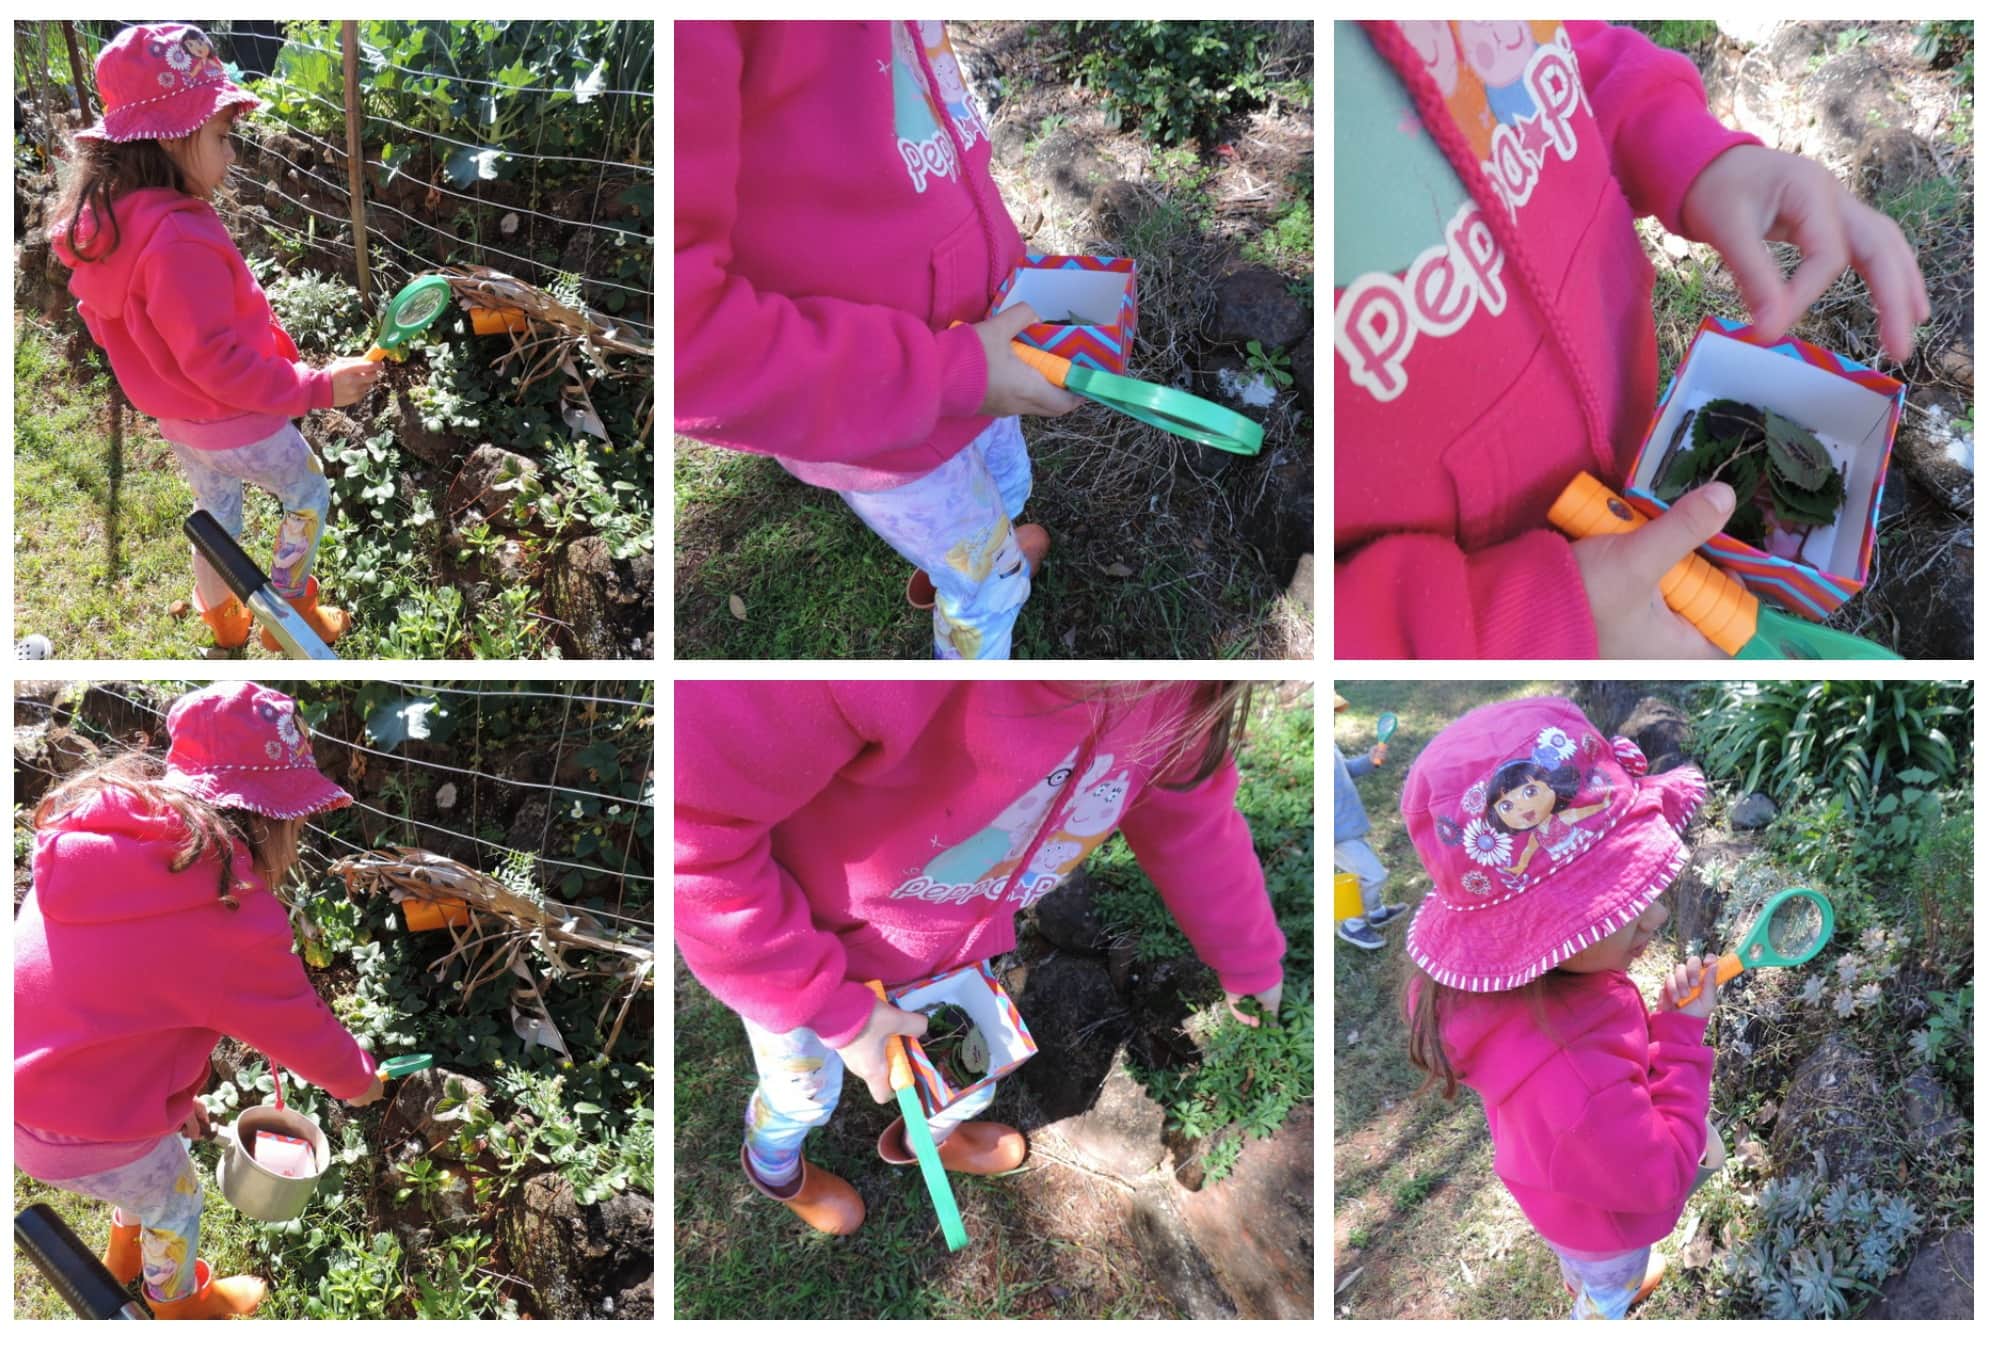
Tara (one of my twins) is very interested in patterns at the moment and she was fascinated with the green leaves and how how the purple pattern appeared in the middle. We did a little investigating on the internet and looked up some pictures later to satisfy her curiosity.
Children always amaze me with their interest in the small things around them…try not to overlook the simple learning opportunities as they arise in an activity. That is the true purpose of ‘extending learning' and ‘forward planning'.
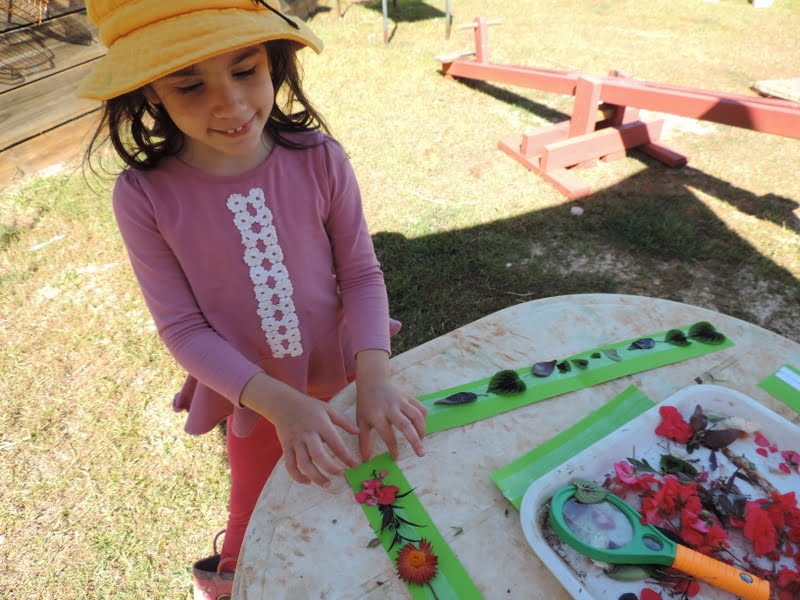
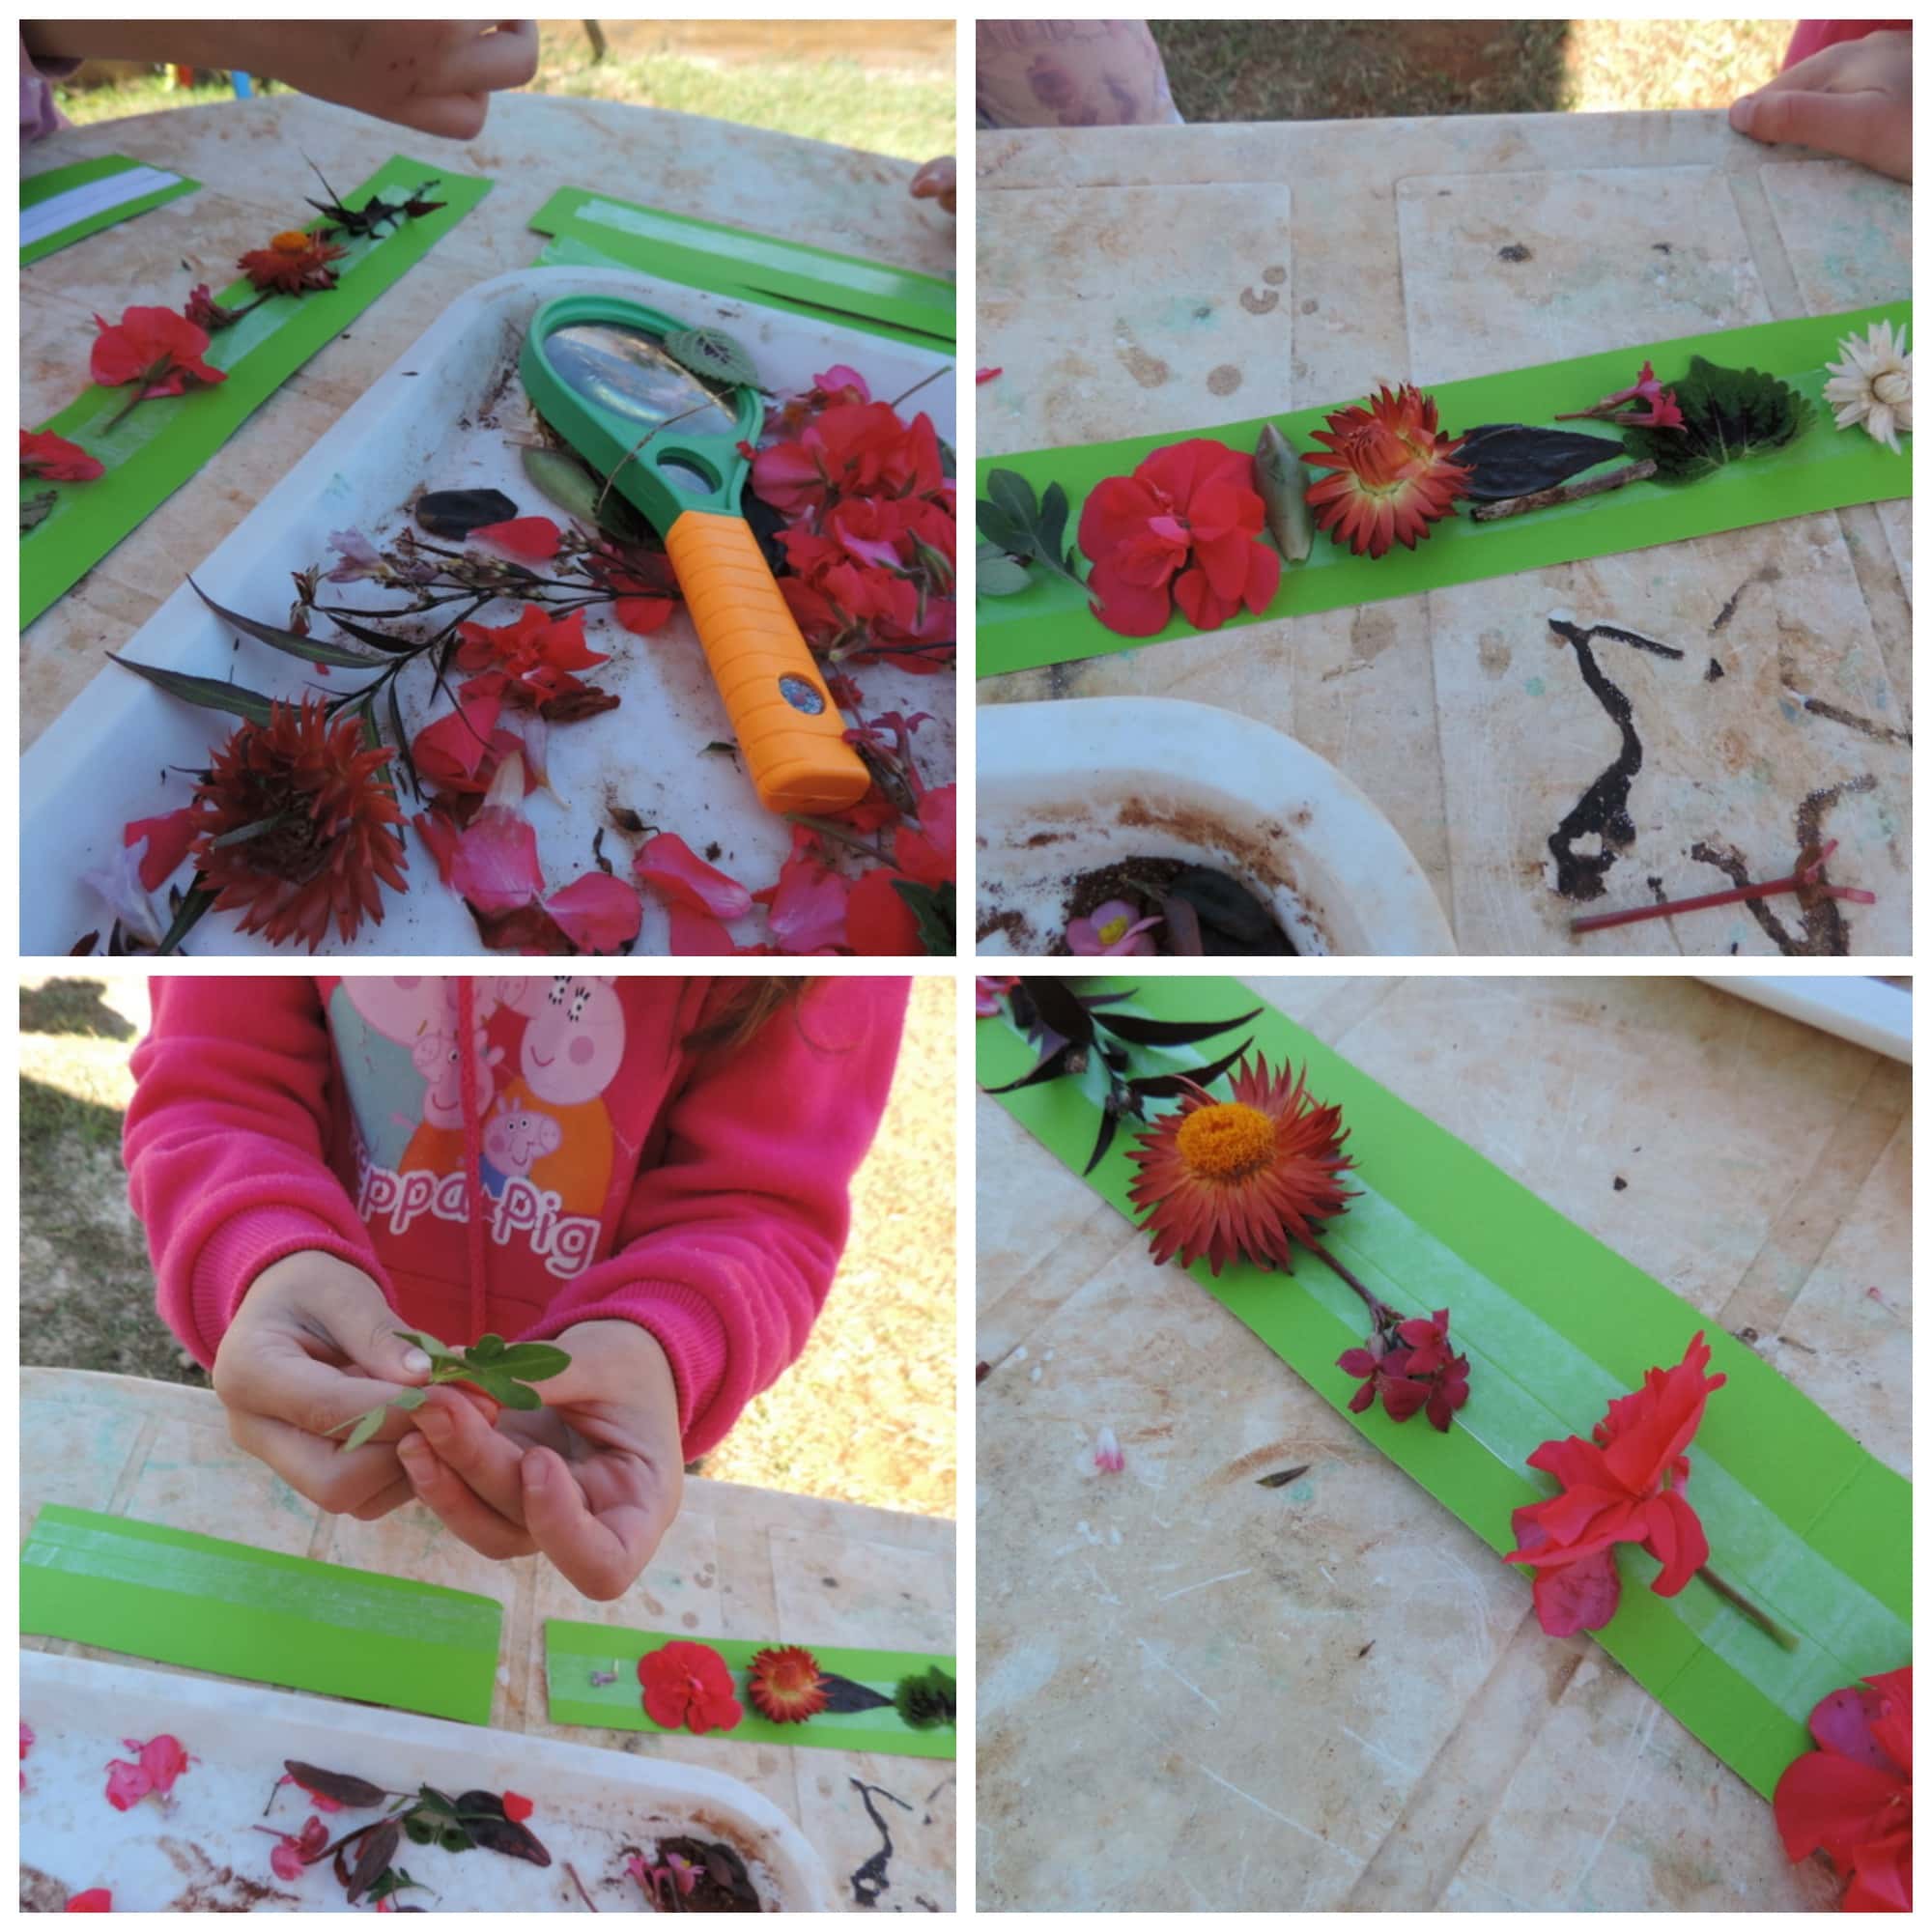
When you have a nice collection of colours and textures bring them back to a table set up with your cardboard strips and tape. I like to use some large trays to spread the children's collections out on so they can easily see and make their choices as they create.
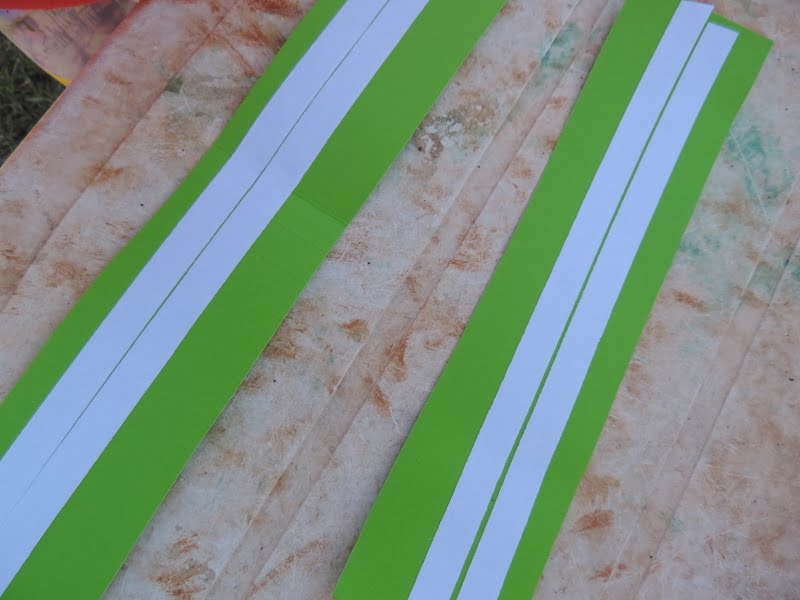
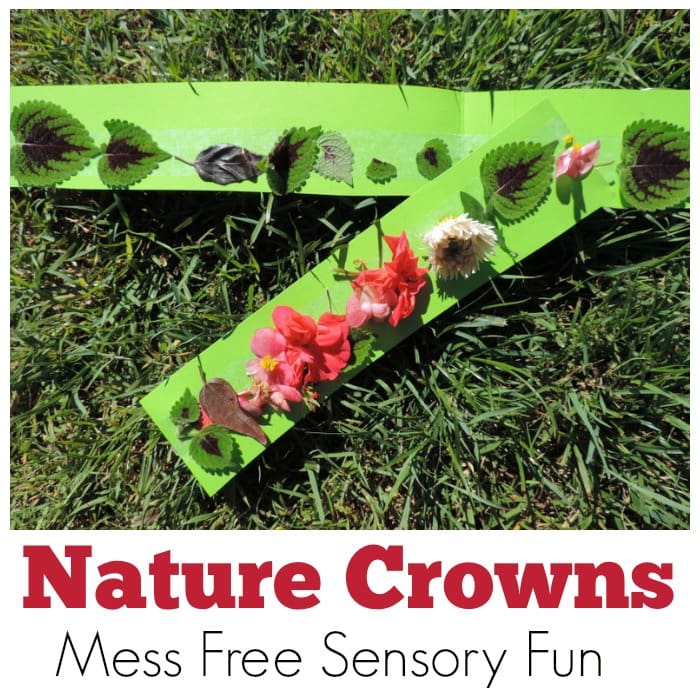
Make sure your cardboard strips are long enough to go around the children's heads – you can always make them smaller later. Peel one side of the tape and press firmly to the middle of the strips. Add as many as you like but just be aware that the more tape you provide the heavier the crowns will end up!
Peel off the tape to reveal the sticky side and then leave it to the children to choose their materials and design their crown – the process is truly lovely to watch and a wonderful opportunity for them to explore and create using natural materials. Watching their design and thought process is very interesting – especially if you have a multi age group.
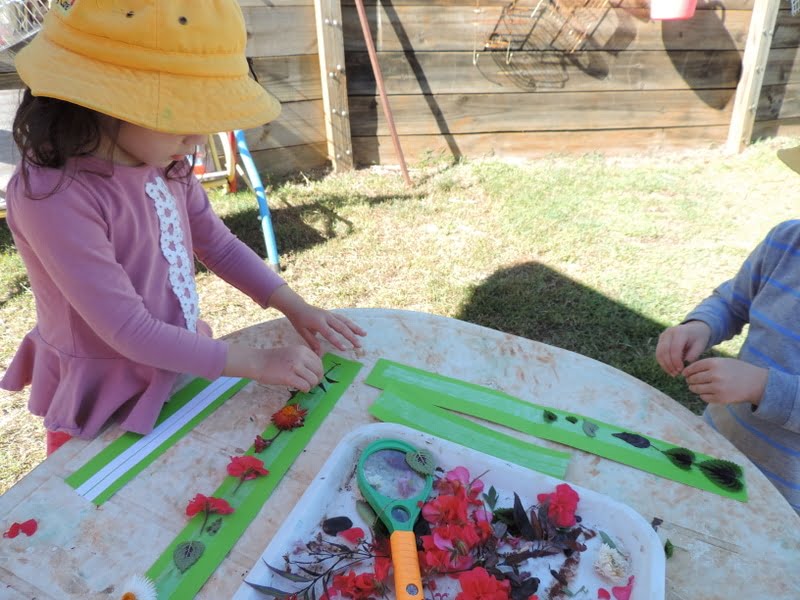
Lots of opportunity to work those fine motor muscles and hand eye coordination skills too!
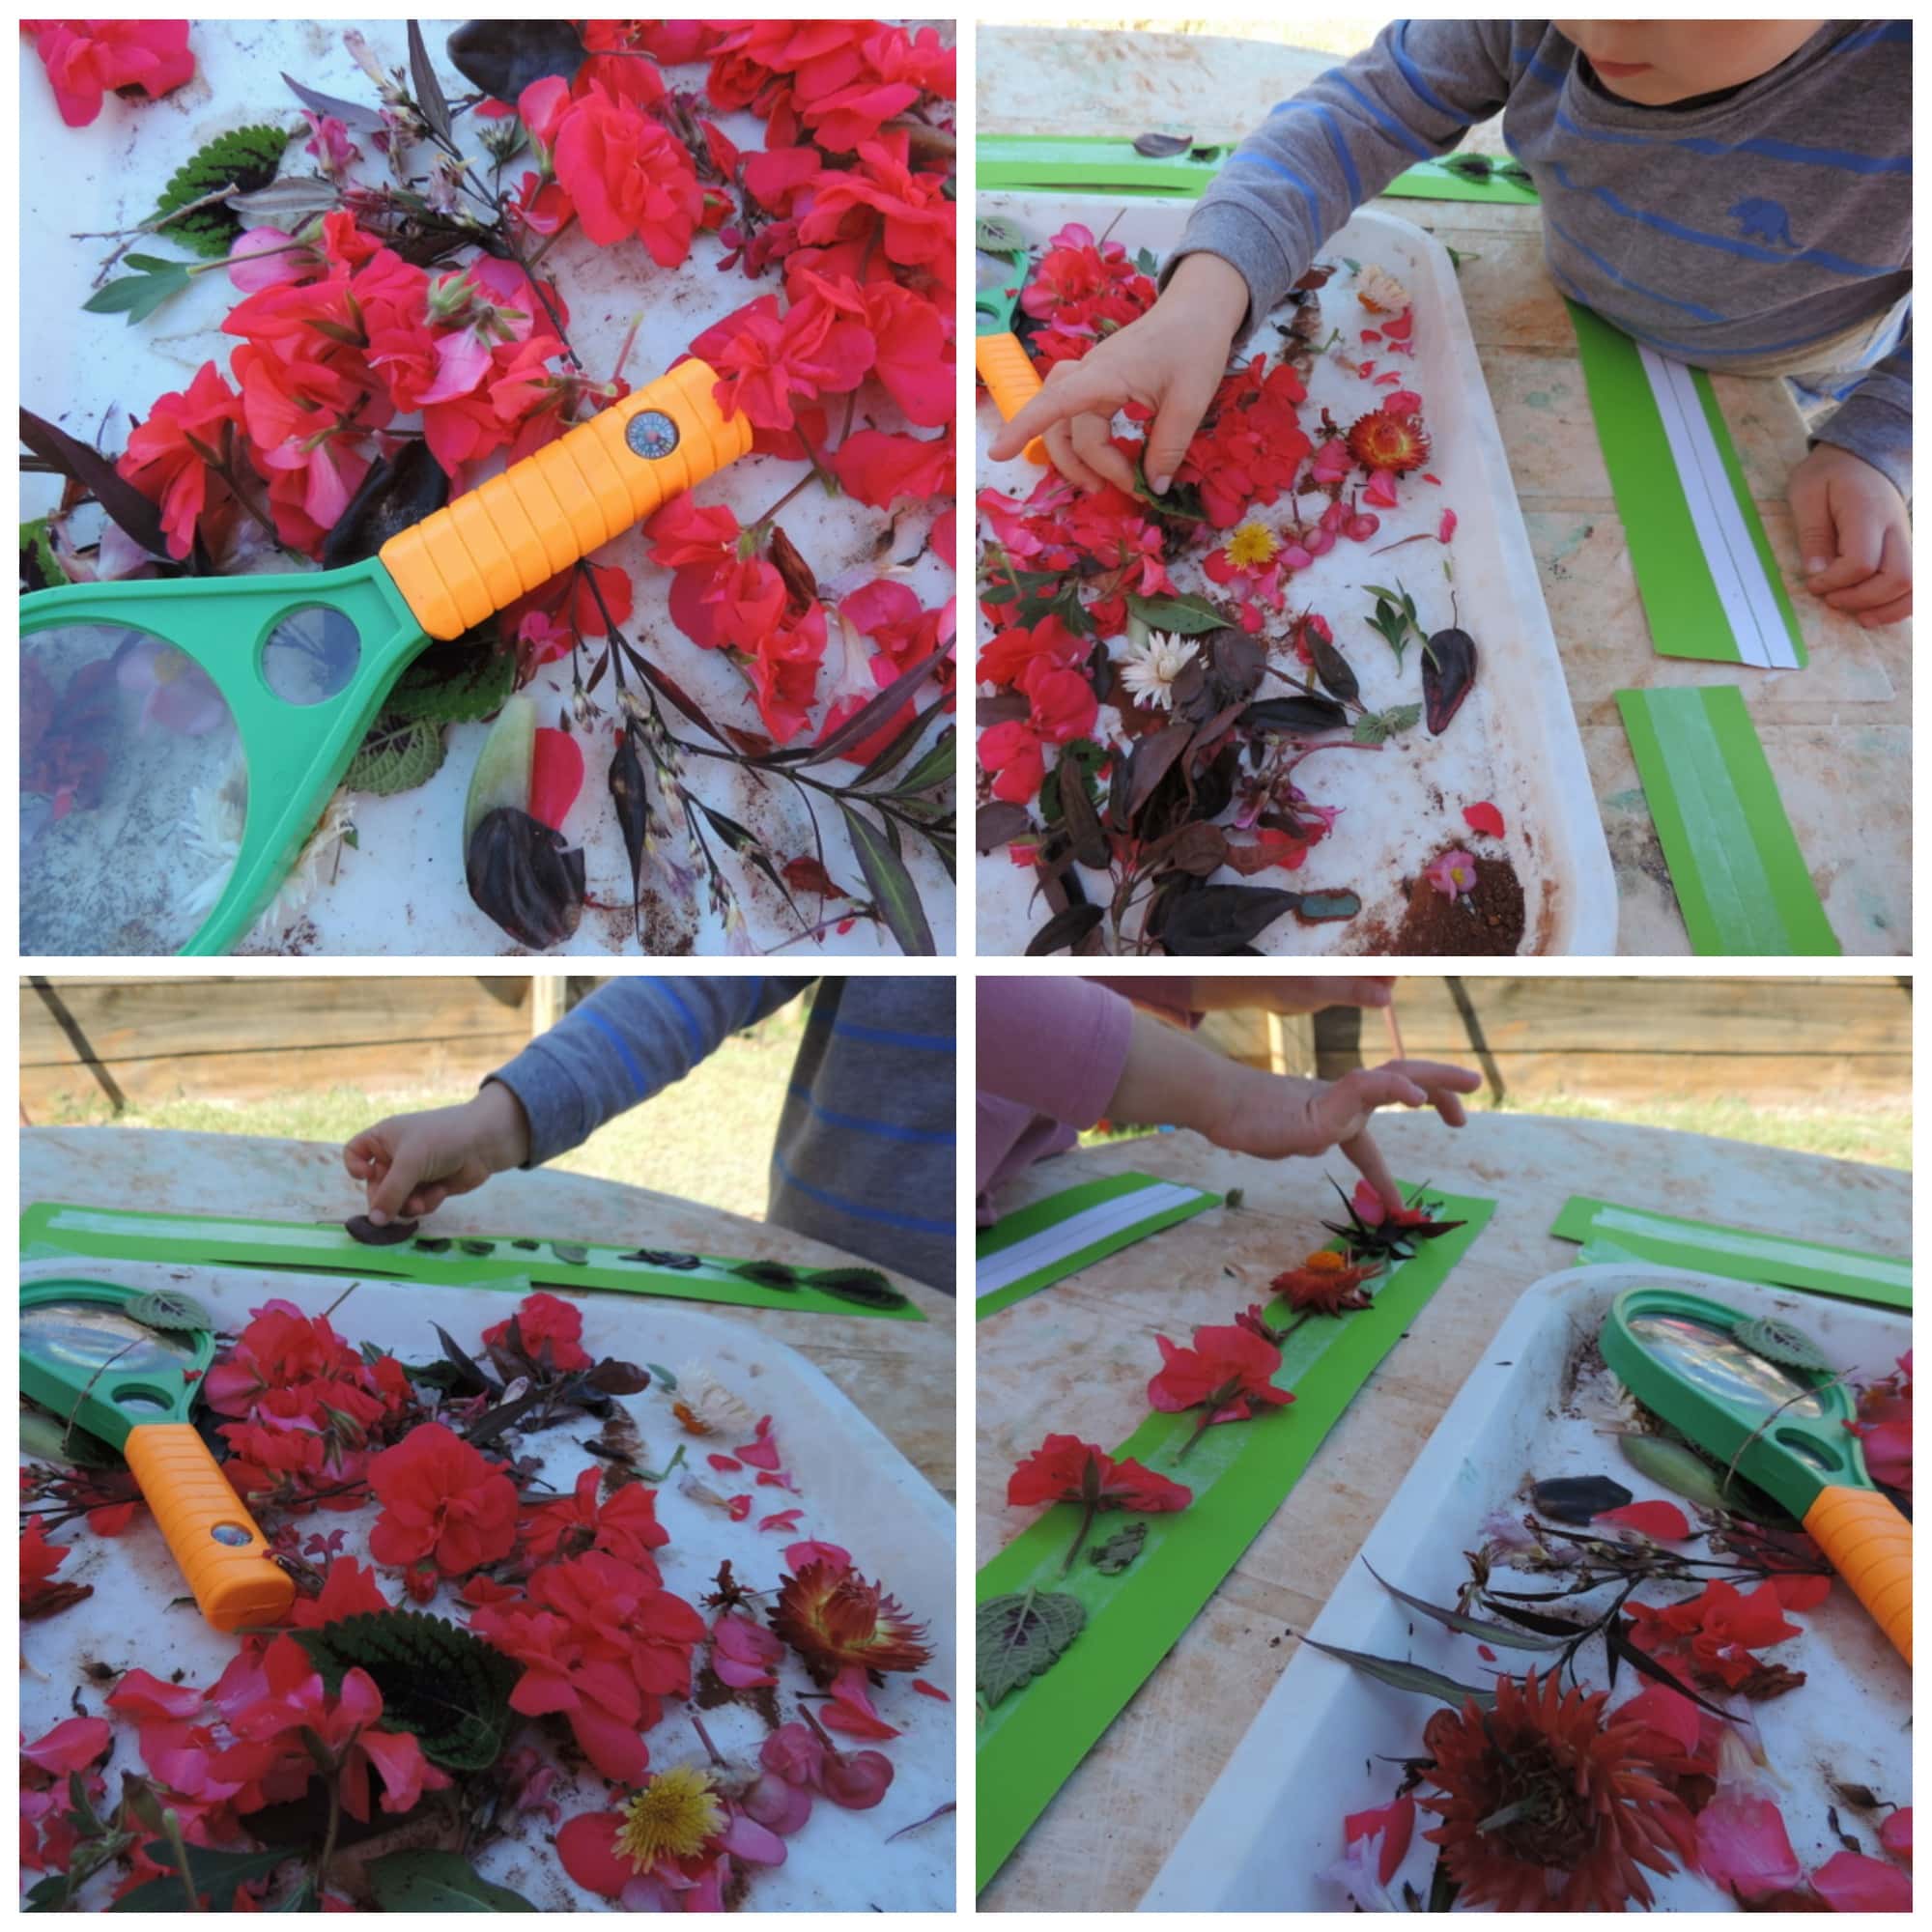
Ruby was very particular about her design and enjoyed showing it off!
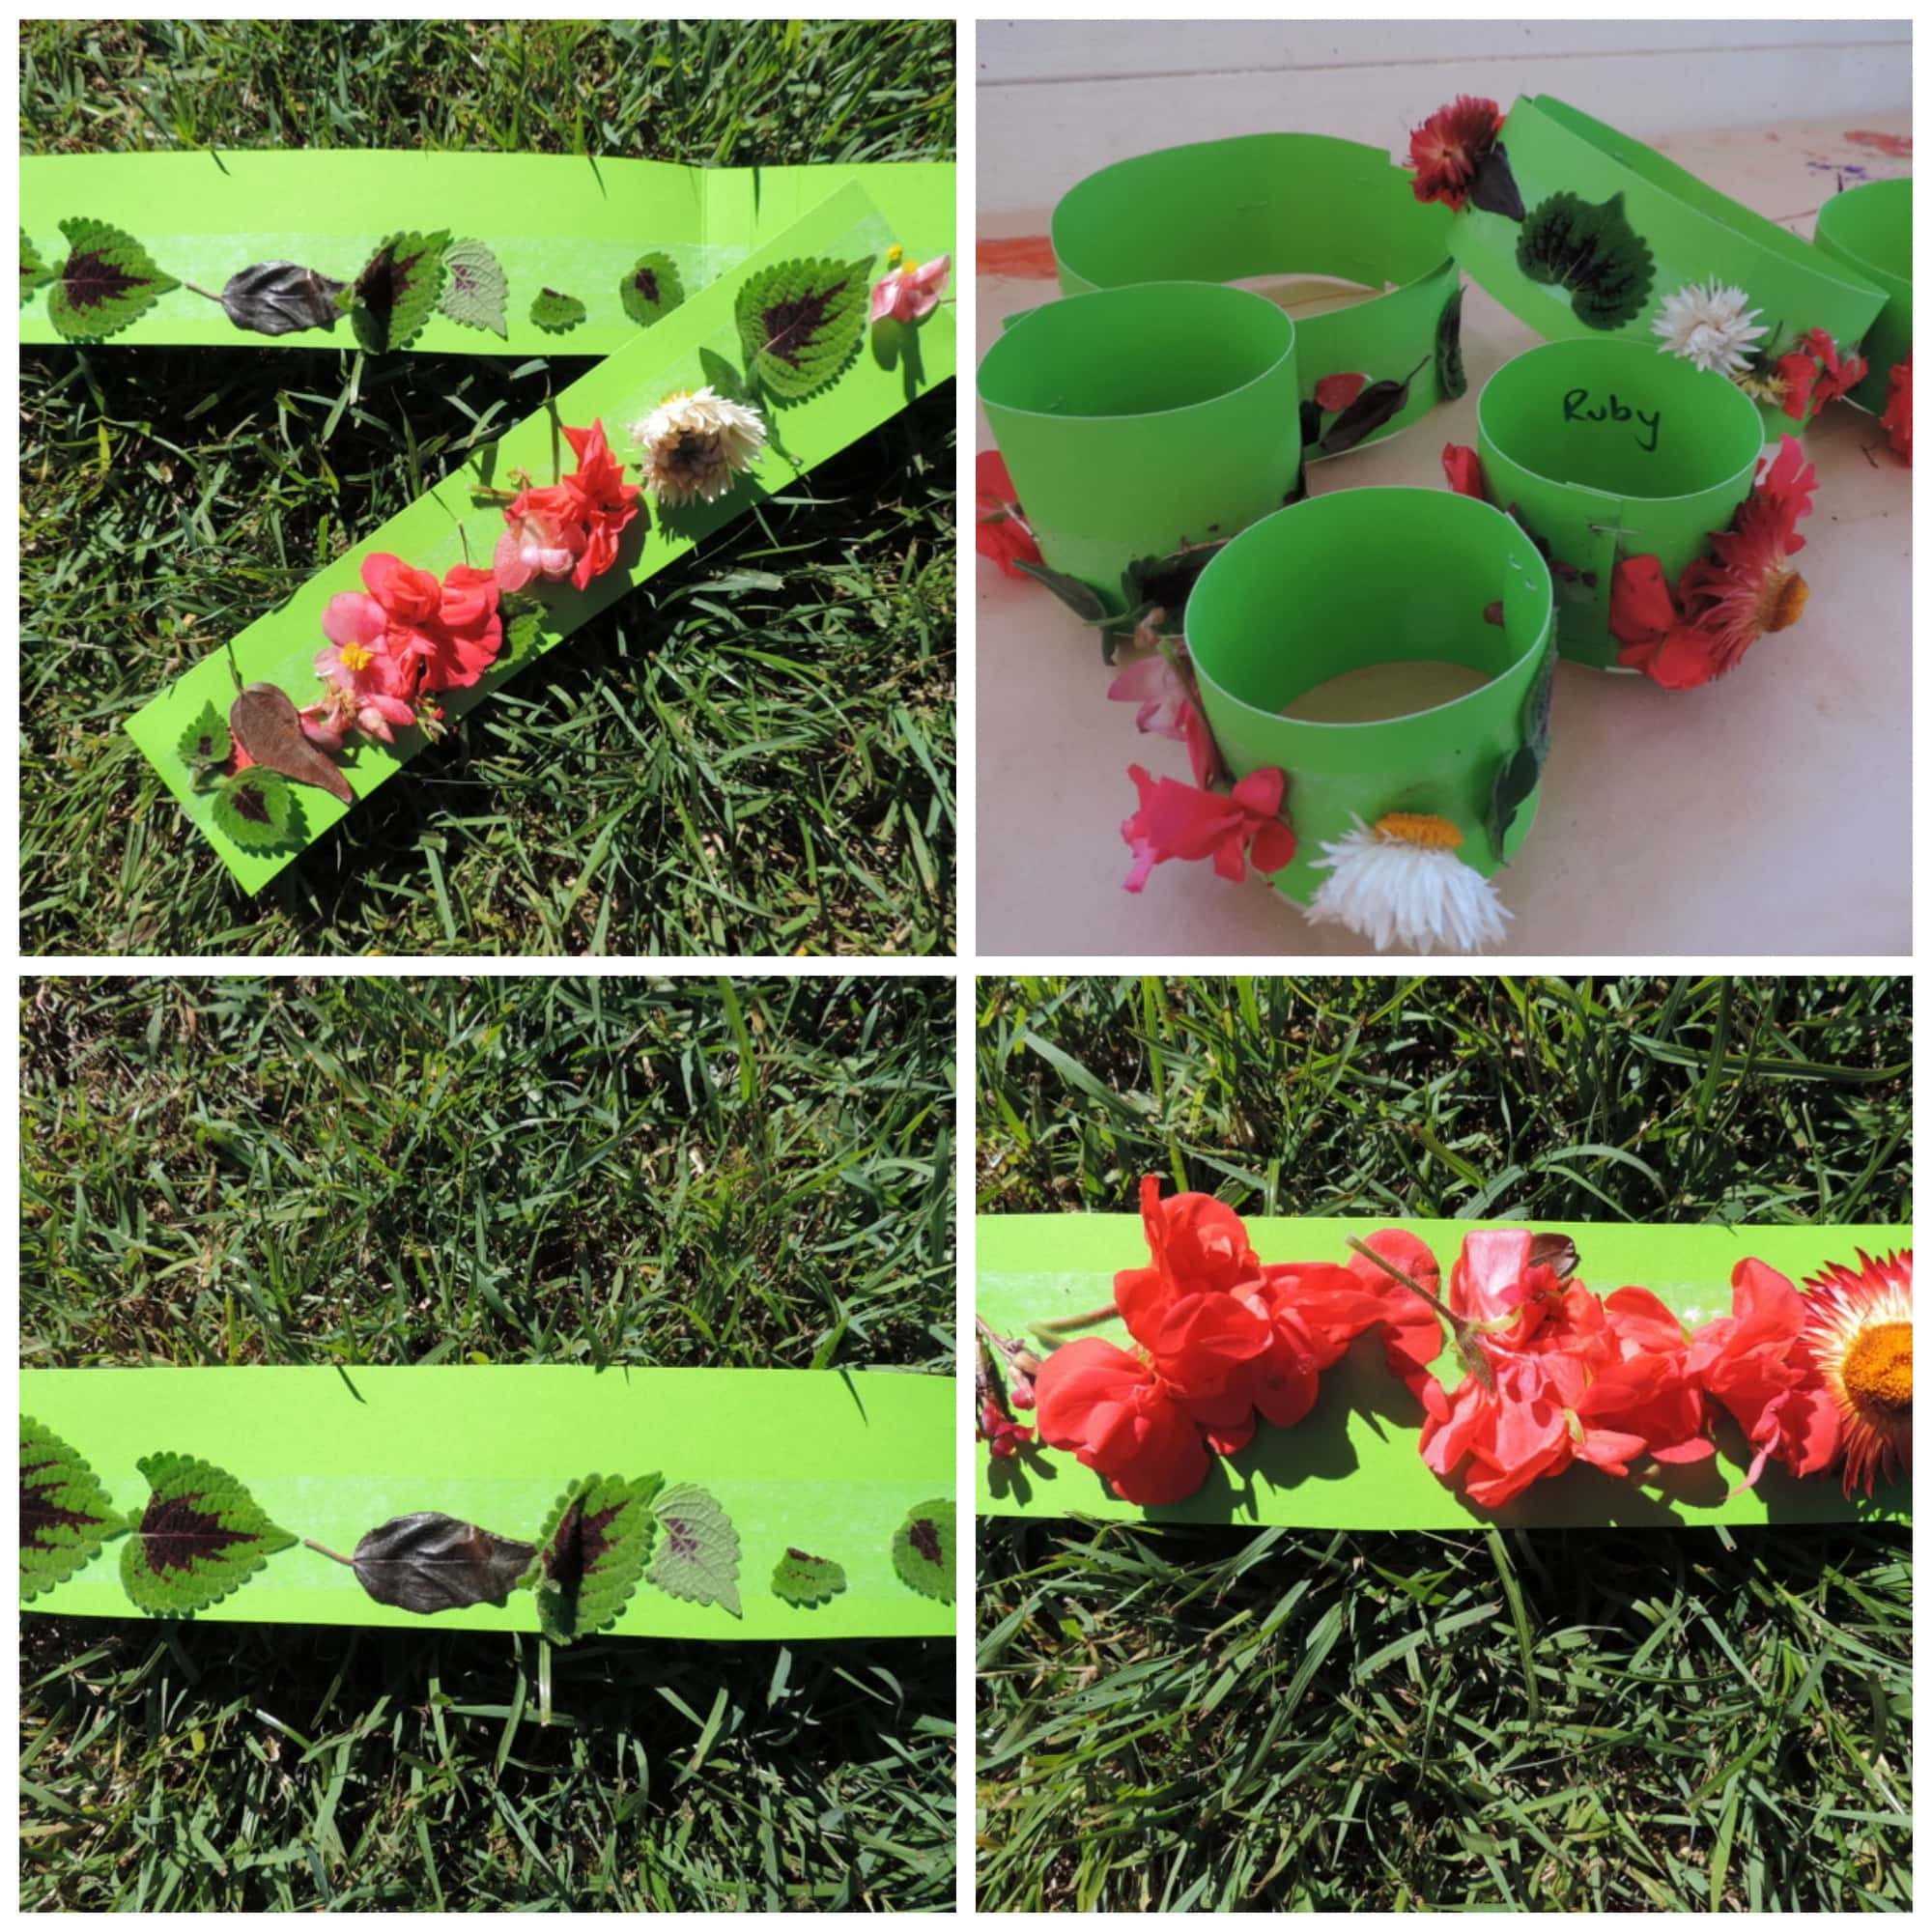
 We made some longer strips for crowns and some smaller offcut pieces became bracelets. Simply fold together after measuring around each child's head and wrist and then secure with some tape or staples. I like to add a strip of tape over staples so there aren't any sharp bits for little hands to get hooked on.
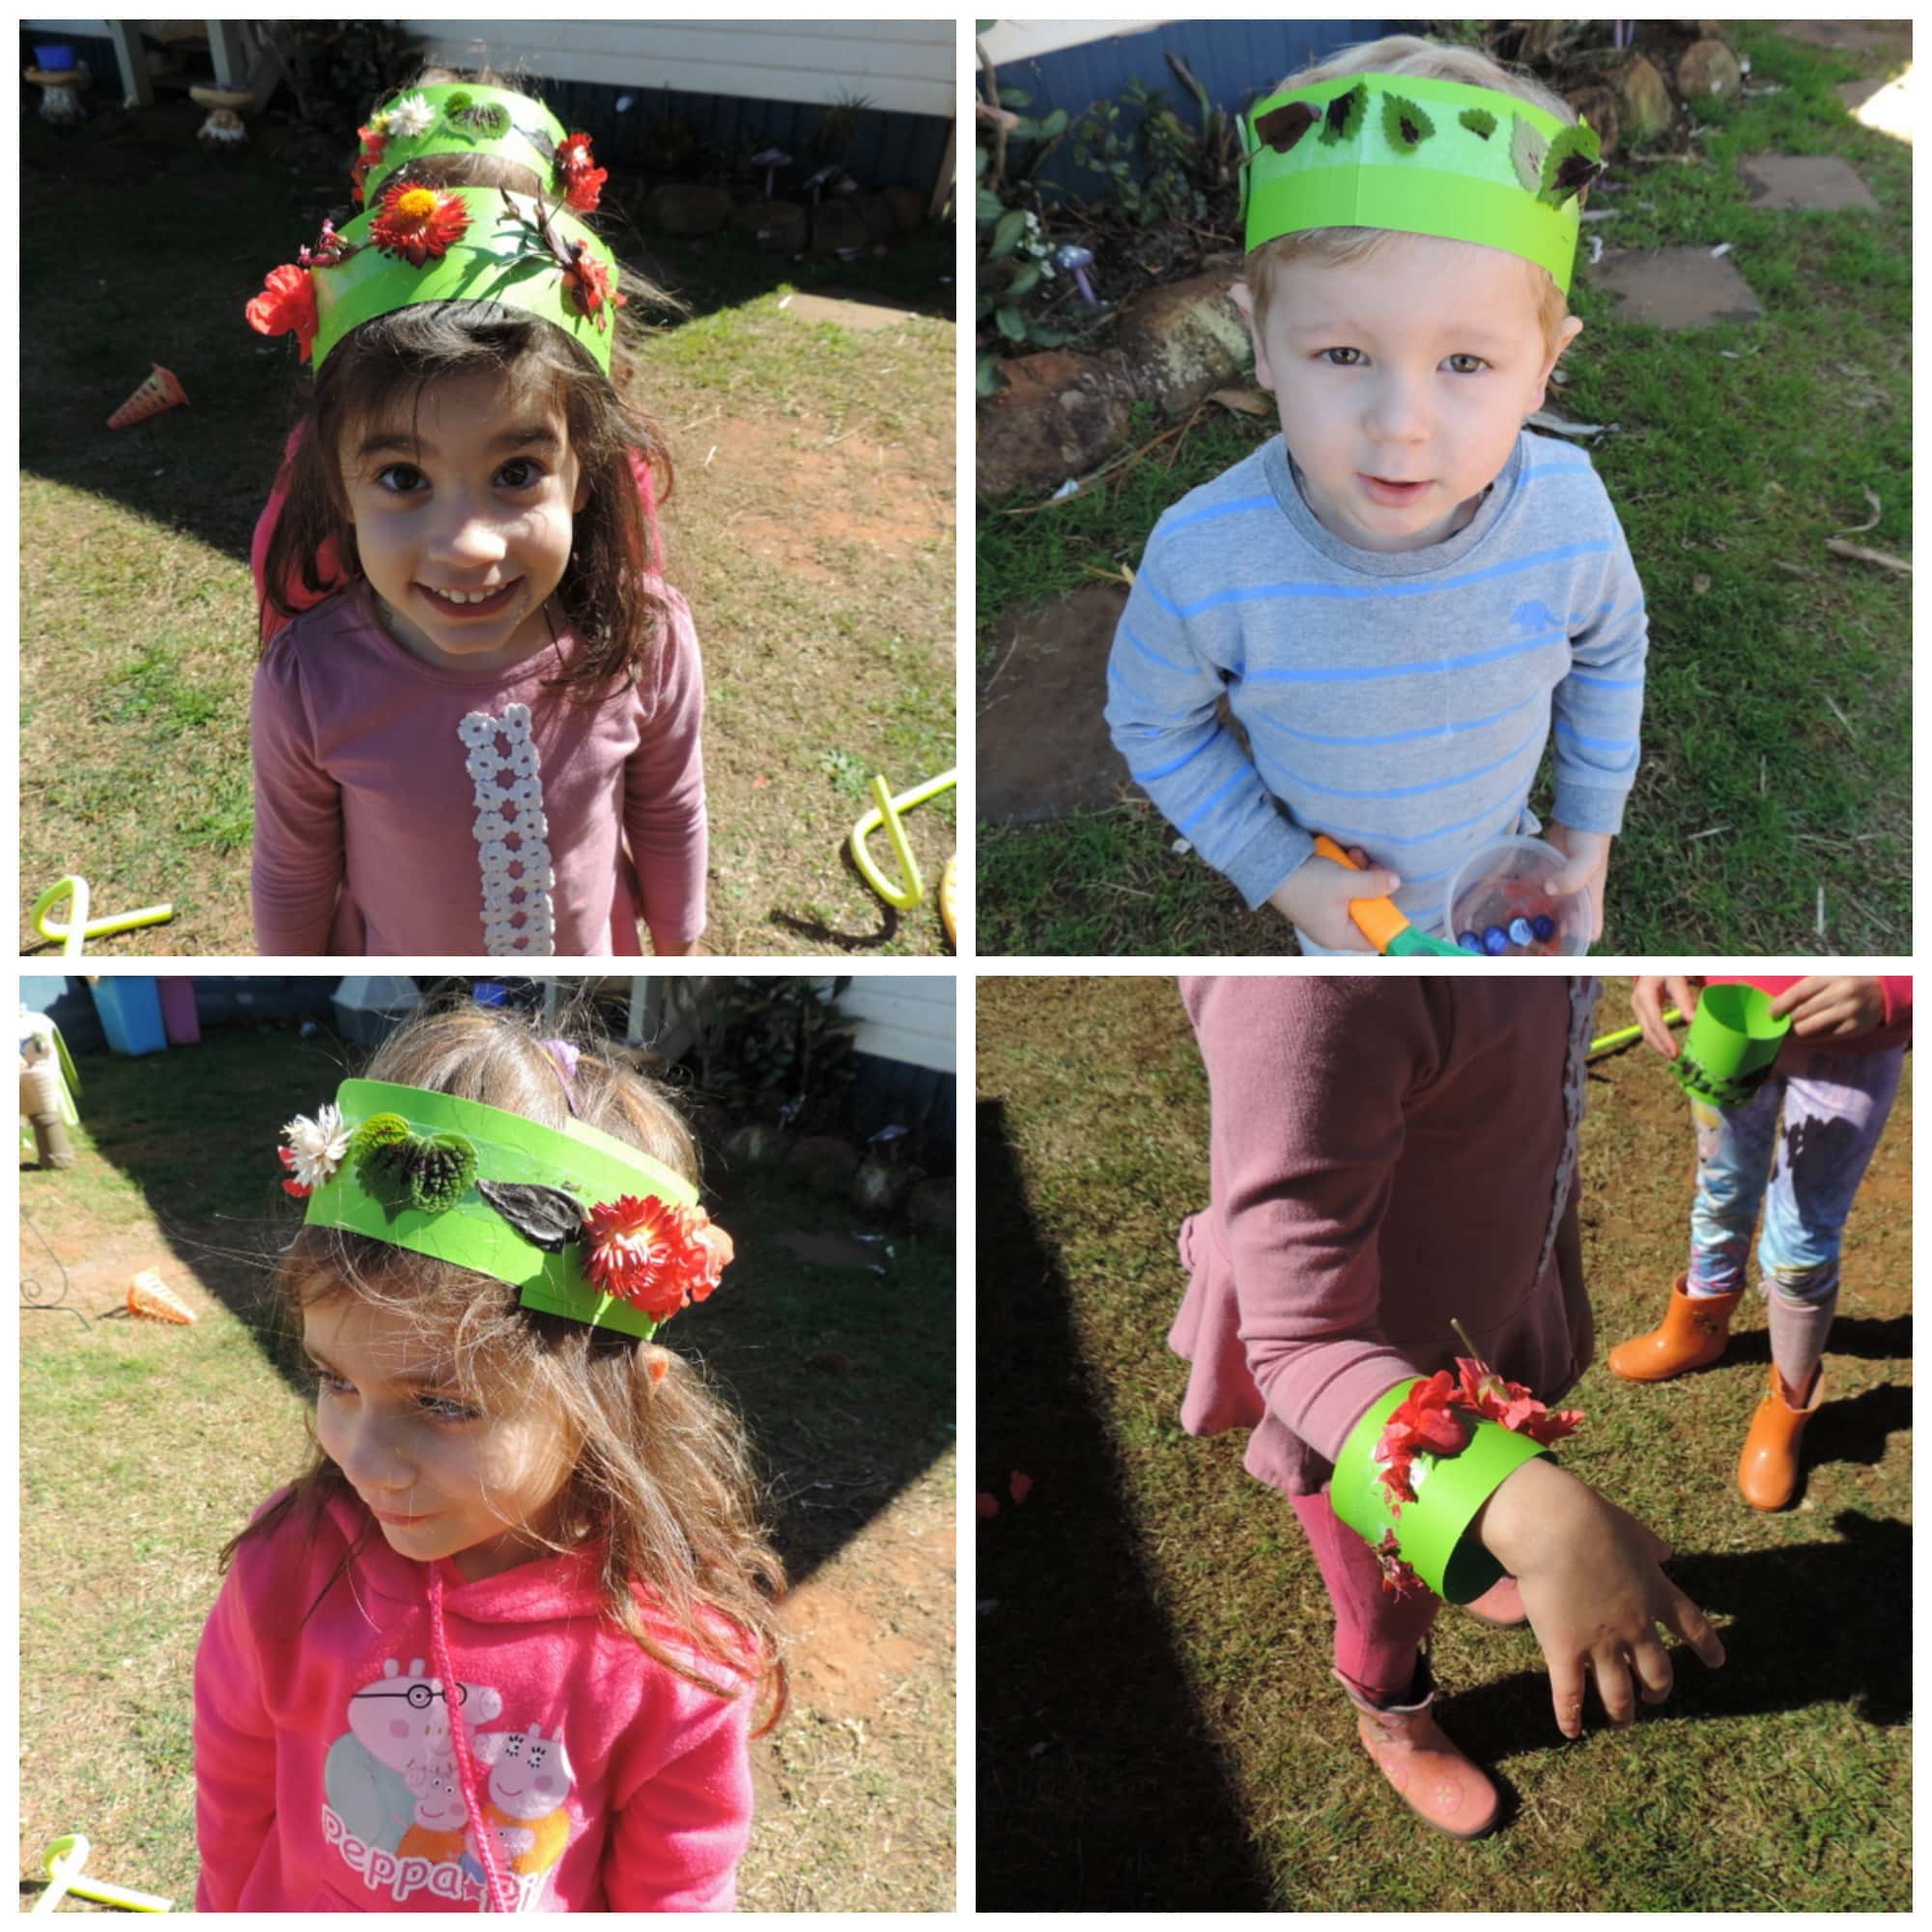
 They were pretty impressed with their crowns and bracelets and each was unique in their design and to the child's personality.
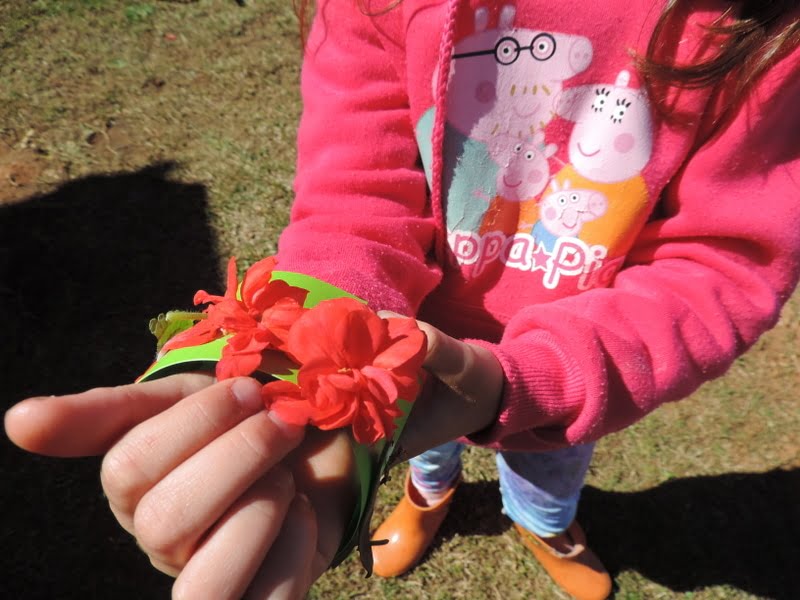
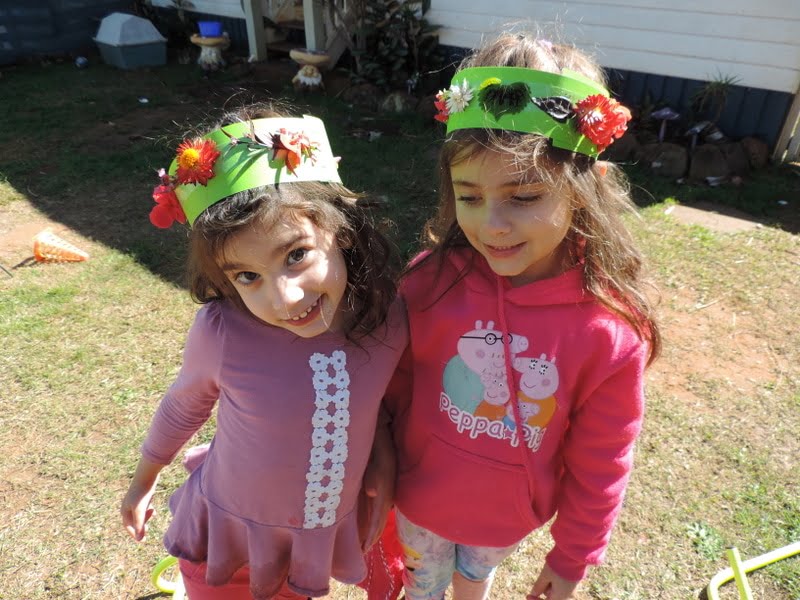
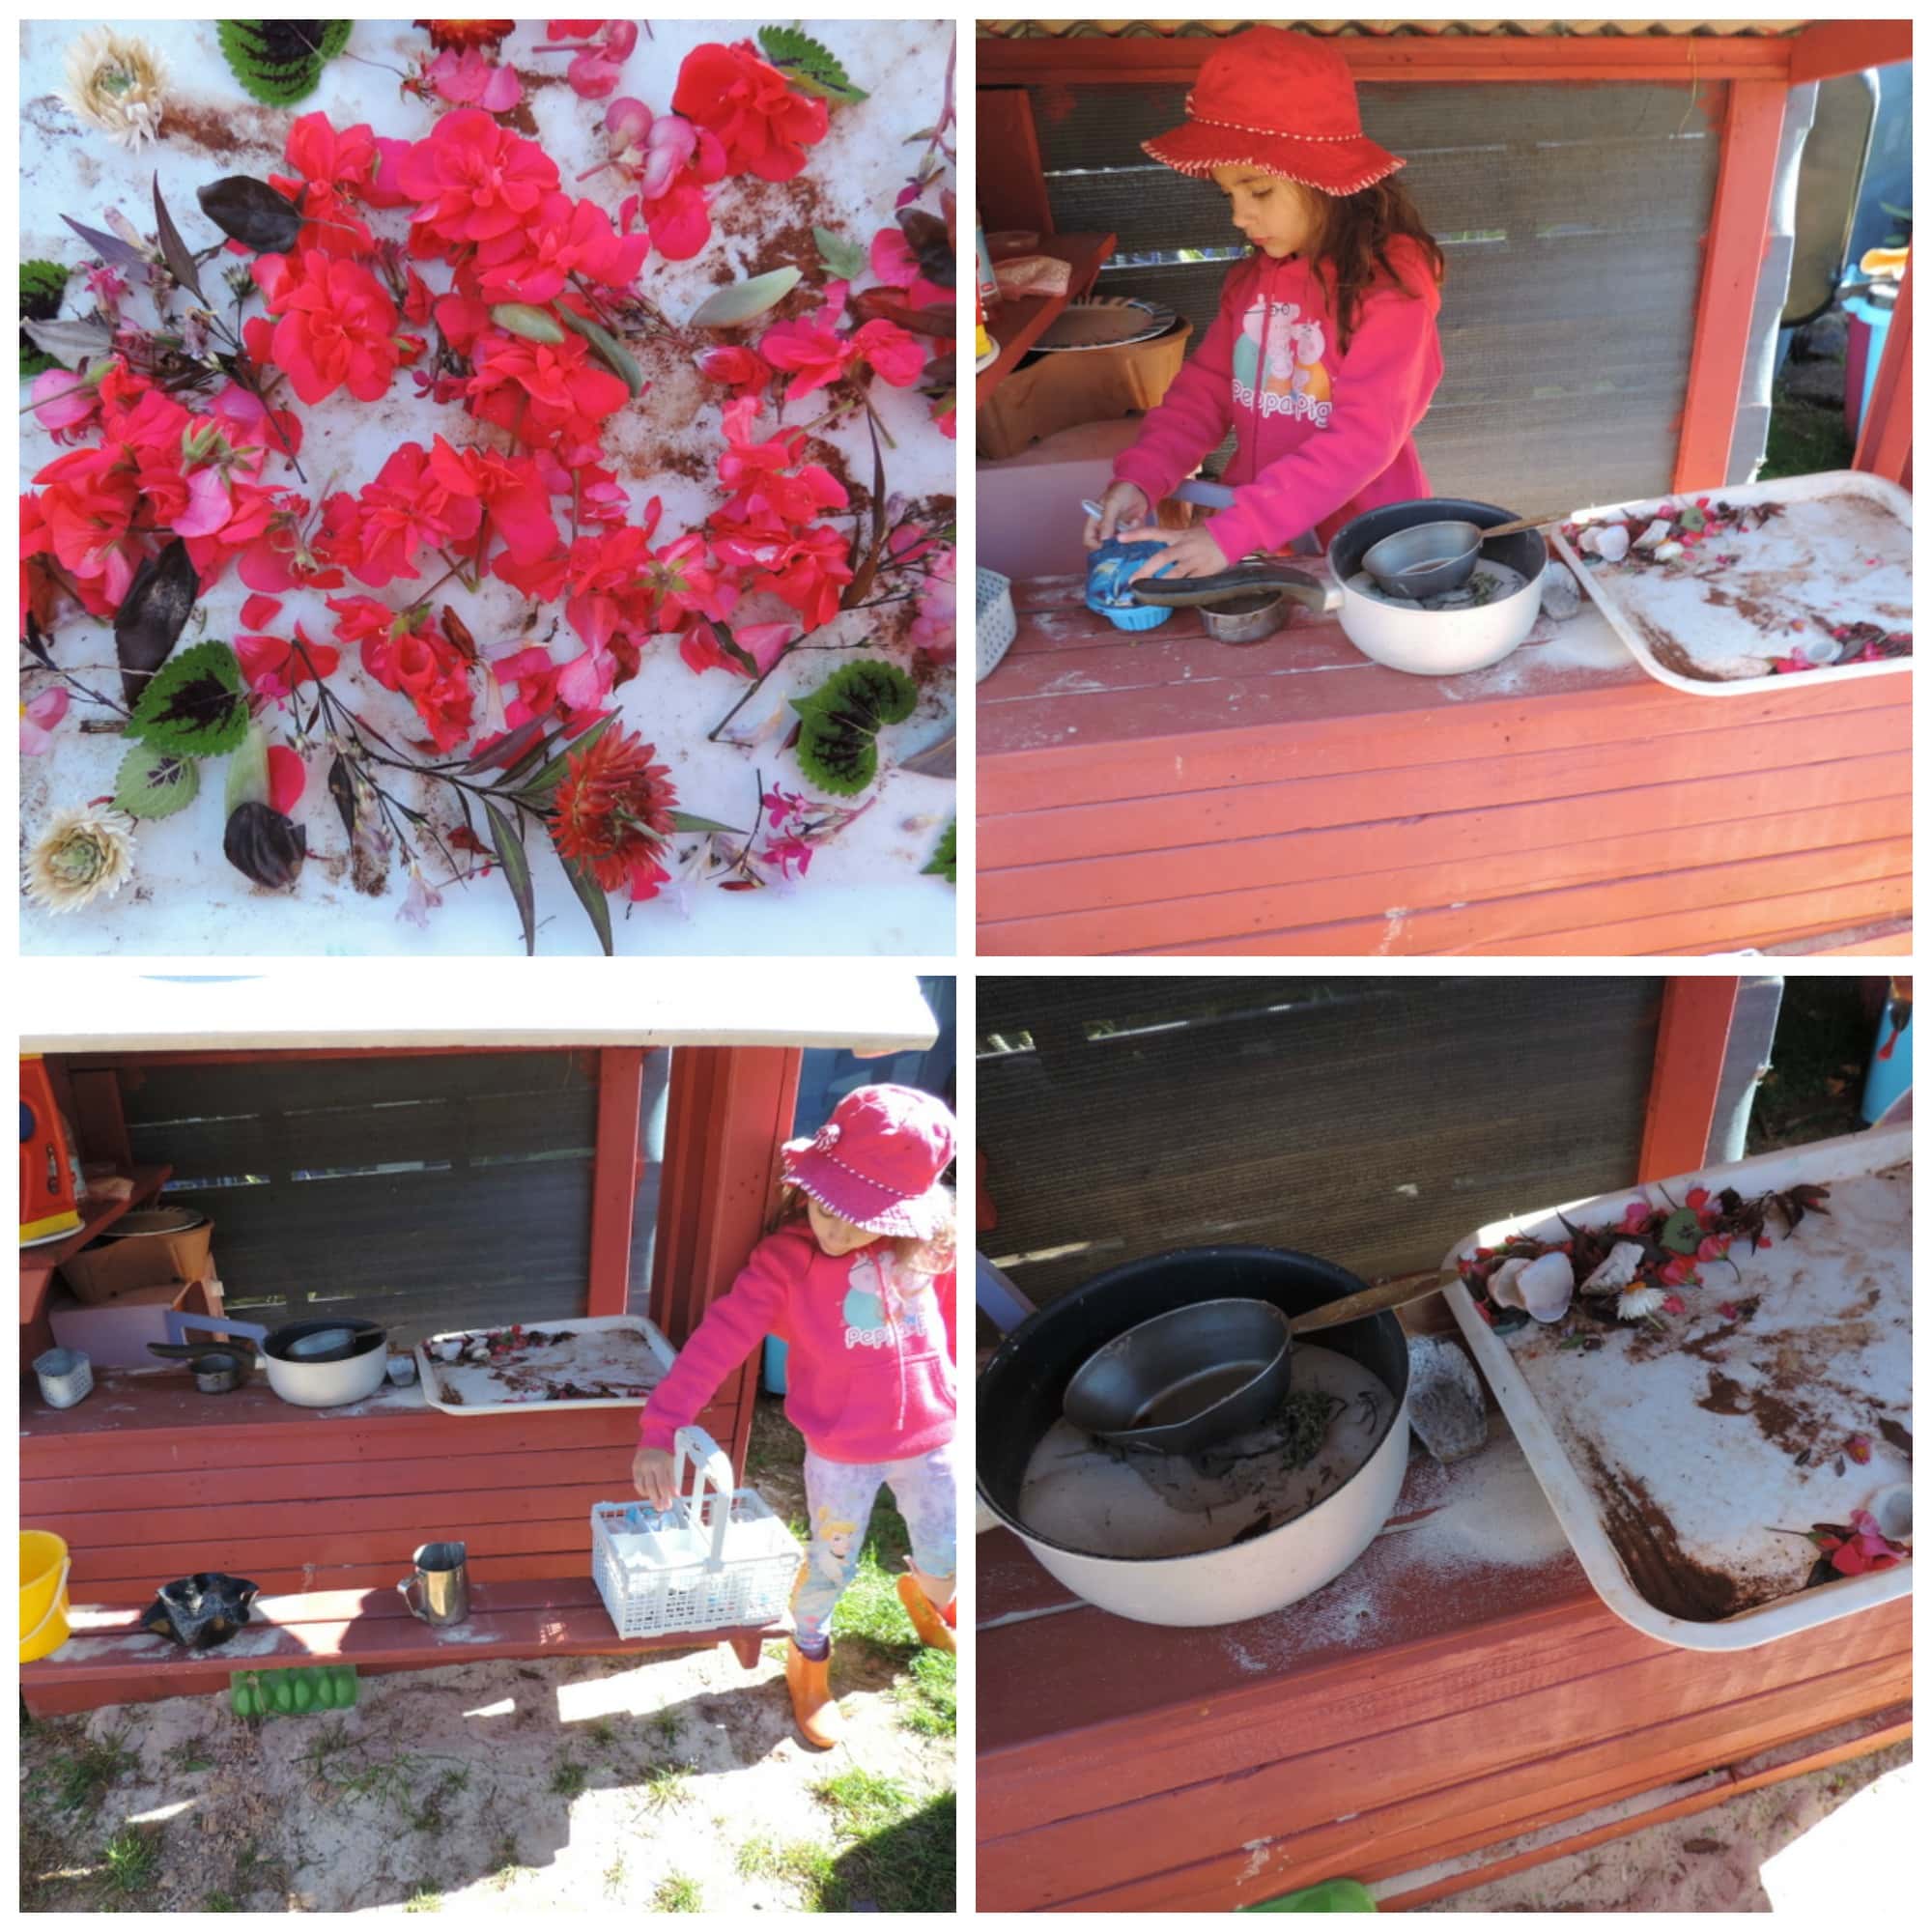
Of course we couldn't let the leftover treasures from the garden go to waste so they were quickly taken to the outdoor cafe and became part of a sand kitchen feast. And that left very little for me to clean up…yay, double bonus!
This activity is suitable for toddlers as well as older children and is very easy to modify yet needs little supervision. It offers many opportunities for discovery and learning and is such a simple way to incorporate natural materials into the children's play environment. I hope you give it a go….make sure you share some photos of your crowns with me on my Facebook page so I can share with everyone!

Leave a Reply