I spent 2014 sharing a lot about our outdoor play and the natural playspaces we have worked on for my family day care business. I always receive a lot of questions about our spaces and how we think up what we do so I thought it might be nice at the start of 2015 to reflect upon what we have achieved, how we achieved it and the initial planning stage.
We have 8 acres to play with so I always knew that we would be setting aside the backyard area to be child focused. Initially I drew up a few rough plans with only my twins in mind but when I decided to begin a family day care business it began to evolve (much to his patient self's alarm) We aren't landscapers by any means but we love to garden and plan spaces and I know what children like and what will keep them interested and challenged through my years of working in early childhood.
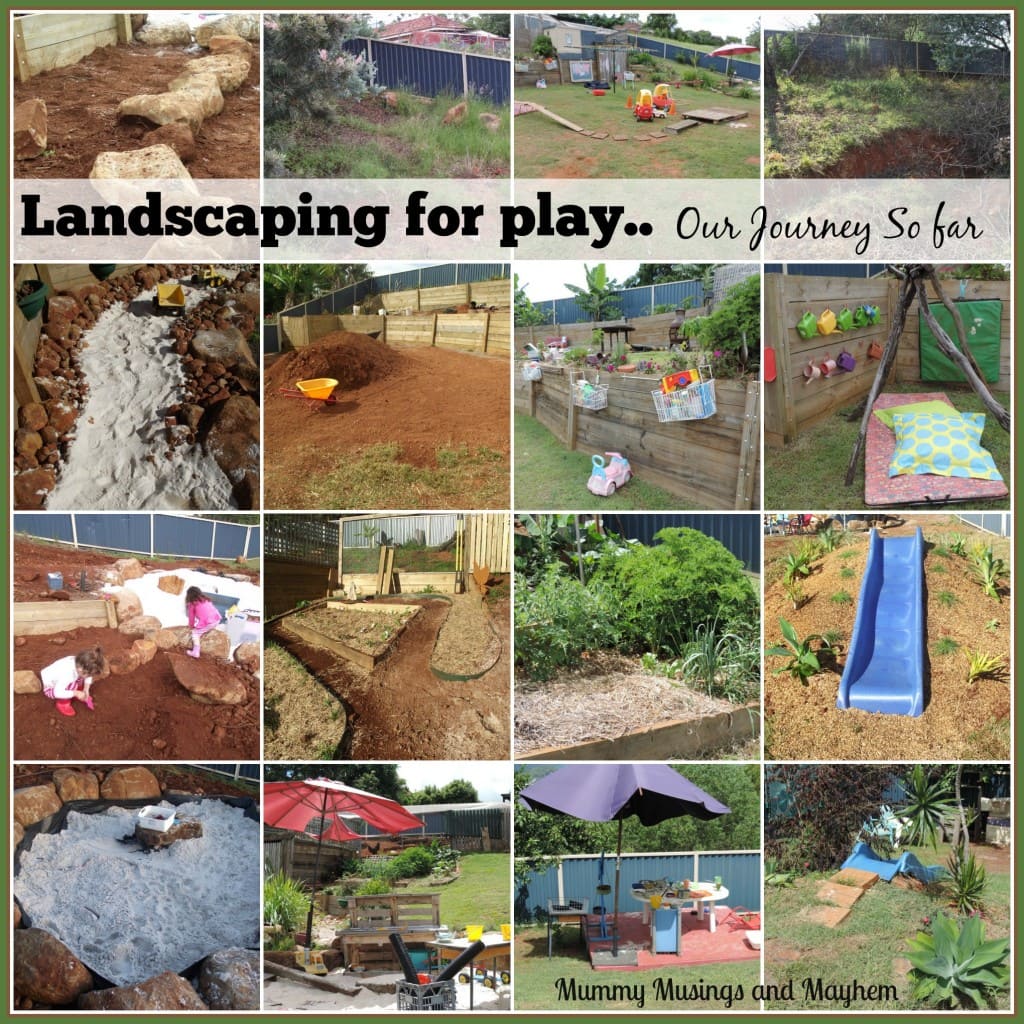
At times I thought I would never see grass again and was depressed to see so much red dirt everywhere, it was sometimes hard to keep hold of the end vision – especially as the spaces needed to evolve according to what we had as it was important to me to use the natural resources we already had and do things as cost effectively as we could. The backyard had been ignored while we were going through the IVF process and in the year after the twins were born – it just seemed to hard.
But eventually I knew we had to make it a safe space they could play as you know how much I value outdoor play! So it was time – enough with the pinterest collections, the blog reading , plan drawing and notes, the excuses. It was time.
I'm going to try and take you on a journey of how we progressed and why I came up with some of the ideas that I did. This post has a lot of photos – it really is the only way I can tell this story so I want you to treat this post like a photo album (yes I know – very old school !) and scroll through to the areas that interest you. Maybe come back another time to explore a little more. I know not everyone has a big space to work with like we do but there are elements that can be included in even the smallest yard I promise.
I'll try to keep the text to a minimum as the photos will take you on the journey…ready? Let's go….
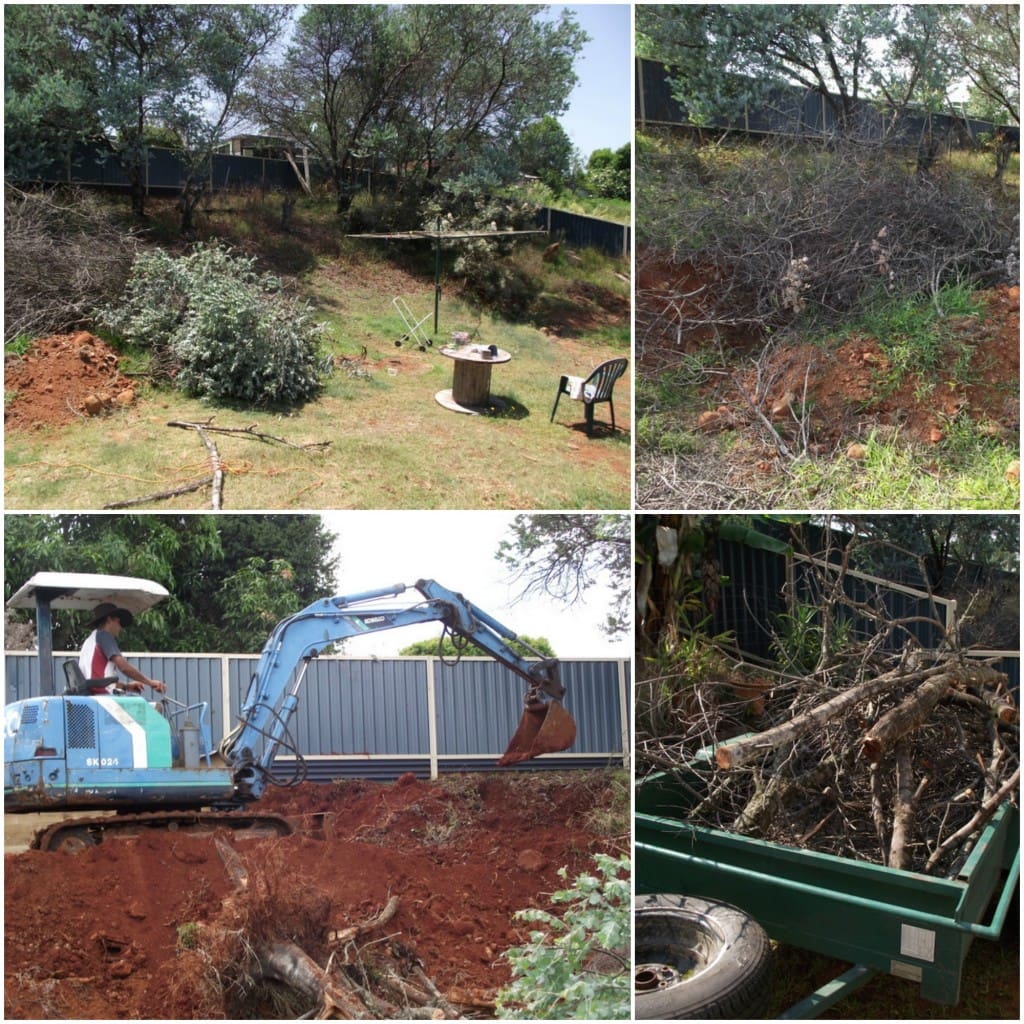
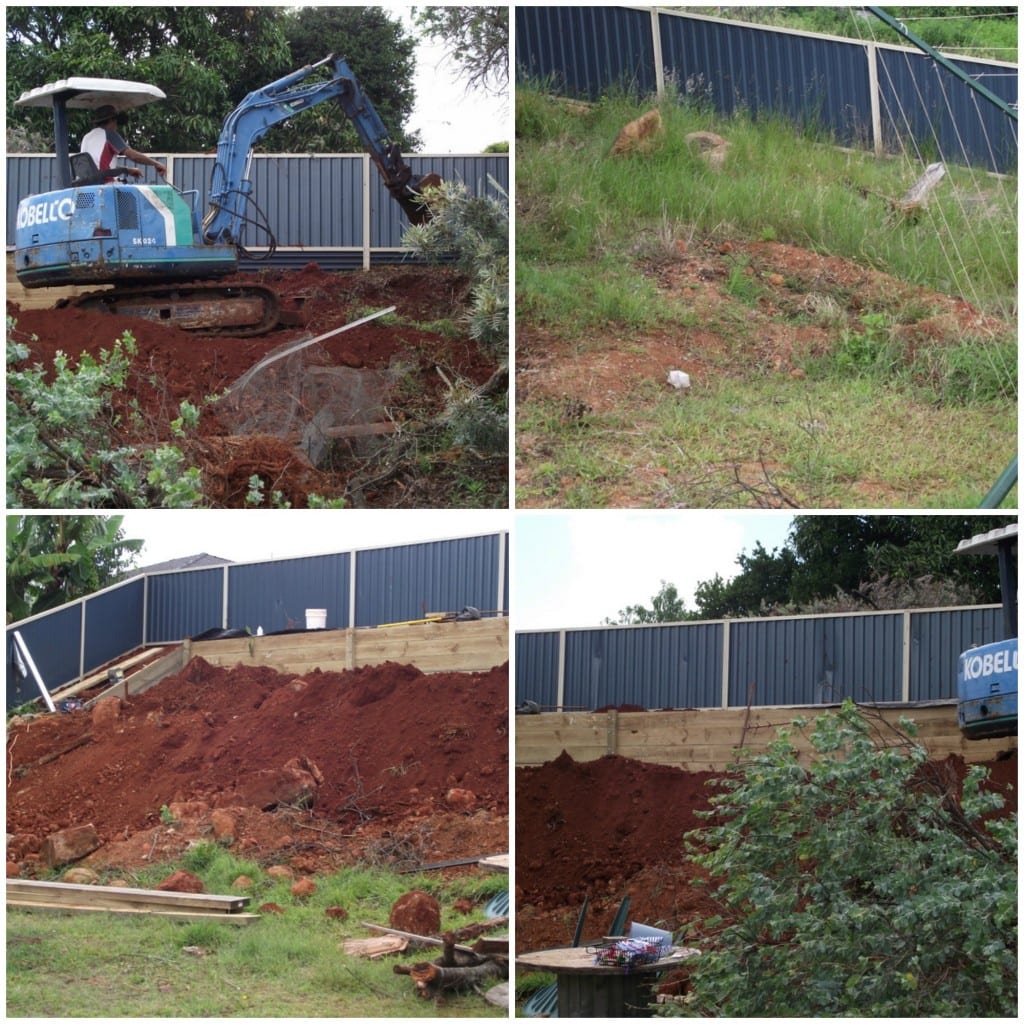
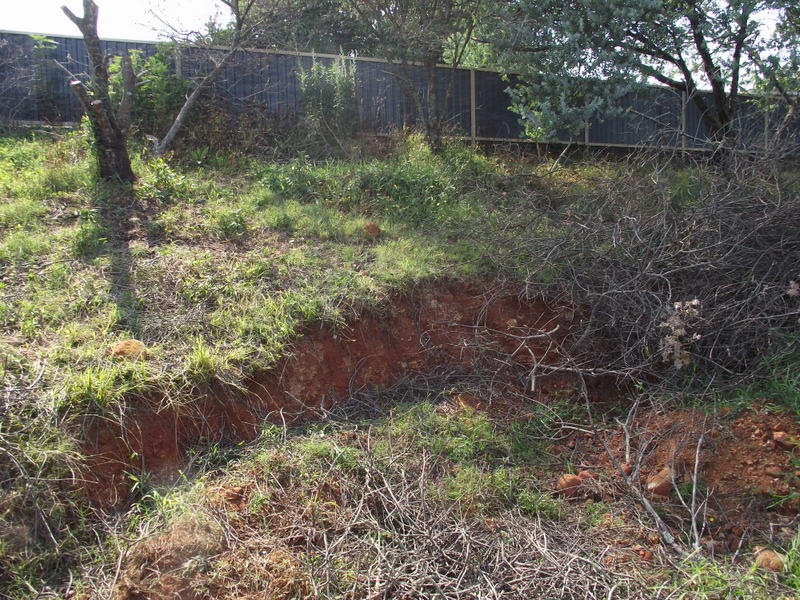
This is what most of the backyard originally looked like – we had some lovely wattle trees along the top but they were all dying unfortunately so needed to come out as they were getting dangerous. This doesn't look like it but it was actually a very steep slope and meant we didn't even use half of the yard. We put the fence in to define our boundary (and keep dogs and kids in) not long after we moved in but that was all for a long time!
The Retaining Walls
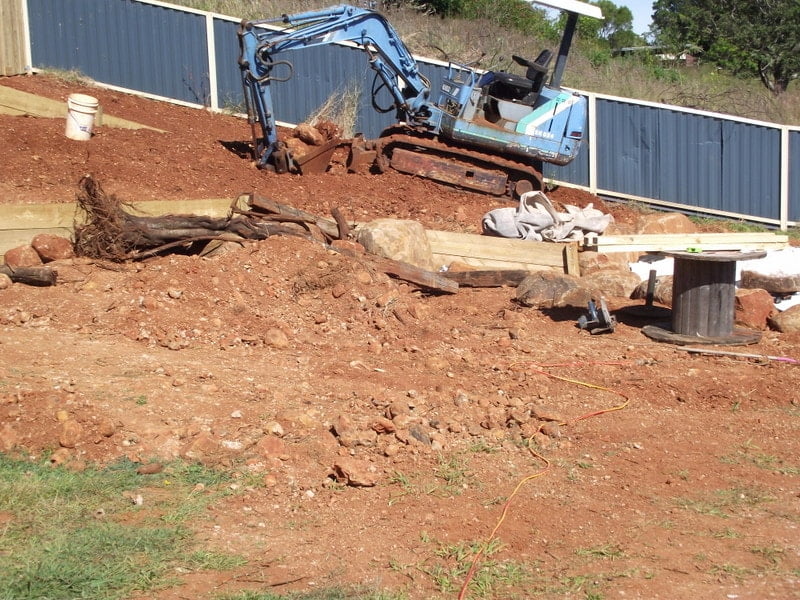
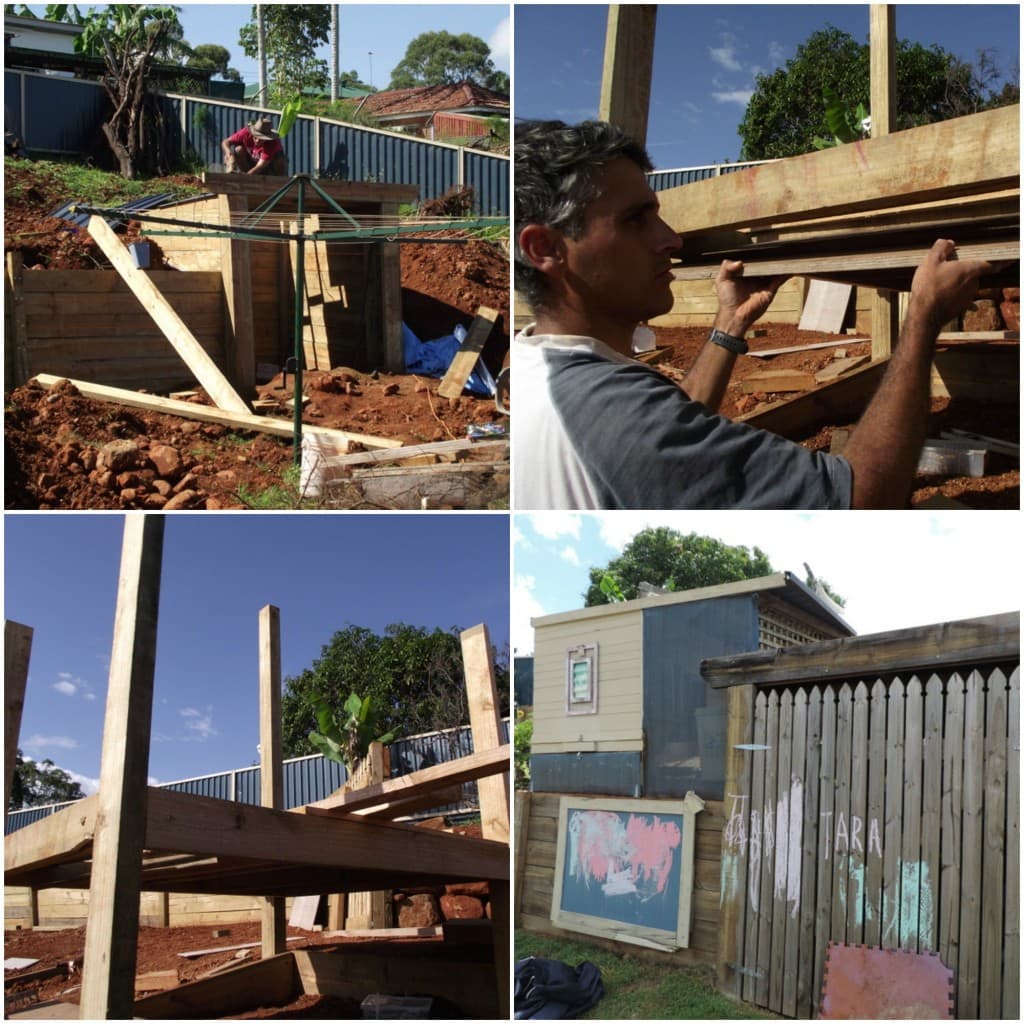
This was where His Patient Self wanted to start. His idea was that he wanted to terrace this slope and incorporate an area for the chickens as well. This meant removing the trees and transplanting others we wanted to keep. It took a long time and was awfully hard work – even with the excavator. Those branches were so heavy getting out the side gate and onto the trailer.
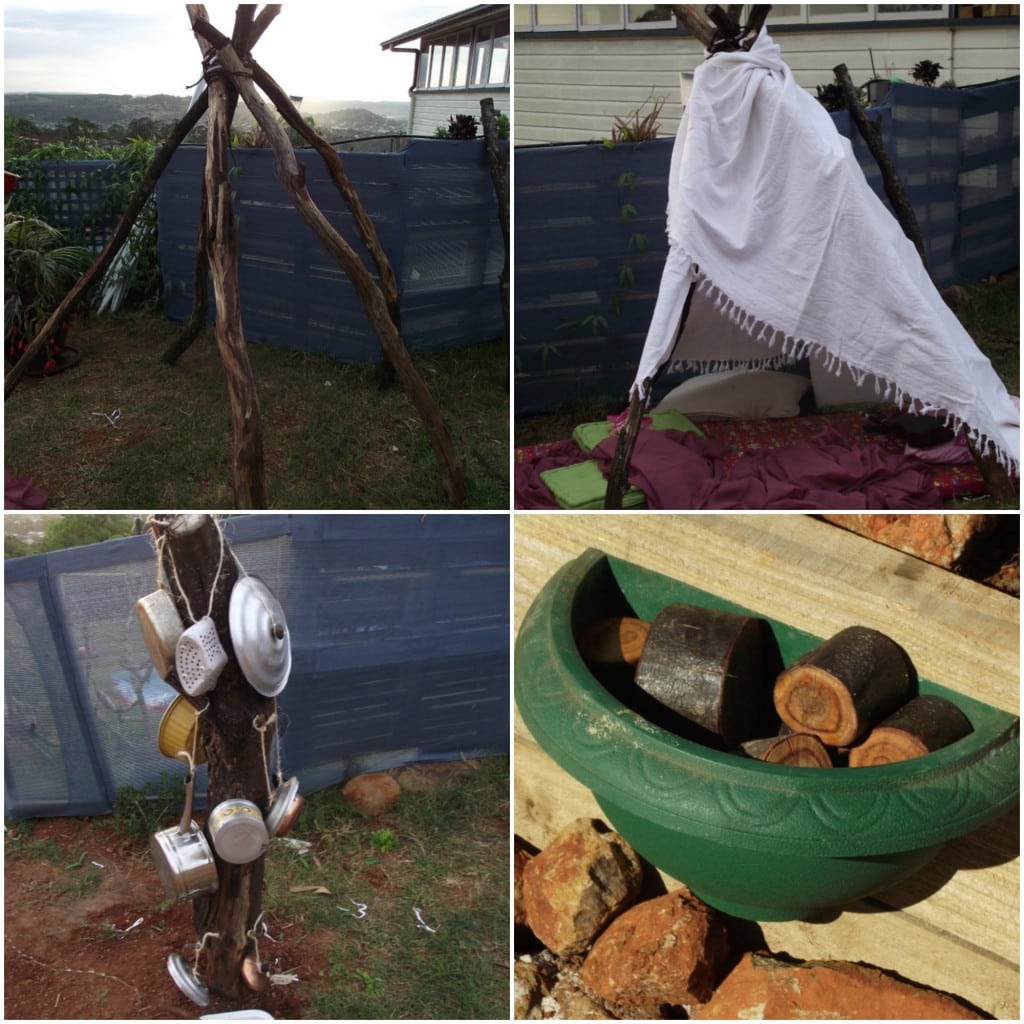
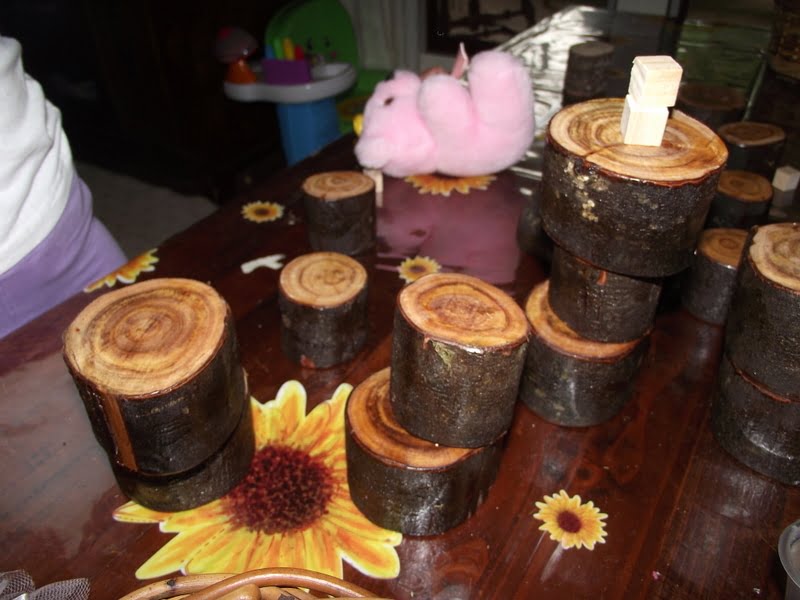
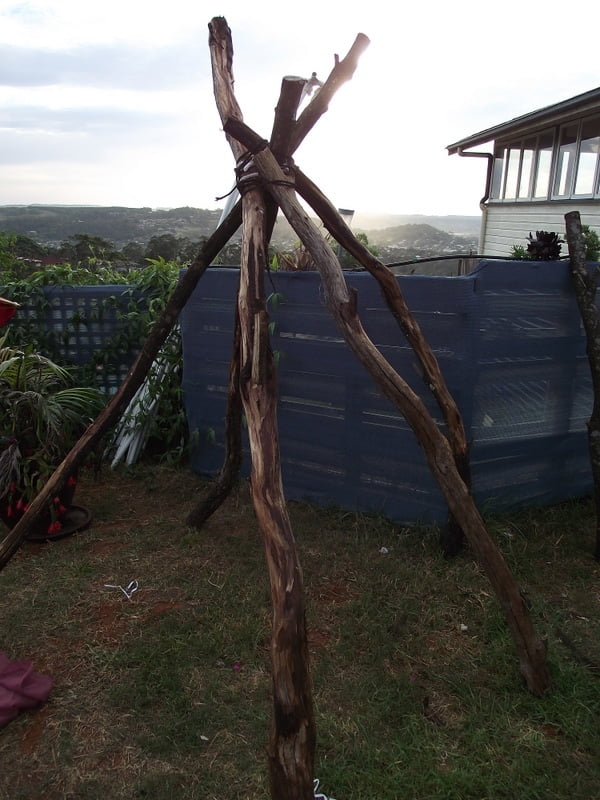
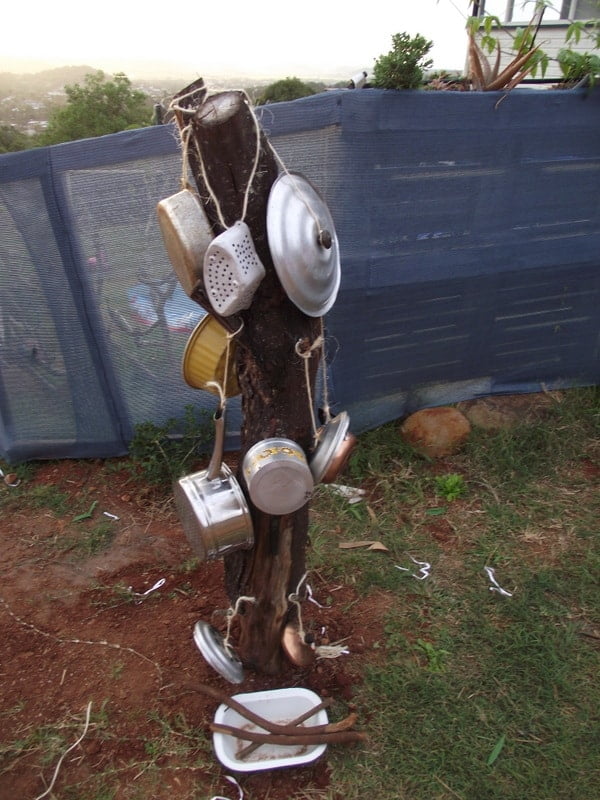
We recycled a lot of the branches though – we made some tree blocks to use, a musical banging tree and a tepee to start with. I found other uses for many of the logs as we went on.
See how we made our tree blocks in this post
Slowly, slowly the trees were cleared and the land was levelled…the first posts and sleepers went in and then it rained for months and they needed to be redone!
The Red Dirt
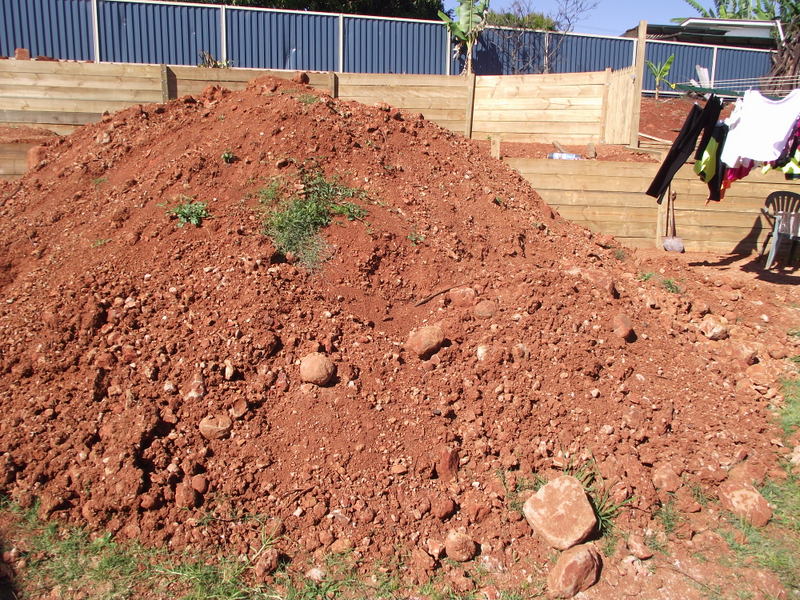
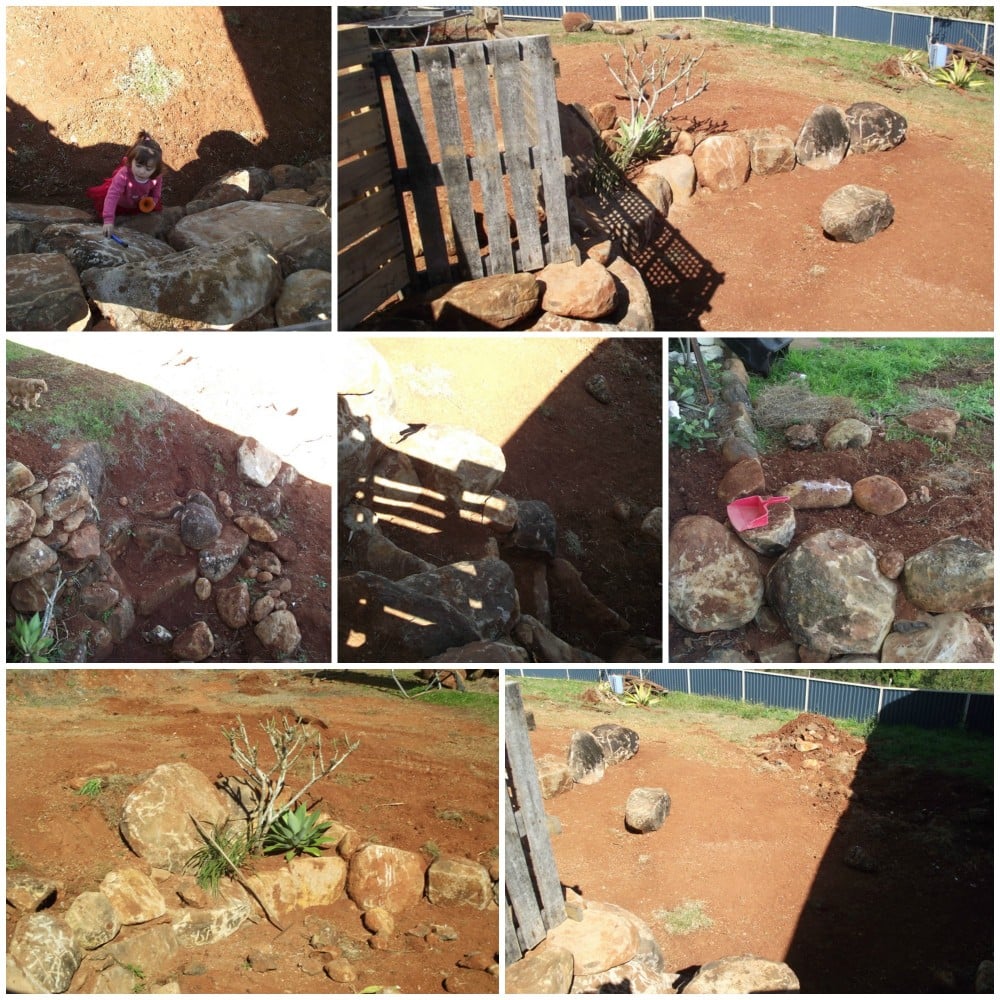
It also left a growing pile of red dirt as His Patient Self took more and more dirt out to level his terraces as he went. SO MUCH DIRT! I don't mind telling you I nearly went insane walking past this everyday on my way to hanging the washing out – it was rocks and dirt everywhere.
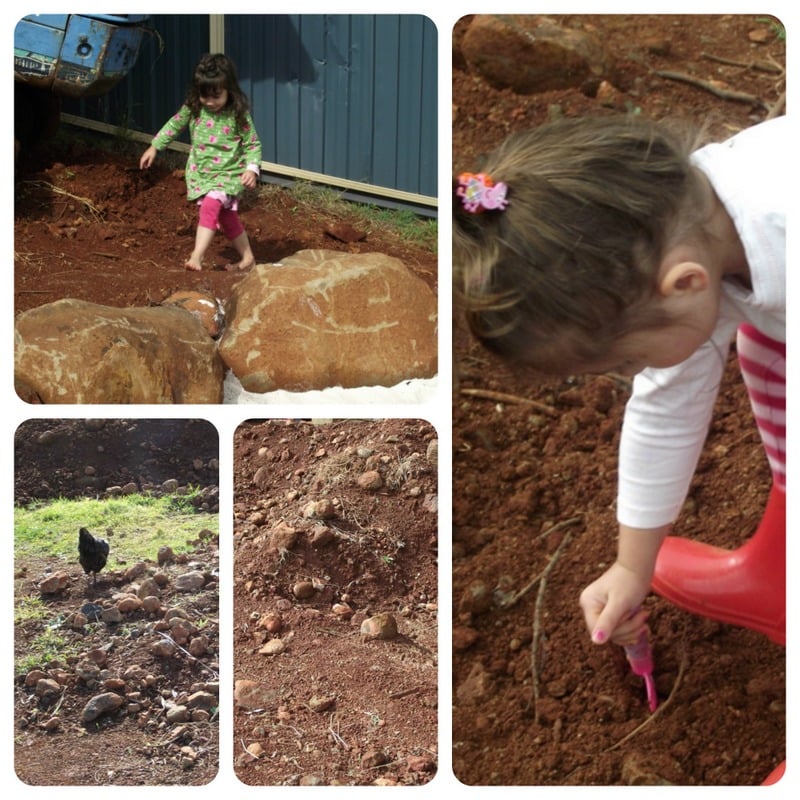
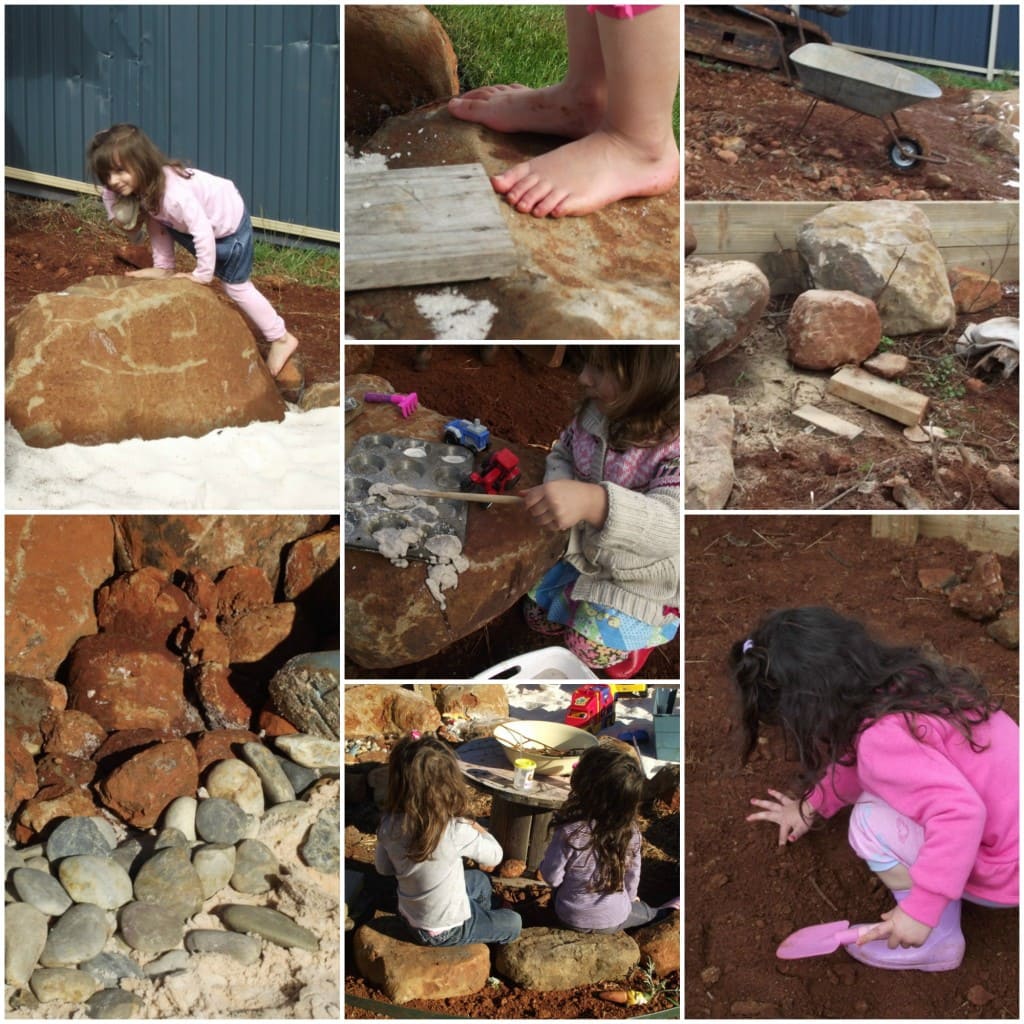
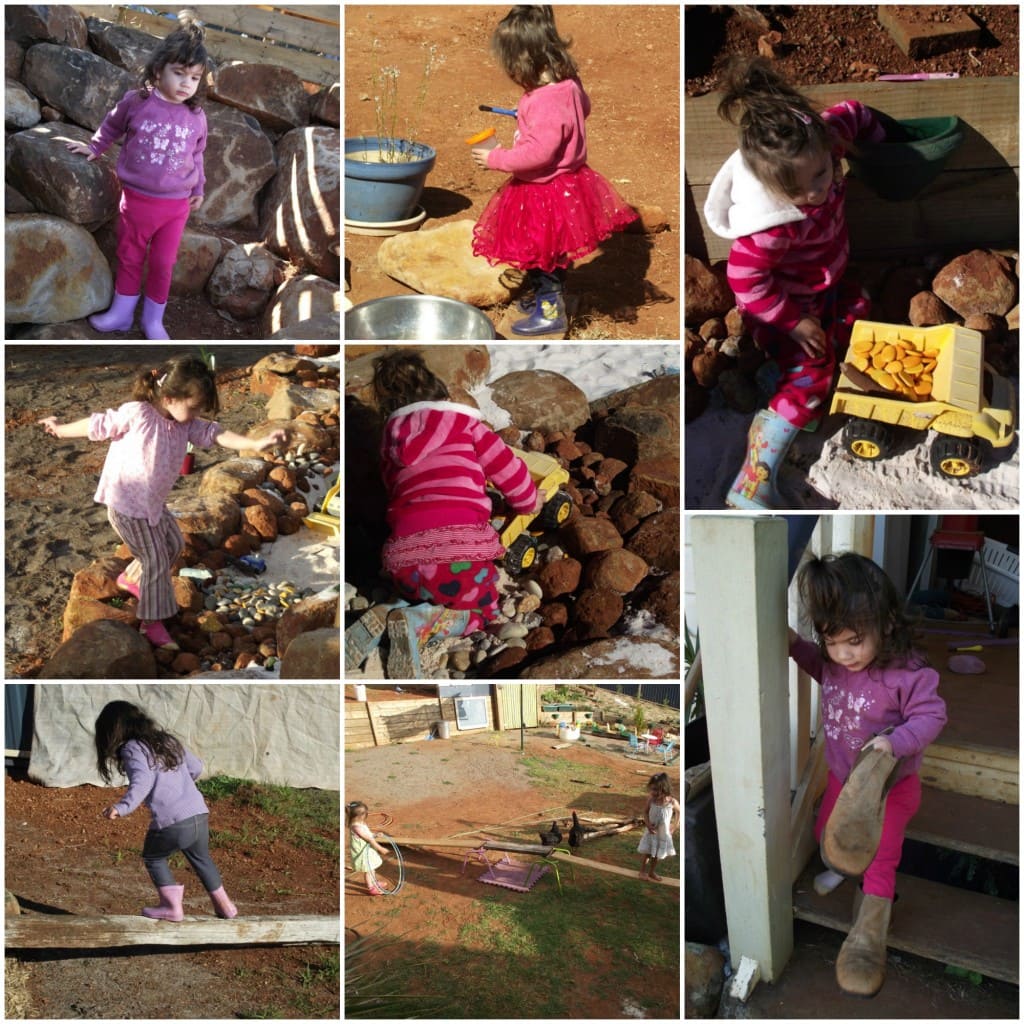
However, my now toddler twins and even the chooks thought it was absolutely fantastic and I loved watching the ways the girls found to play in the dirt and with the rocks and pebbles.
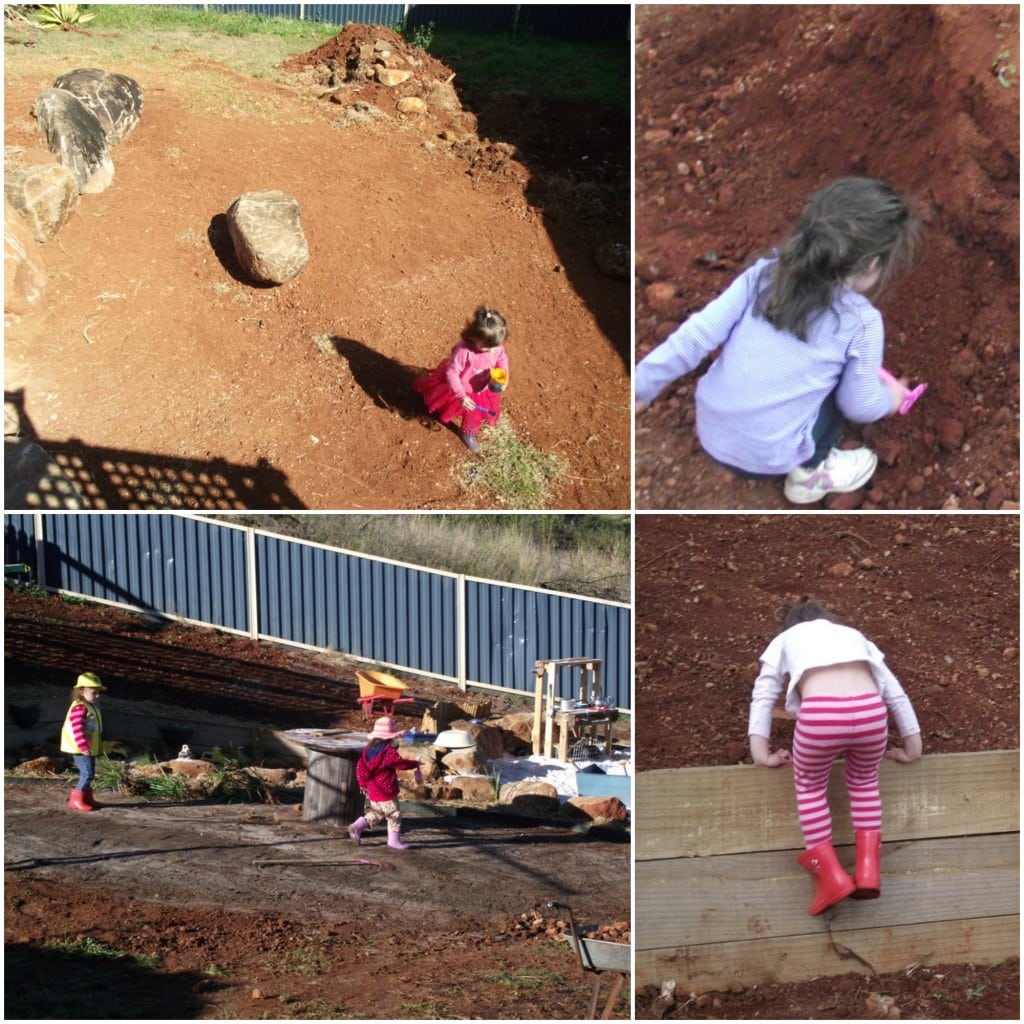
This is what the area looks like now – it is still a work in progress but is meant to be our BBQ/relaxation area. No daycare children can access it and it is a space that we don't feel is all about the children. One day we might actually get to spend some time up there just the two of us!
We left a space along the back fence to plant and currently have banana plants and other tropicals which are doing well and will eventually provide a screen of green. At one end there is a gate into the chicken coop.
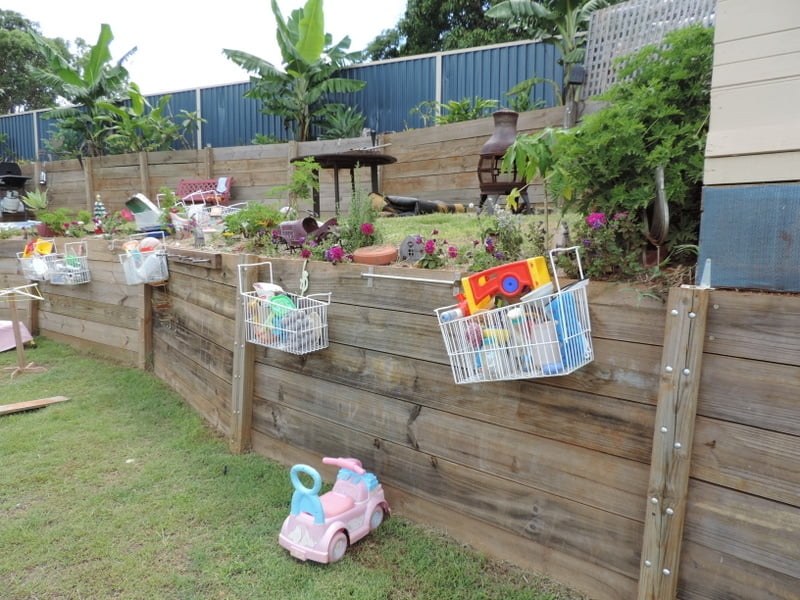
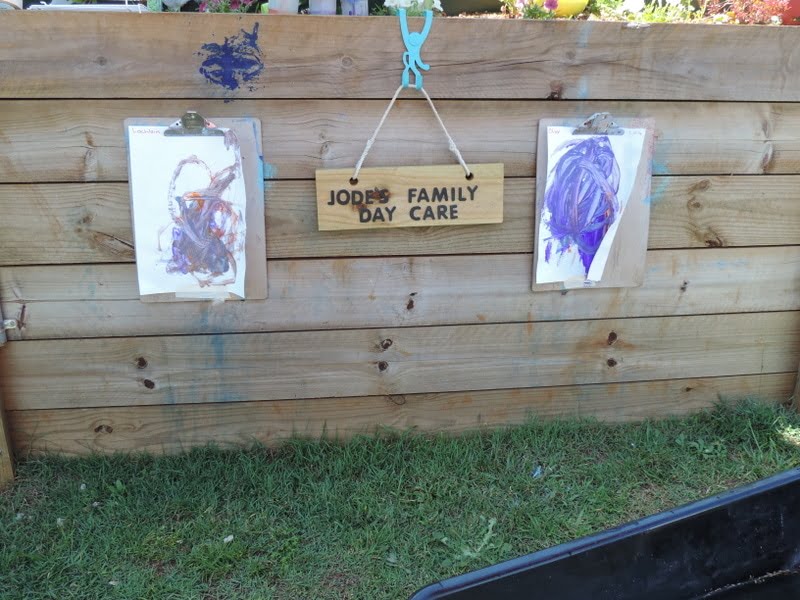
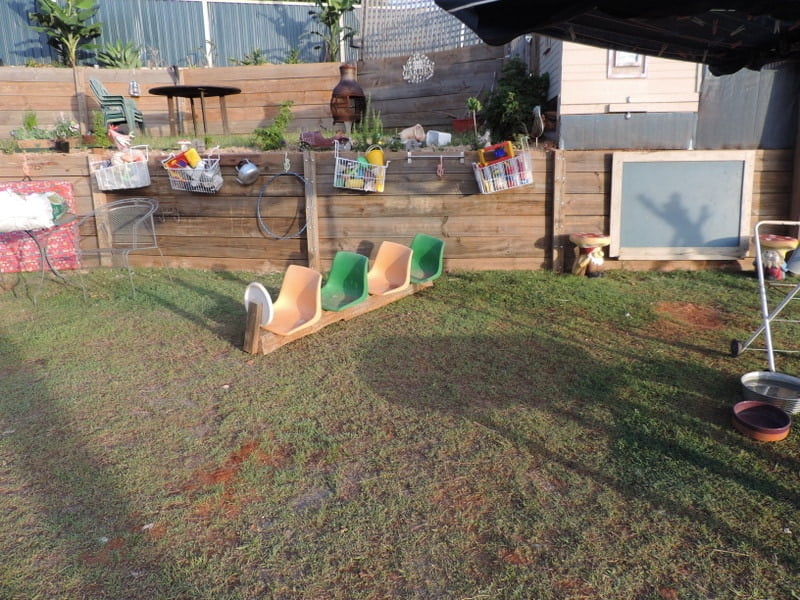
The lower wall has provided a handy space to hang soft fall mats, baskets to hold toys, clipboards to paint on – I just hang a hook and I am good to go! The baskets are recycled from his patient self's work. They are the icecream baskets you find in the big freezers in shops, so handy to store toys as all the water runs straight through!
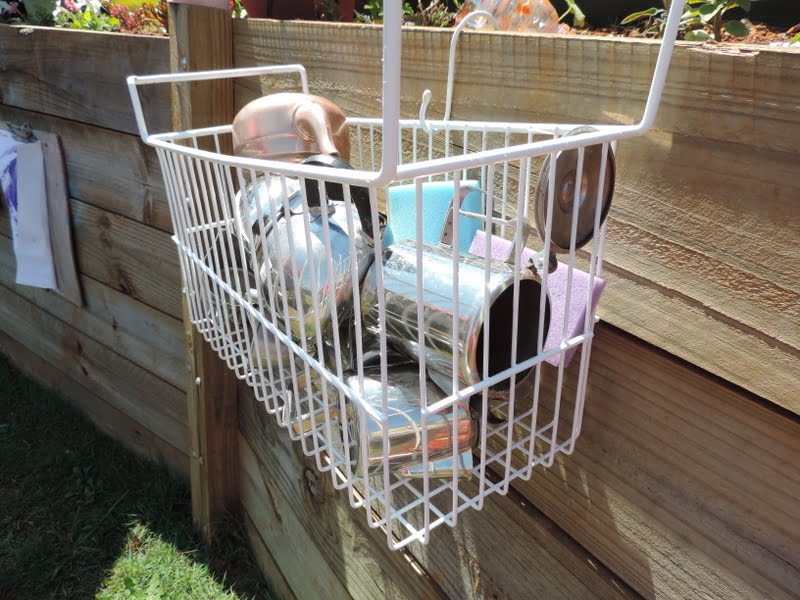
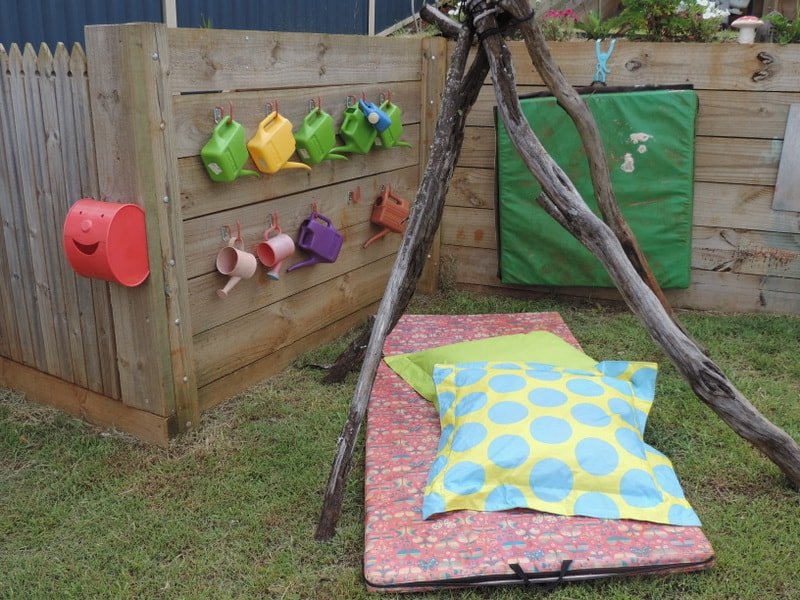
It also holds our watering can collection – very important as the daycare children do a lot of watering and looking after plants with me. We simply added lots of hooks, these ones fold flat against the wall when not in use
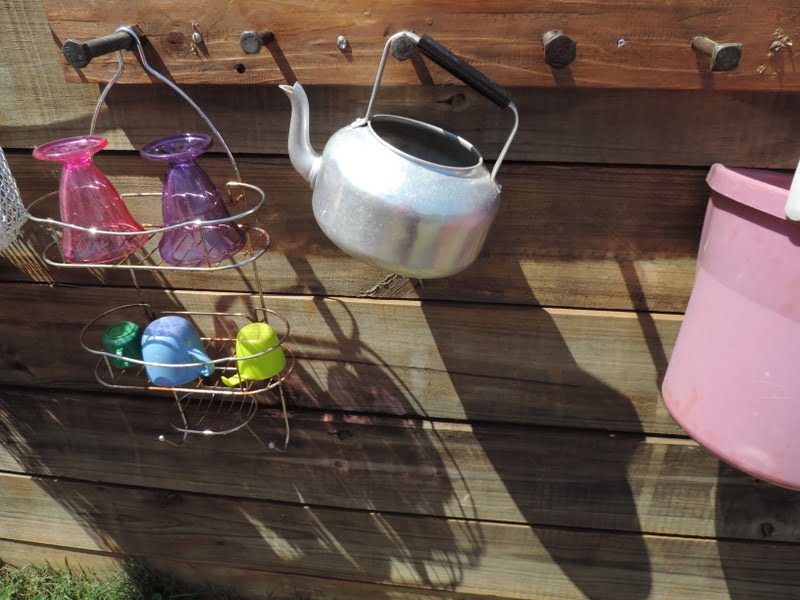
Always finding new ways to hang things, don't you love the bolts?
The Lower Level
We then began to focus on the bottom level of the yard. It had a terrible drop off and wobbly retaining wall and really just wasn't safe. There were also lots of big boulders that needed to be moved to make a more usable area.
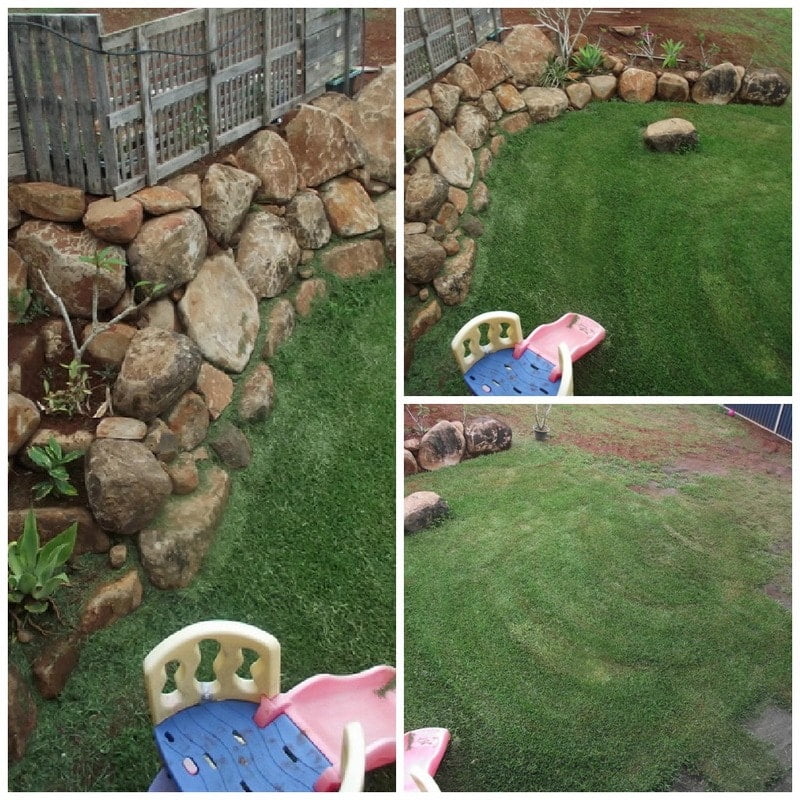
Bit by bit Gary (His Patient Self) moved large boulders with the excavator and sheer determination to where he wanted them and gradually a new retaining wall emerged. He thought I was a bit nuts when I asked him to leave one of the boulders in the middle for a ‘table'. He also put flat boulders along the bottom row to make child size seats, it was a great spot to watch the sunset too!
This is the only area we could afford to lay turf, I just wanted one small oasis as the rest of the yard was a sea of red dirt and rocks. I planted small seedlings in among the rocks and they are doing really well there now.
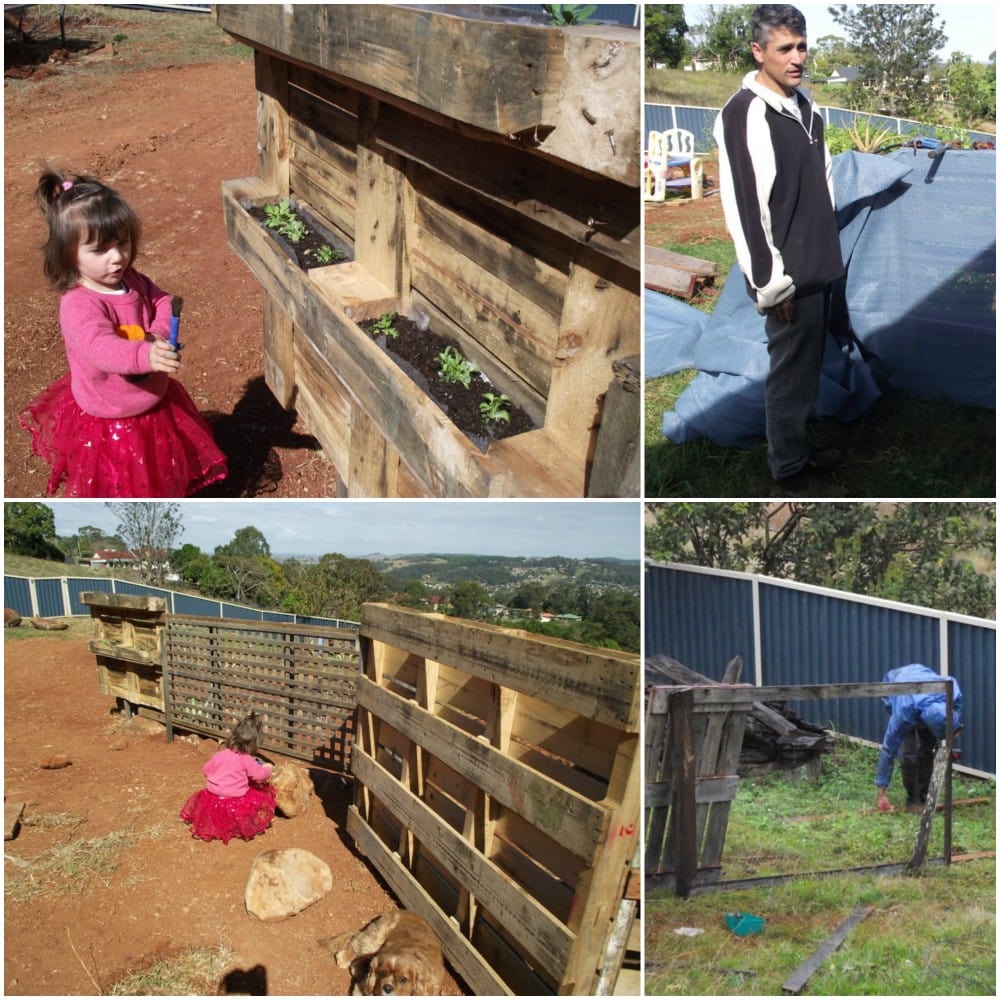
It was at this time that we added a pallet planter/fence to shield the girls from the drop from top level to bottom.
You can read more about how we made our pallet planter here.
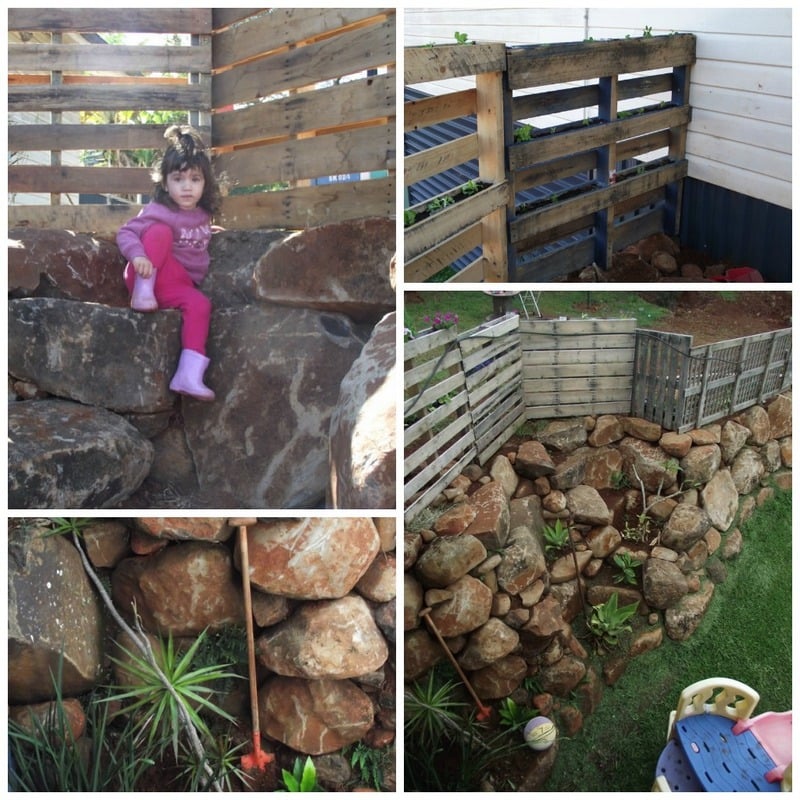
The Daycare Pallet Fence
Later on we realised that to comply with home daycare safety regulations we would need to fence the entire rock wall access off which was a shame as it is such a lovely spot for children to play but rules are rules! We also had to lose our planters as the pallets posed a climbing hazard. There was no way we could afford a fence for this area so Gary extended using pallet timber and then we covered in shadecloth to ensure there were no footholds.
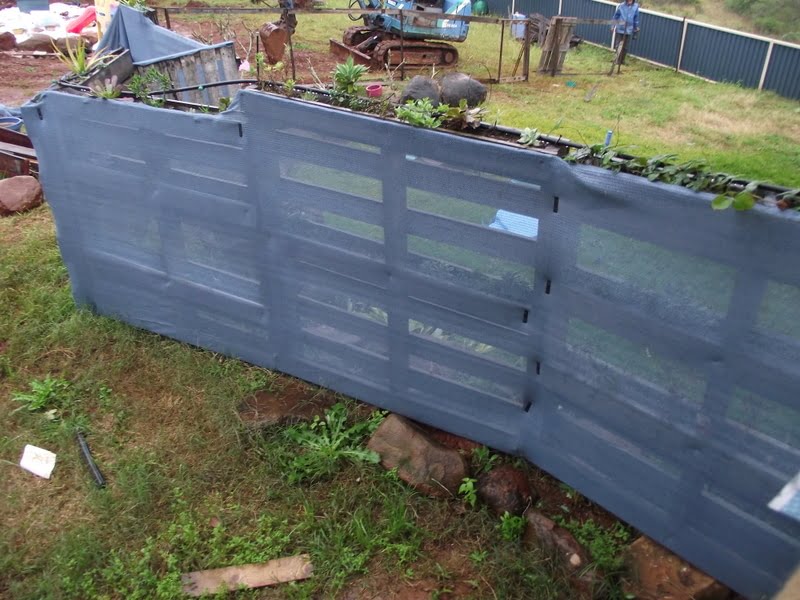
This job really tested his patience as we were on a tight schedule and it kept raining on the weekends which is when we have to get all our outside work done. By this stage he also had some very busy little helpers!
The fenced off area now houses our pup during care hours and he loves climbing his rocks and talking to the children through the fence. I also keep equipment like the swing set and trampoline in this area as I can't have them in the care area.
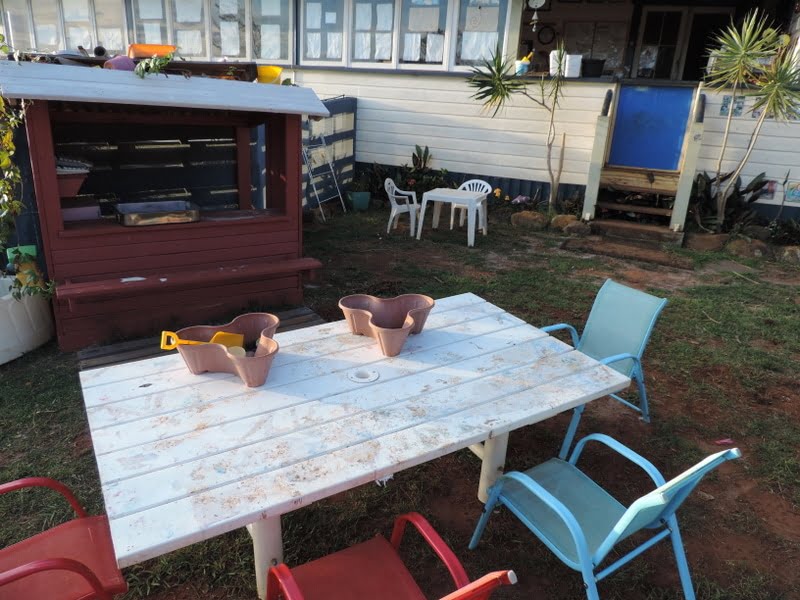
Our outdoor cafe backing onto our pallet fence is very popular now – you can read more about building the outdoor cafe from pallets here.
The Grass
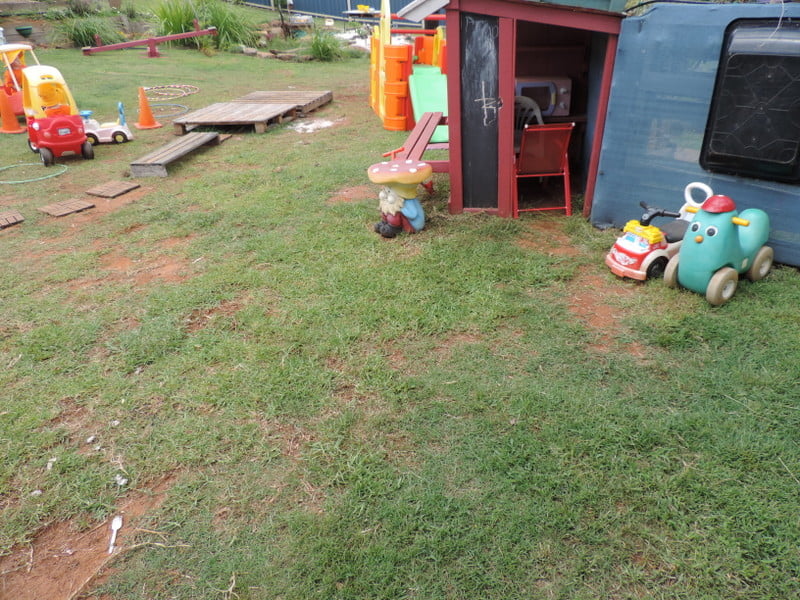
By the time the terracing was finished there wasn't much grass left so we spread some topsoil, planted some divets from grass we had salvaged from other areas and also sprinkled some grass seed around. The girls enjoyed helping water the ‘dirt' to help it grow.
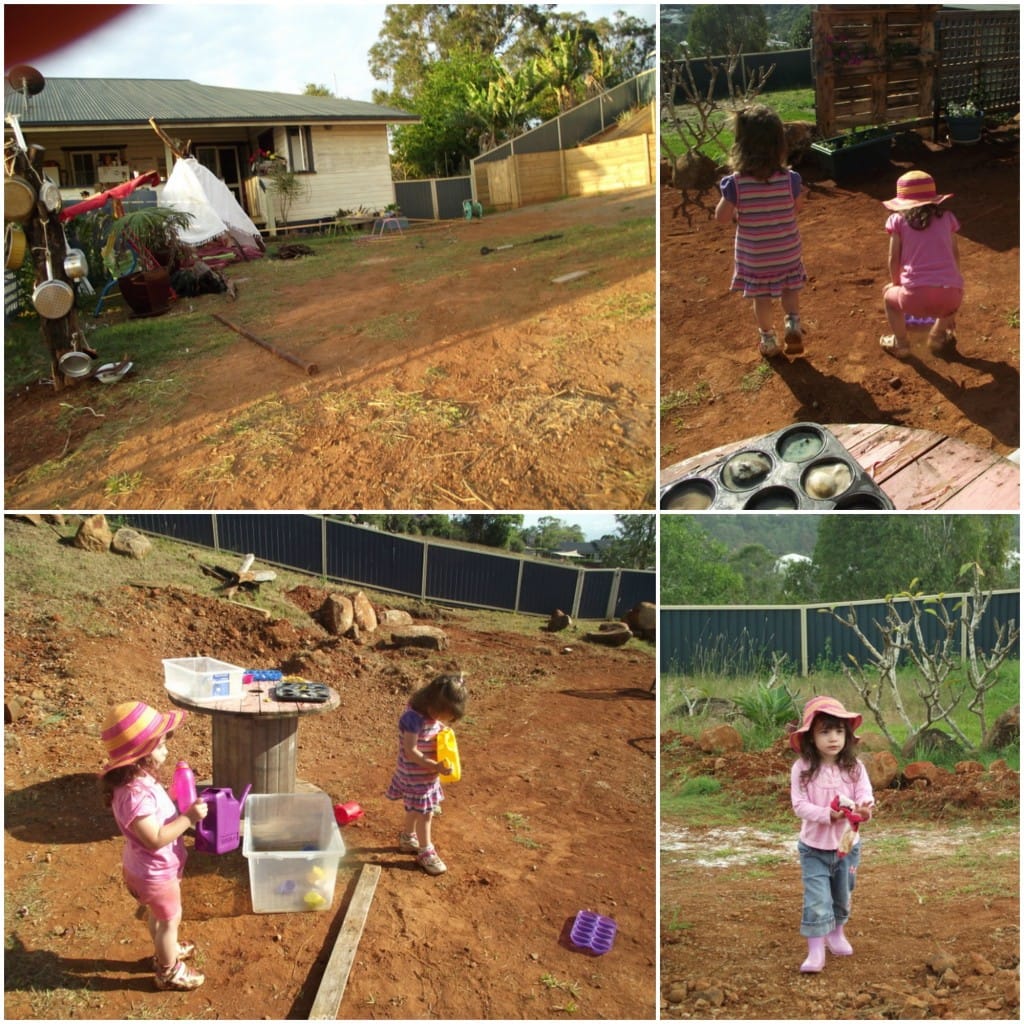
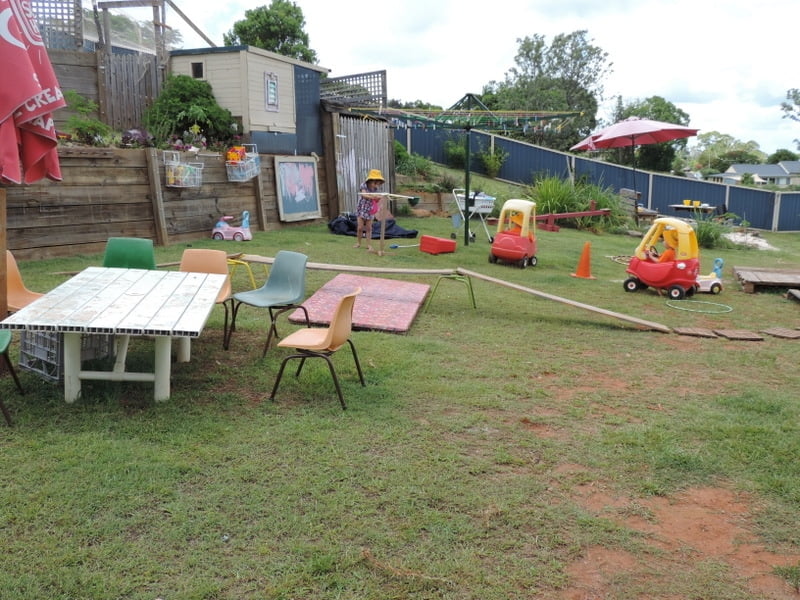
It has been a long process but it's slowly greening up again.
The Chicken Coop
These chickens now have the best view in the house. They have a shaded area under the coop, nesting boxes and a big area in the top corner of the yard to scratch around in although they do free range as well out of care hours. It was built around the ‘Bunker' storage shed area. A Gary original design!
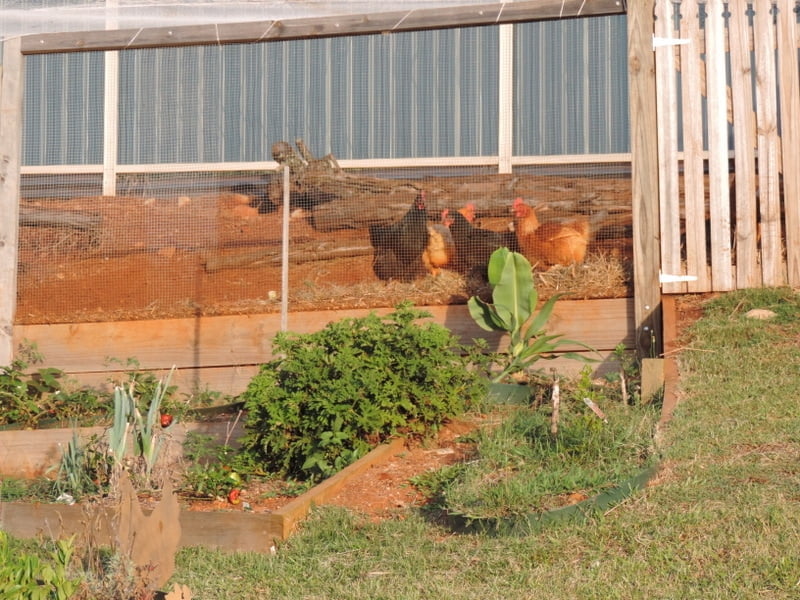
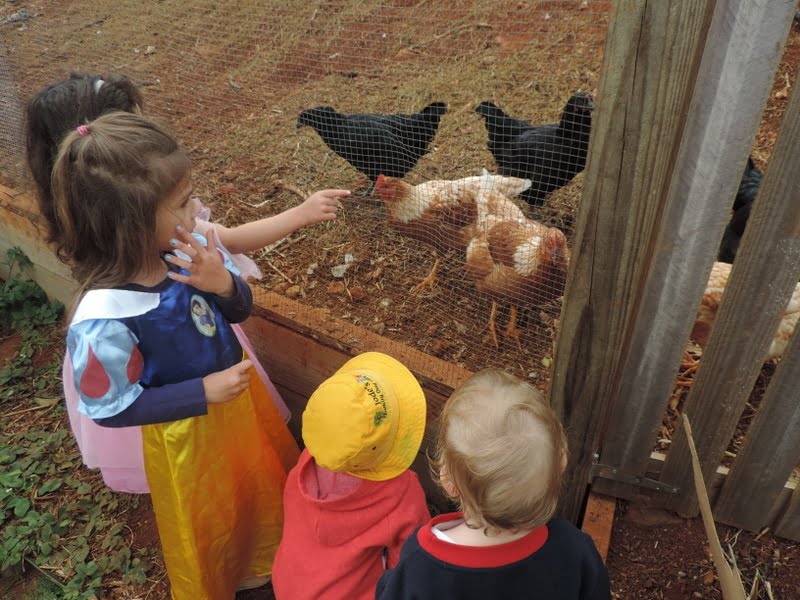
The children love walking up the hill to talk to the chickens through the mesh and we feed our scraps to them after morning tea and lunch so needless to say the chooks love the children visiting!
The Sandpit
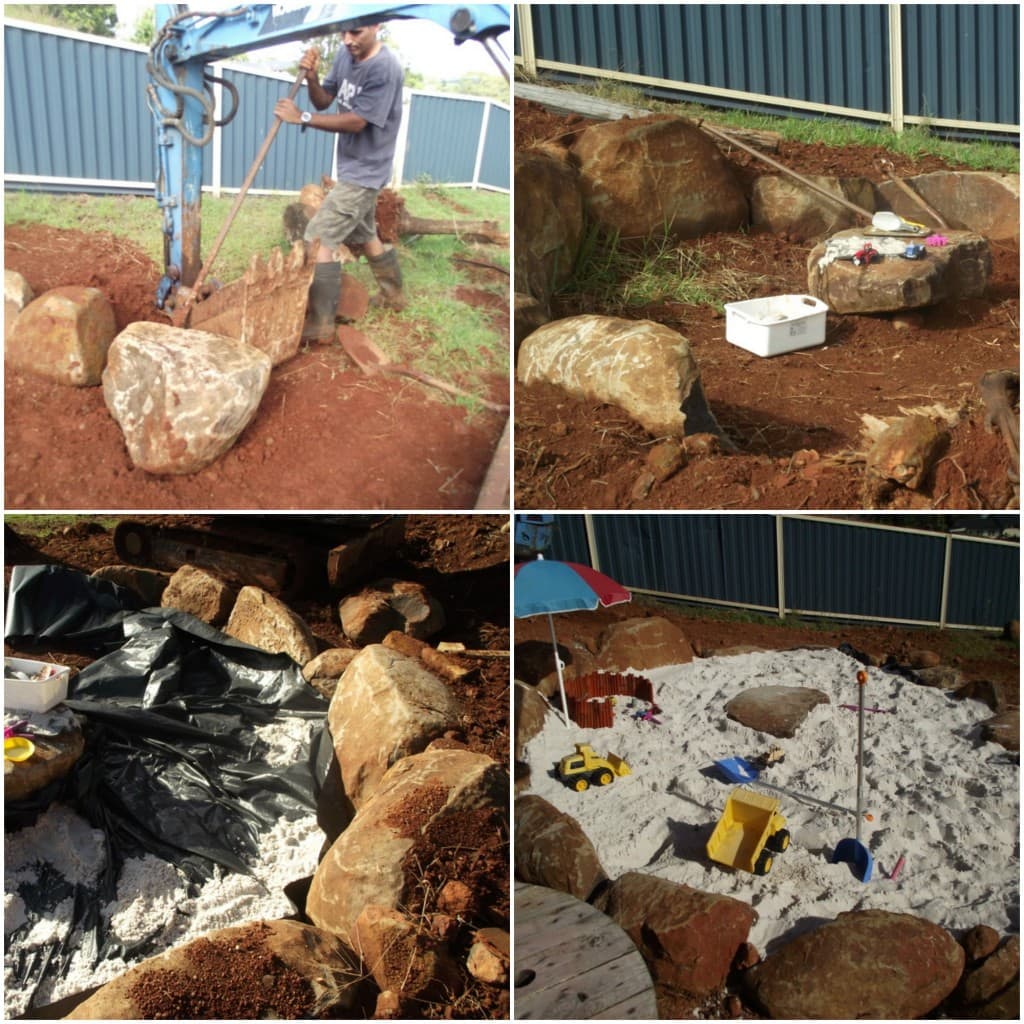
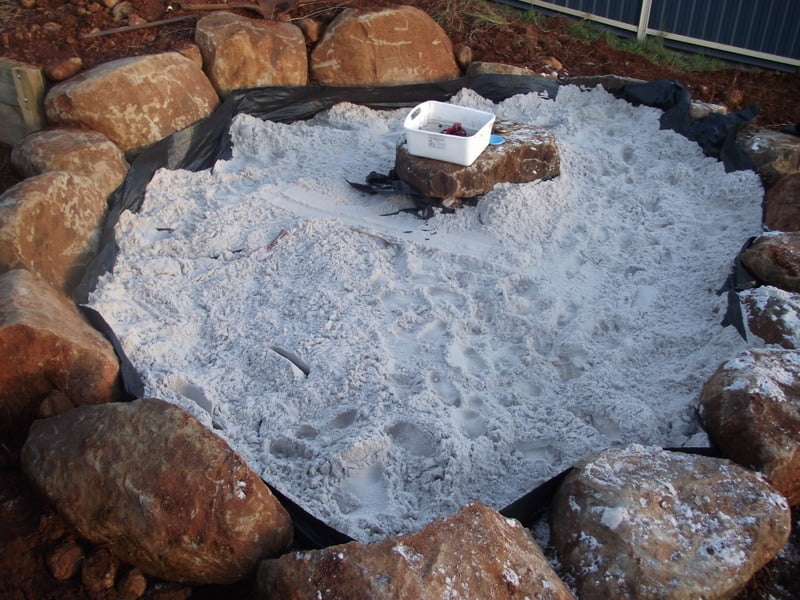
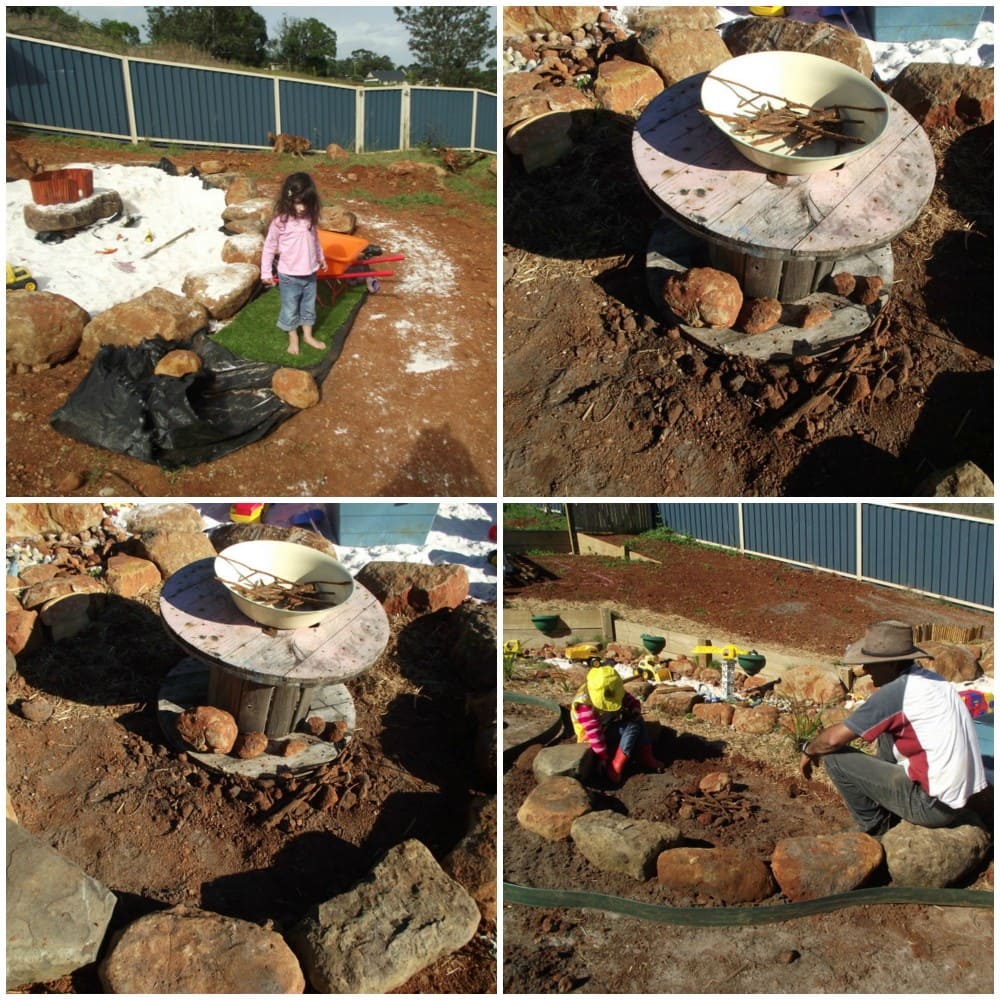
When I saw how many big bush rock boulders the excavator was unearthing (we live on a rocky slope in case you hadn't gathered!) I began to see a vision of the sandpit design I wanted. It was hard work moving all those boulders into position though – luckily I didn't need to do it, I had the brilliant idea though 😉 Don't think His Patient self was liking my many design ideas by this stage.
The girls enjoyed playing while we worked and again I requested a large flat rock to use as a table in the middle – it has actually been many things since but that was my original idea.
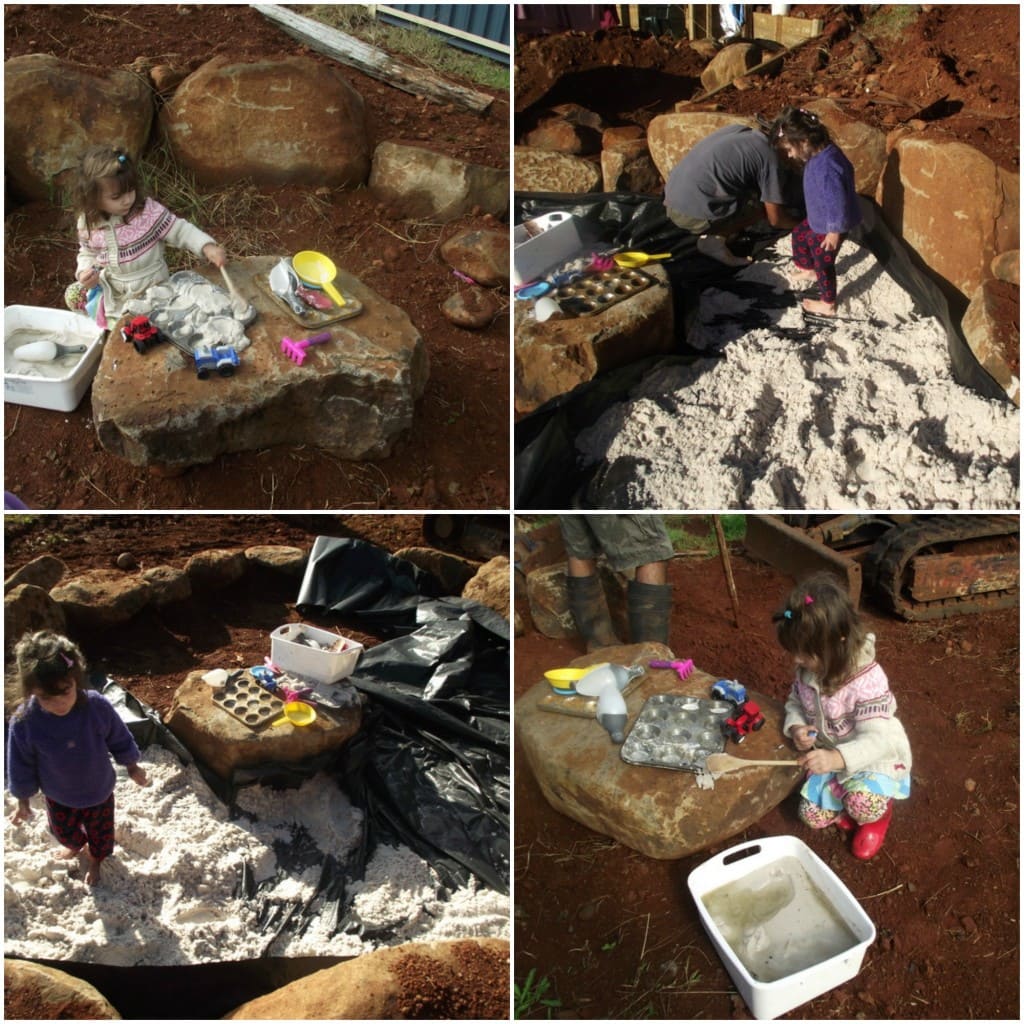
And then it was time for the sand. This took many,many wheelbarrow loads as we couldn't get the trailer very close. His Patient self mentioned it was lucky we had two wheelbarrows – yes lucky hey?
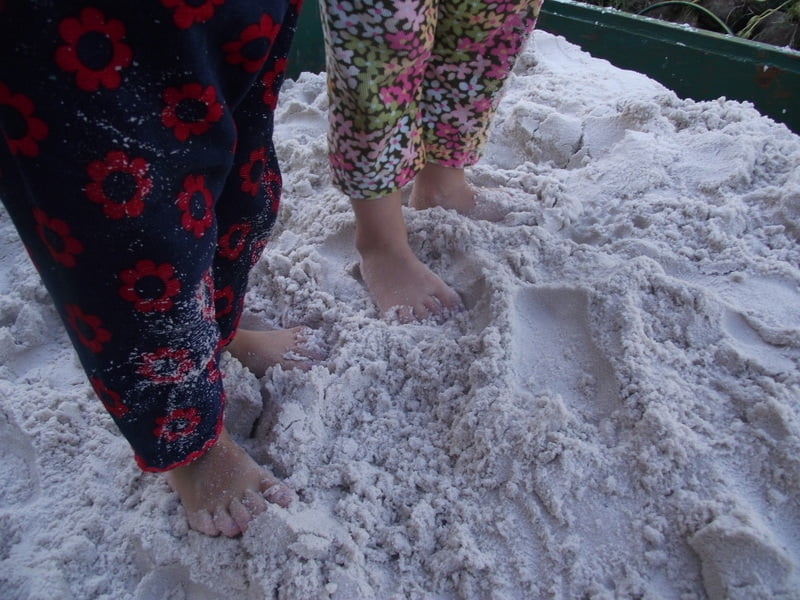
This is the sandpit at only a quarter full would you believe!
Was all worth it in the end though as it remains one of the favourite places to play in the yard.
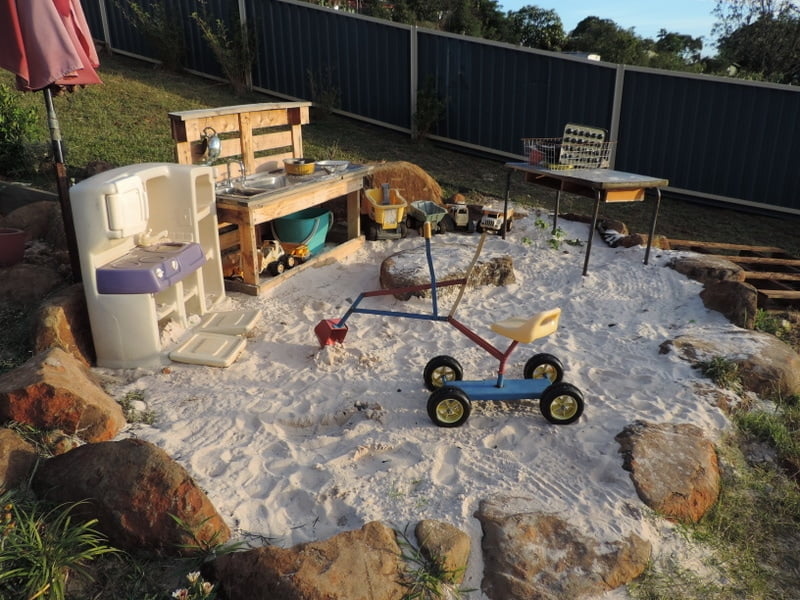
You can see more about how we built our Bushrock Sandpit here and here
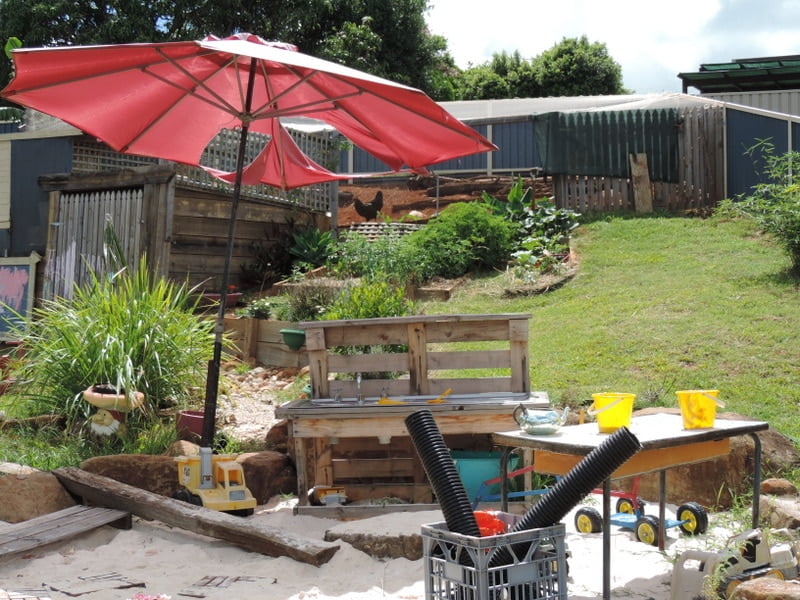
The Rocks…and more red dirt
Every time we dug we found more rocks – big, small and huge. They were never ending and it was another big job raking to smooth the dirt and remove the rubble. The twins of course loved helping and thought it very important work.
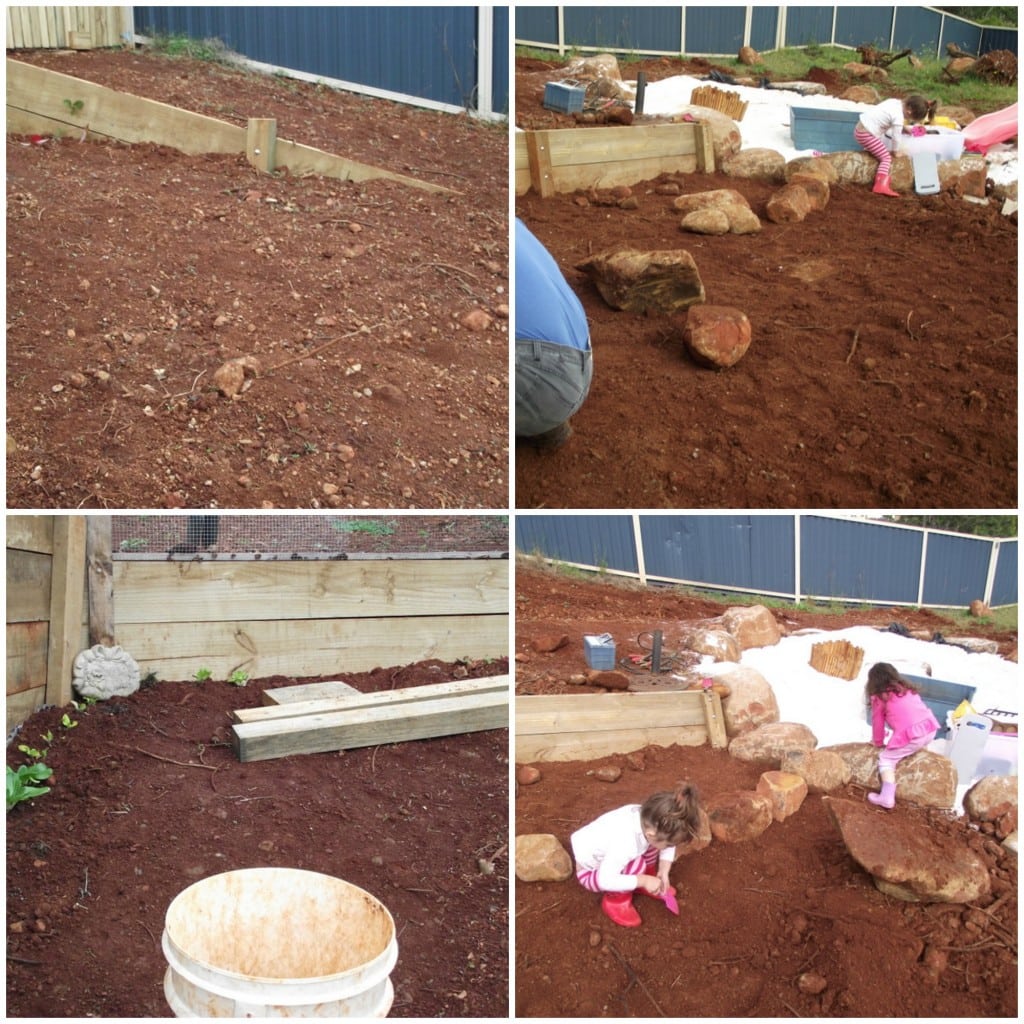
They also make excellent props to encourage risk taking, problem solving, imagination and are just plain fun!
The Quarry/Riverbed
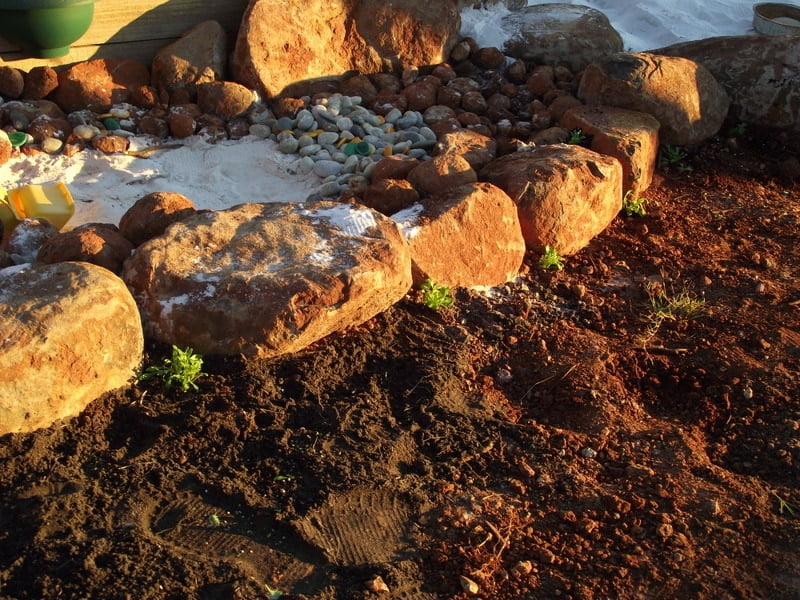
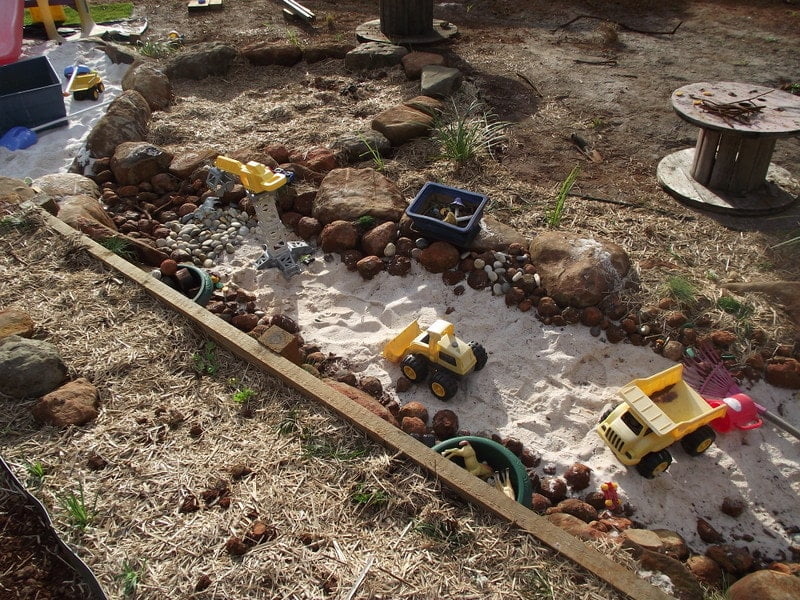
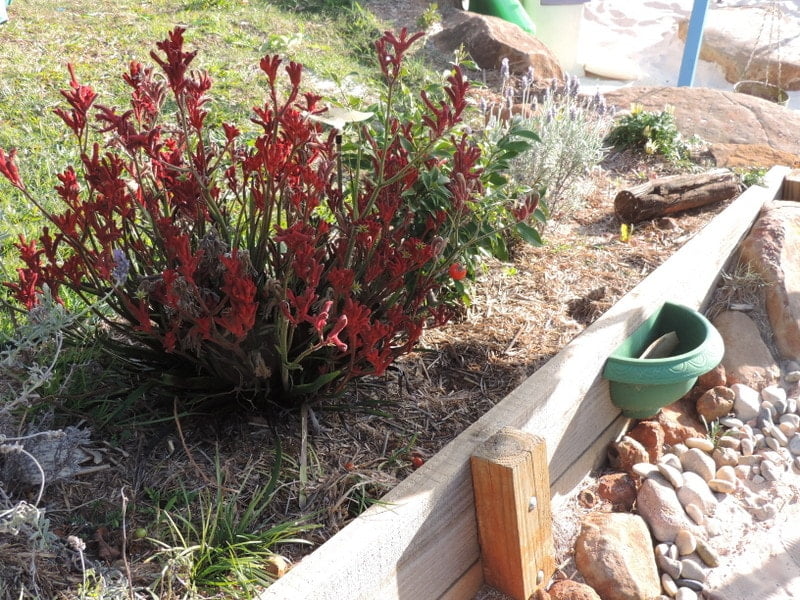
All those rocks and pebbles gave me another idea and before he could run away I outlined my plan for a quarry/dry riverbed area – I mean obvious right? So another project was started…
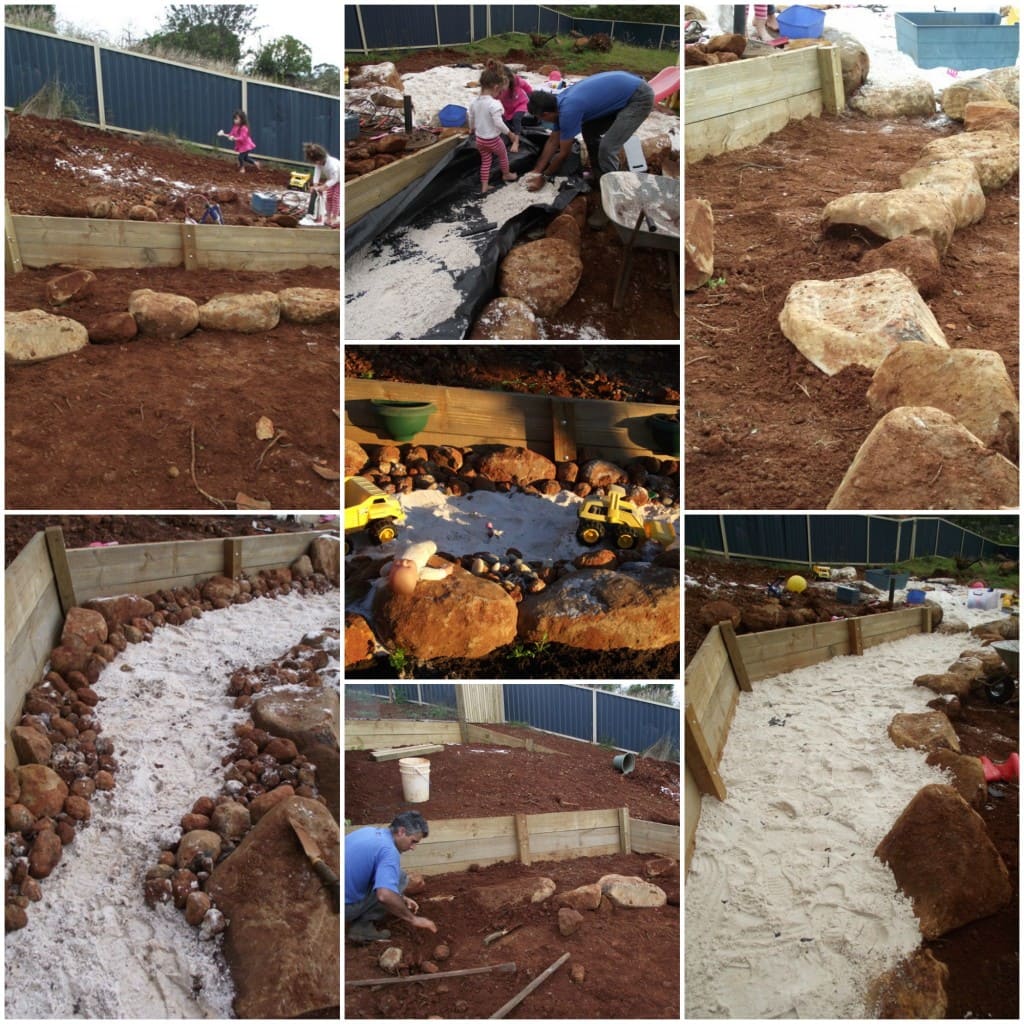
I can't tell you how many of those rocks I collected from around the yard and in the dirt pile. I wanted mainly rounded rocks that were easy for little hands to pick up and cart around.
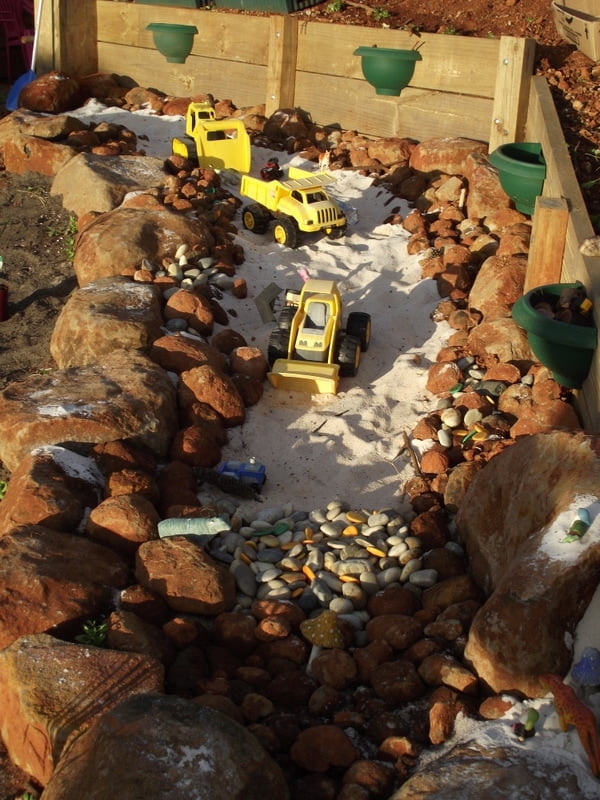
It has often changed over the past year, recently I added some small and large ‘quarry rocks' on top of the sand as it was getting low. The plants also now add to the feeling of a secret ‘enclosed' space.
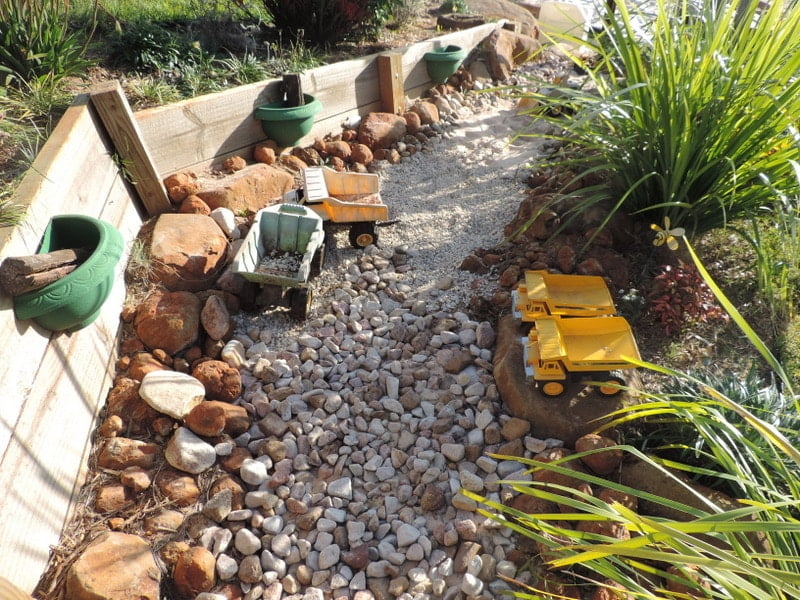
I love watching the ways it gets used each day….you can read more about how we made our quarry in this post
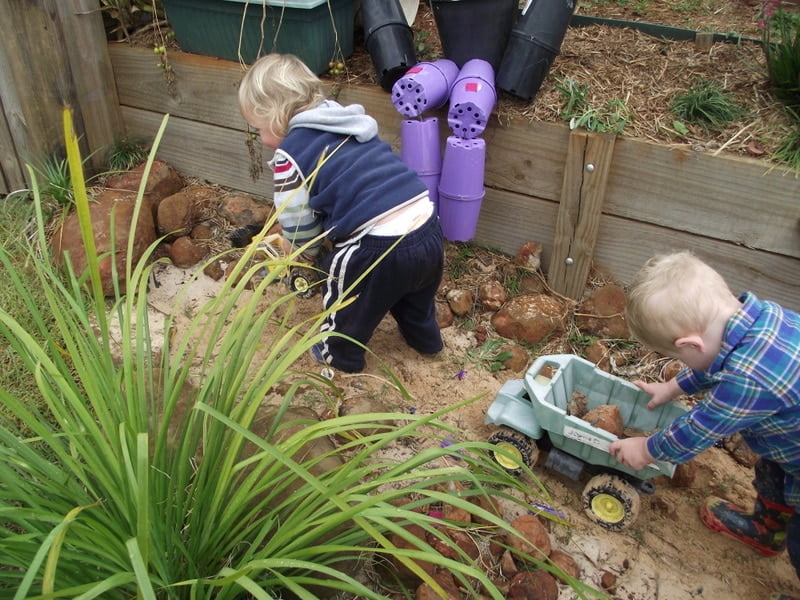
The Imagination Circle
As I stood in the nearly finished quarry and looked at the rocks we had left I knew we needed something extra. An ‘imagination circle' that could be a space for the children to turn into whatever they wanted to. It linked the sandpit and quarry spaces and was easy to do, sort of, well I thought it would be easy until the other half told me I would need to dig all the rocks in so they wouldn't move. Hmm…I ended up going around with my trolley collecting the rocks and his patient self dug and positioned them. And that's how it's done my friends!
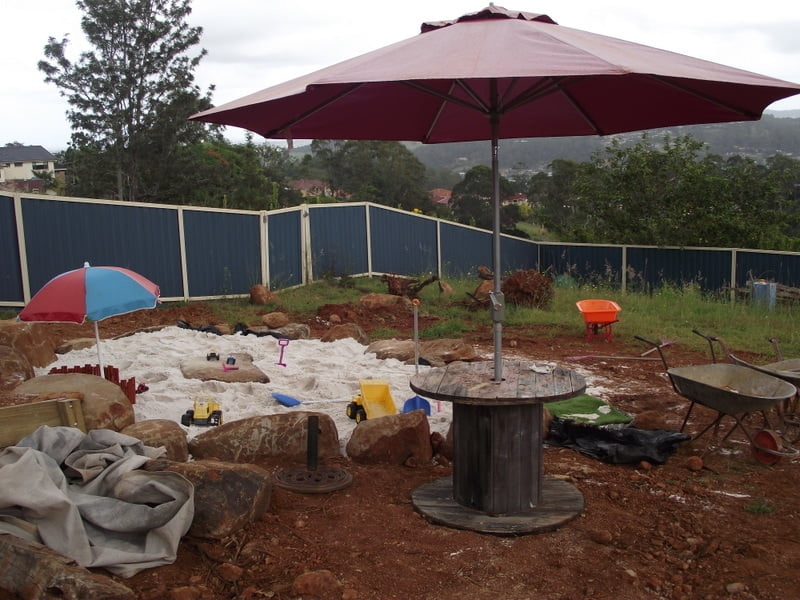
It has become such an asset to the yard and I often provide a few props or change it around to see what the children will do…..
It has had grass, hay and dark sand at various times …
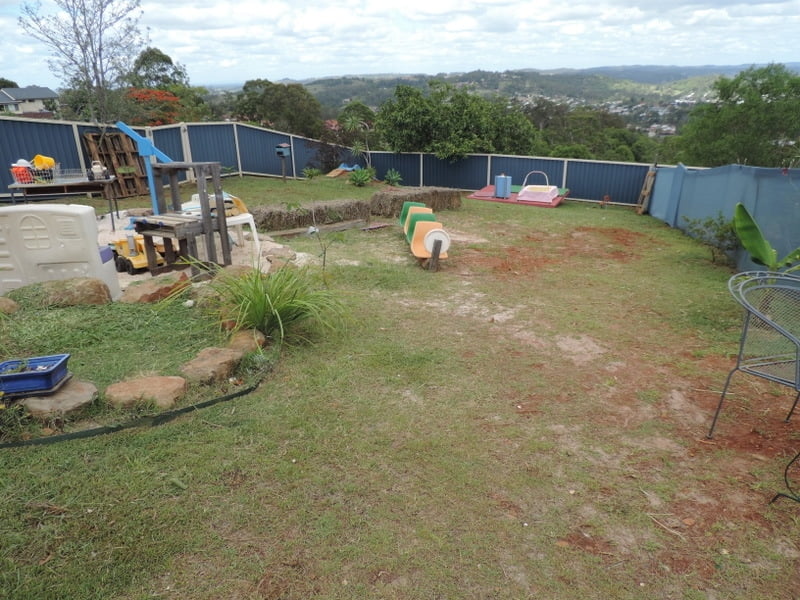
Spools and logs….
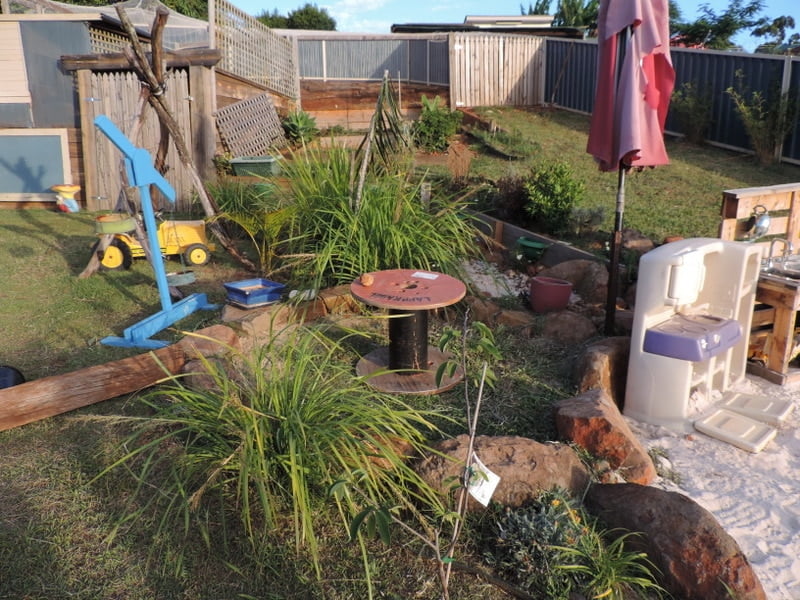
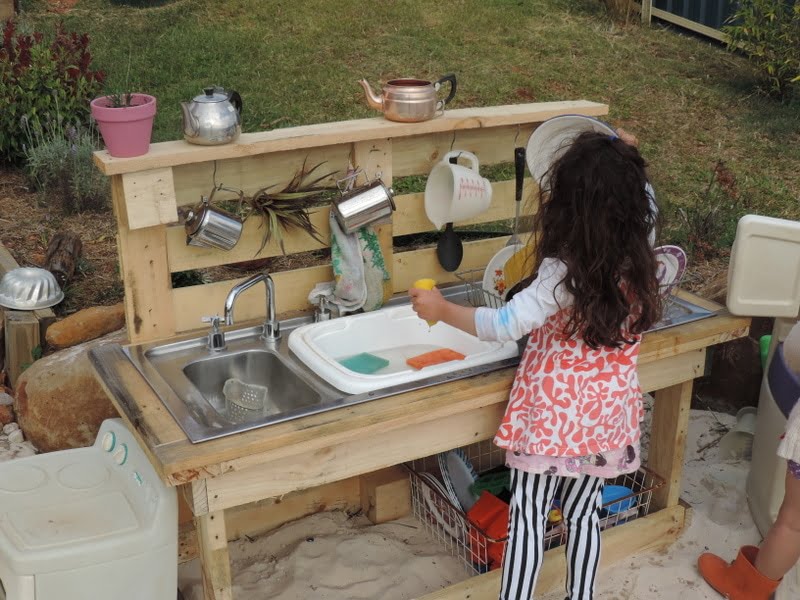
And a Pallet kitchen, gems and so much more over the course of a year.
You can read more about how we built the circle and explore ideas for inviting the imagination outside in this post.
The Planting
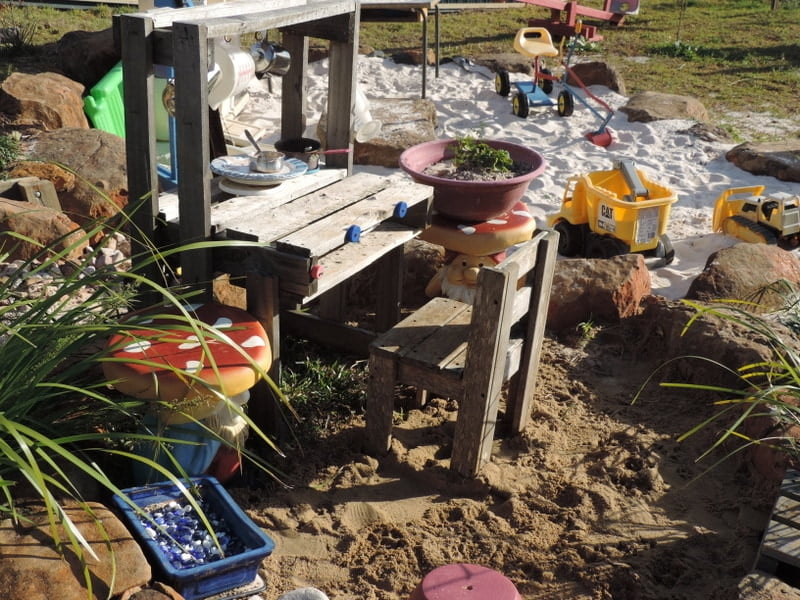
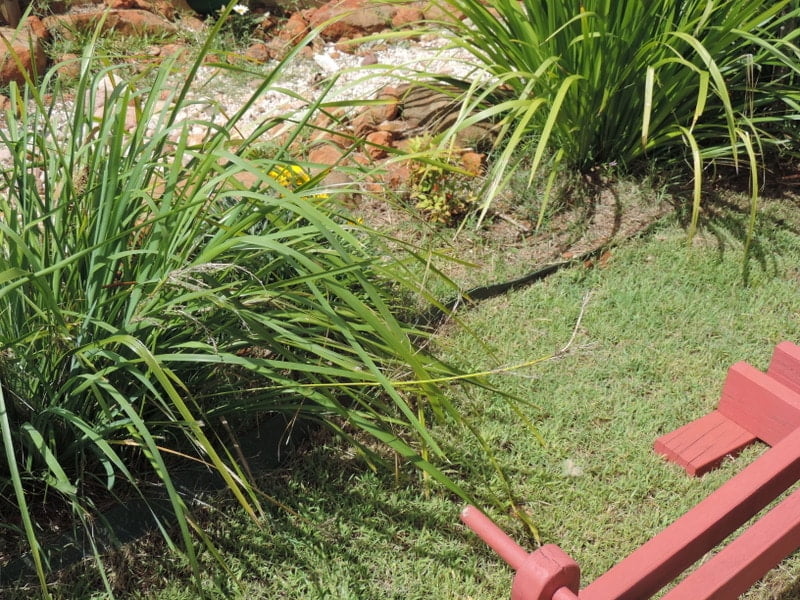
We were on a pretty tight budget so we tried to divide and replant cuttings and plants from our front yard and I also brought tube stock and small seedlings to cut costs. Obviously it has taken a lot longer for the plants to grow and provide the effect I was after but they are getting there nicely after a year.
The Children's Vegetable Garden
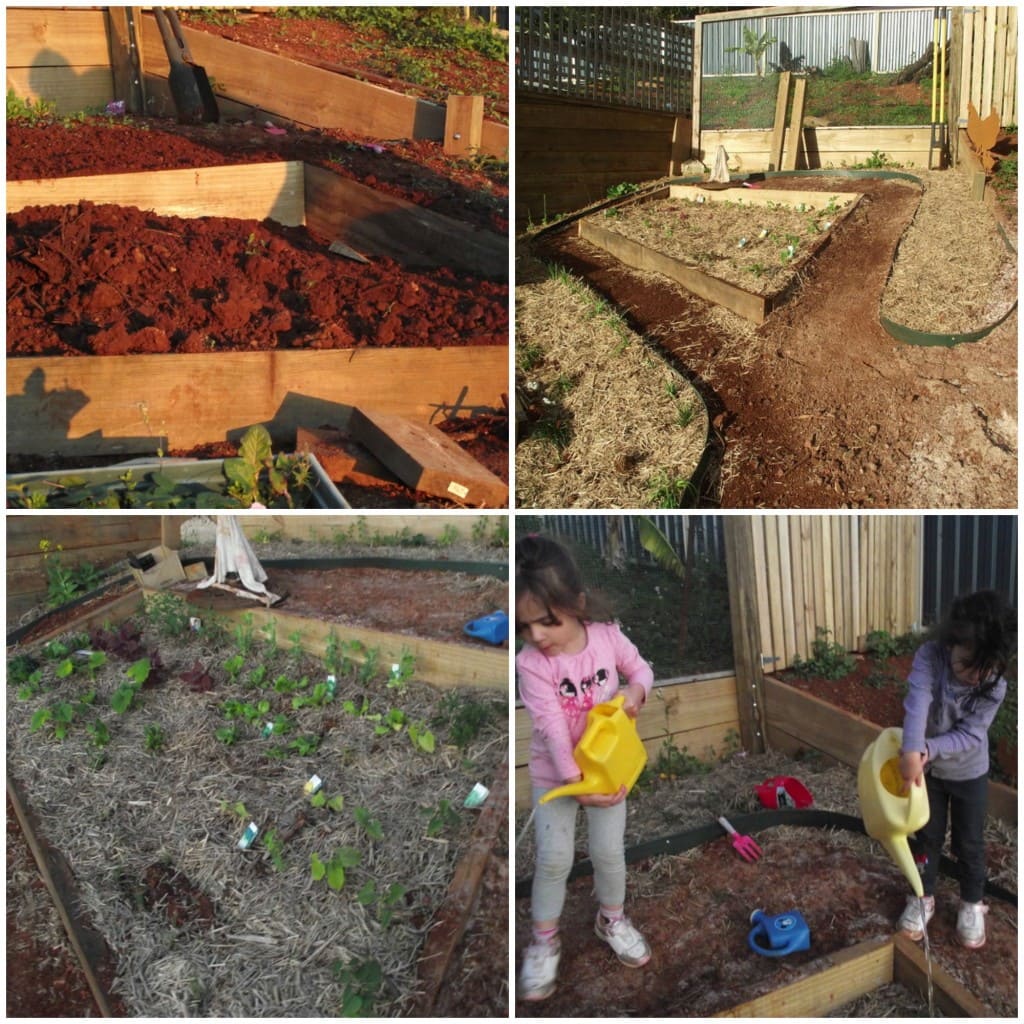
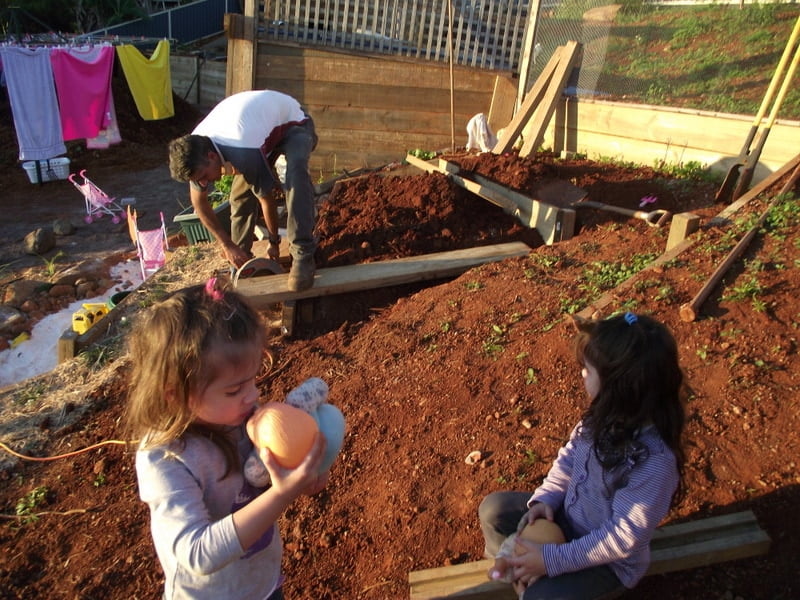
We then looked at the space in front of the chicken coop and above the sandpit and I knew it would be perfect for a children's vegetable garden – you can probably imagine the sigh and look I got from the other half when I voiced that fab idea…
But he drew up a plan and got to work with the help of his able assistants while I continued clearing rocks and planting.
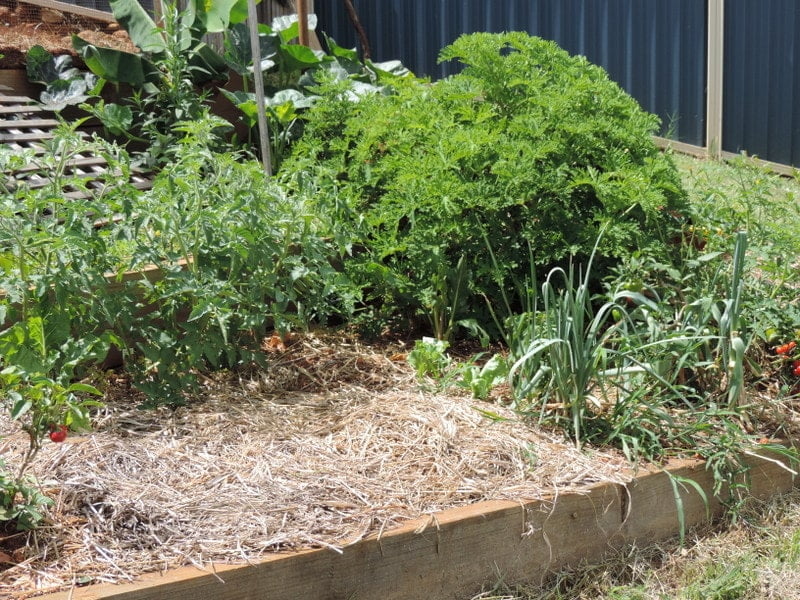
It's quite a tricky space to work with as it is steeper than it looks in these photos but I think it turned out pretty well and provides a wonderful space for the children to learn about growing herbs and vegetables and then picking their produce.
You can read more about my tips for growing a children's vegetable garden in this post.
The Mound Slide
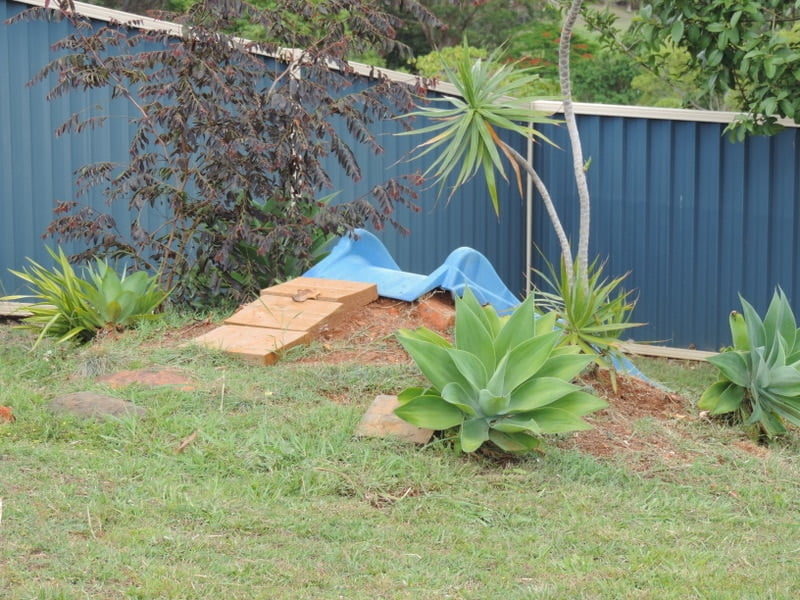
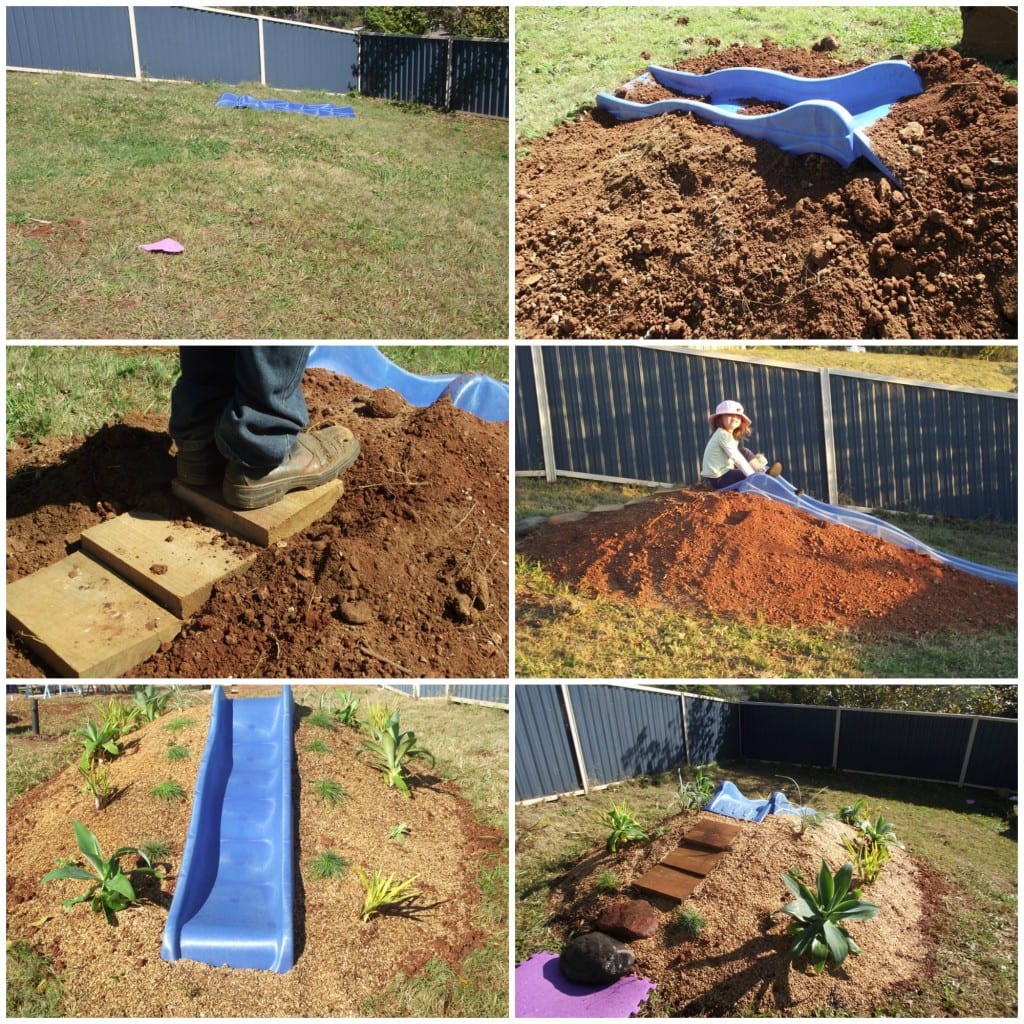
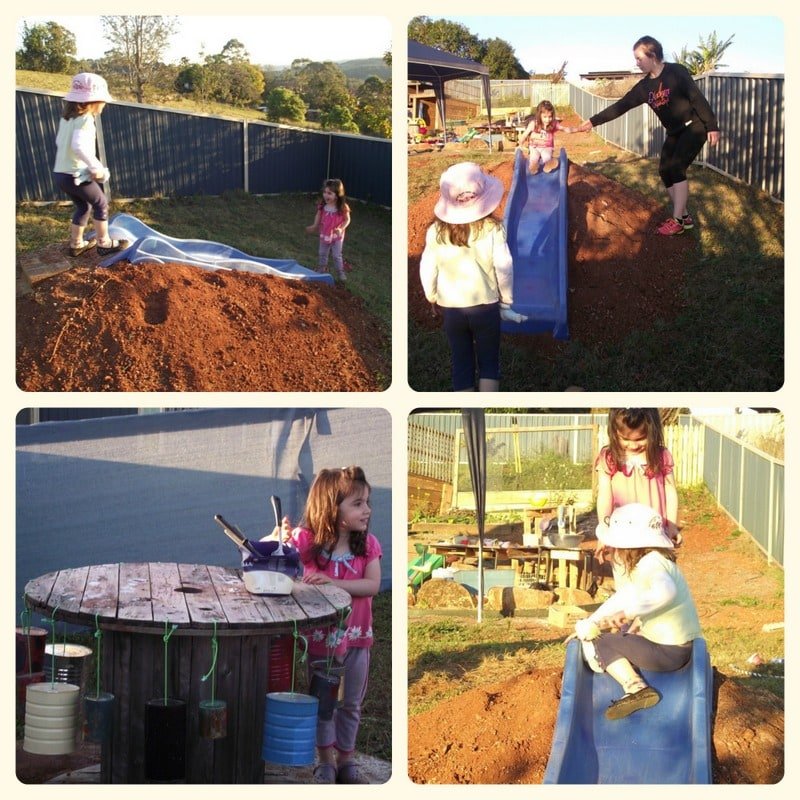
Near the bottom of the yard we have quite a slope and I got to thinking it would be great to use some of that awful dirt pile to make a mound slide. So we did and I'm so glad as the children love it!
It doesn't look as pretty anymore and has turned into a grassy mound but it is still just as loved.
You can read more about how we constructed our mound slide here.
The Play while Working
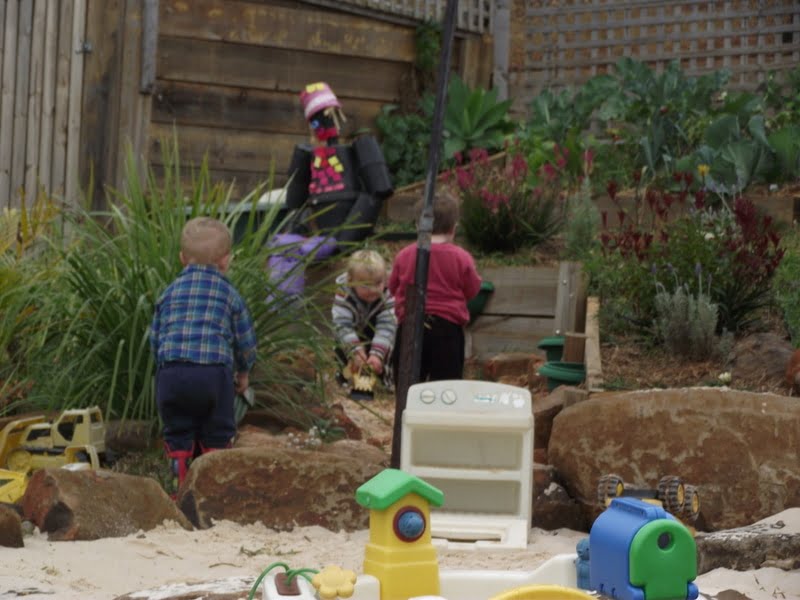
I'm not going to lie and tell you it was easy doing all this with our toddler helpers – it was often frustrating and slowed down our pace a lot but i'm so glad they were involved in creating the wonderful spaces for play that they can now enjoy.
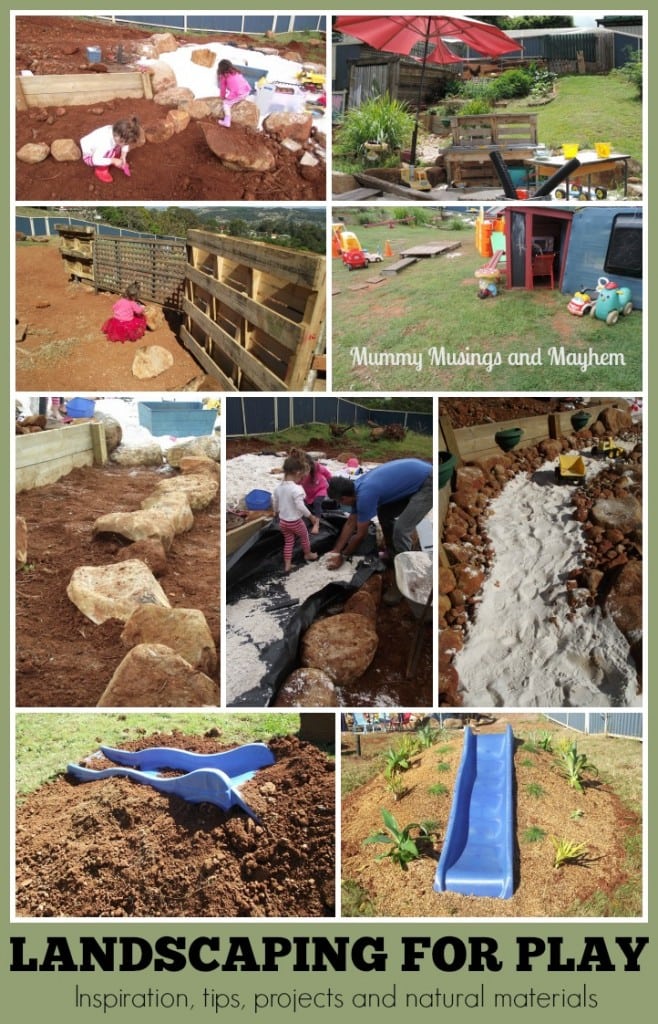
I do have a few tips and tricks for landscaping with children though – you can read more about them here.
The Added Extras
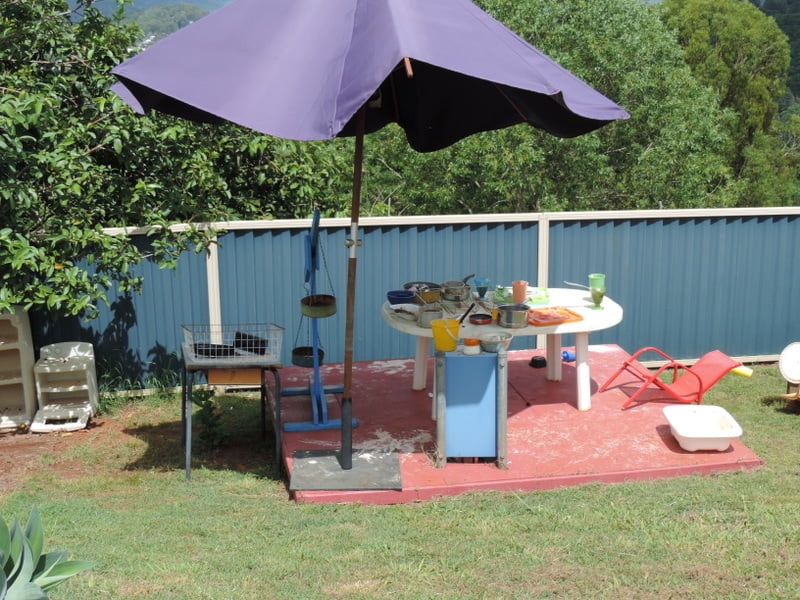
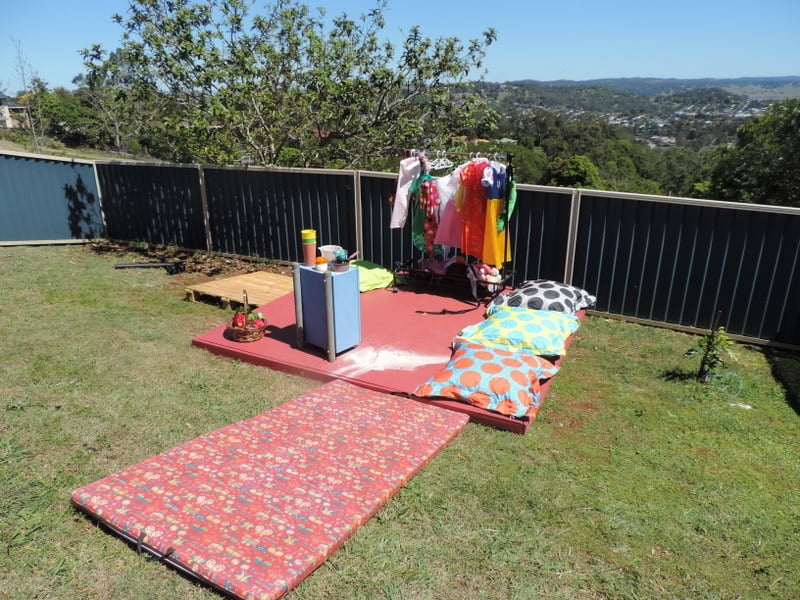
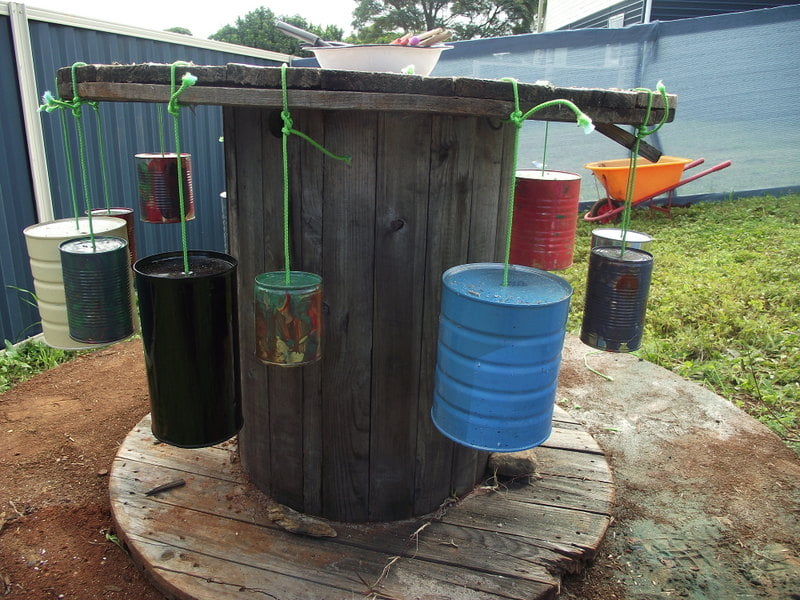
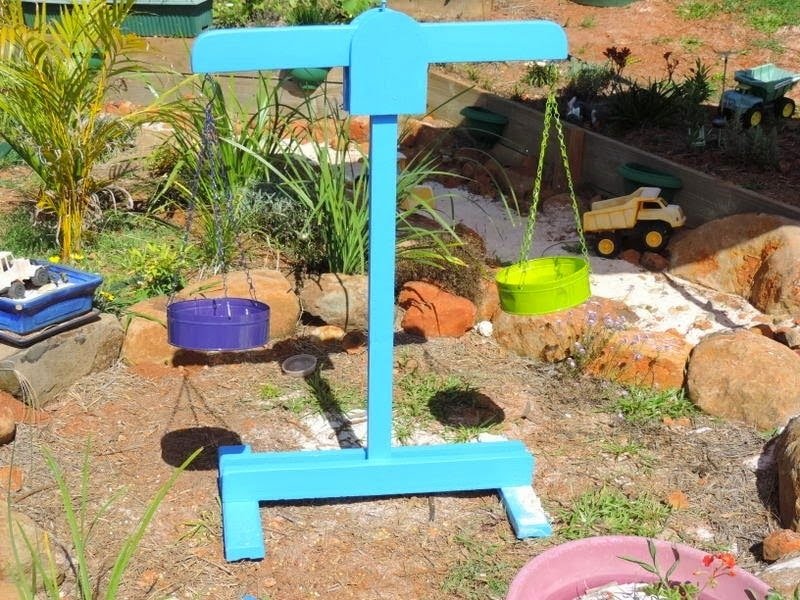
The backyard will always be evolving – it is growing with the children and with the recycled treasures I find. My mind works in mysterious ways when it comes to creating for children and I'm lucky to have his patient self to make it happen. Here's a few of our favourites…click on the picture to find out more about each project.
The outdoor chalkboard

The Bus/Train

The stage
The Musical Spool
The Outdoor Scales
The Branch Teepee
The Banging Tree
The Pallet Sink Kitchen
The Entry
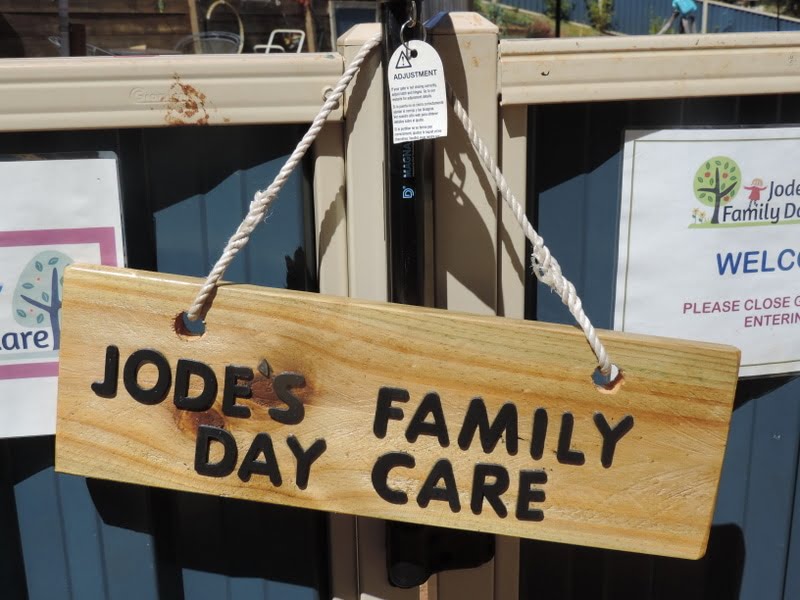
I'm now proud to welcome the families who use my service – I like that they enter through the gate into our backyard, I love seeing the children's faces when they see it set up, I'm proud of what we have created…of what we continue to create.
The Joy of Outdoors
Is there anything better than seeing the joy and freedom in a child's eyes as they explore outdoor spaces? I hope you found something to inspire you and perhaps try in your own backyard or care area.
Remember, nothing is impossible – it just takes time, a love of recycling and a will to keep creating.
Warm Wishes
Jode x
This is so amazing! Thank you for so generously sharing all these ideas and photos. I’m dreaming about setting up a home day care soon, for all the reasons you wrote about in your recent post, but first have to find a way to move from my flat to a house. I will still be renting so that will put limits on what I can do outside but I hope that one day I will have the freedom to make a space as engaging and joyful as yours!
Thanks for your lovely comment Louise! This is the first time I have actually had a house of my own to do what I want with so I’m making the most of it. Know what you mean about renting, it can be tough but hopefully you can use some of my ideas on a smaller scale, many of them could go with you when you move 😉
I love your landscaping for play I do own my house but very small back yard but I will find the way to incorporate some of your ideas with the help of my lovely husdband
What an amazing transformation and so enticing as well. I would love to play and go on learning adventurous at your daycare!
Thank you for sharing your process of creating such an awesome outdoor plat space for young learners. I am currently working on my outdoor space… and you have given and inspired me to dream big and create the “third teacher” (environment) be as engaging as yours. My space is not big like yours so it’ll be quite challenging for me to create the environment I’d like. Wish me luck in my plans and implementation. The first step is always the hard part but seeing your post just made me want to jump right in it. Thank you again!
Thank you Maricar! So glad I have been able to share a little inspiration. Small spaces can be fun to create too, just take it a step at a time and don’t be afraid to change your ideas if something isn’t working 🙂 I found it helpful to do little sketches and write down ideas before we even got to the doing stage.
Wow Jode! It is such an amazing space you and Gary have created!! I’ve watched along the way, as things have been done, but to see it all pulled together like this is wonderful! Truly inspirational xxx
Thanks Kell, been a bit of a journey, this backyard area used to get me down every time I hung out the washing but now I love just stopping out there and thinking about how far we have come 🙂 If only I could keep up with the ideas in my head haha
Wow , what a wonderful set up which I know my littlest grandchildren would absolutely adore. Well done.
Alexa-asimplelife visiting from Sydney
🙂
Thanks so much Alexa and lovely to have you stop by 🙂
oh my goodness, I am stunned!! what a transformation!!! so many inviting creative spaces – i want to come play!!! i love it all, from the sandpit to the kitchen area. the amount of work (and love!) is phenomenal, you should be really proud of yourselves… what incredibly lucky kids to get to use this space!!! well done jodie, truly xx
Thanks so much Kate! it has certainly been a labour of love but a lot of hard work! 🙂
I found your post via Pinterest. You have inspired me! My goal for this spring/summer is to get my children outside more. Your lovely ideas are so doable and creative. They make me want to be a kid again 🙂
How wonderful Rachael, thanks for such lovely feedback! I’m all for play being easy..and outside play is the best of all!And you can be a kid again, it’s great haha!!Enjoy x
i am in the beginning steps of my own major backyard redesign and you have given me so much inspiration! Many thanks.
Fantastic Tracy, it’s so much fun the inspiration and design stage – enjoy!!
Wow, amazing work. What a labor of love.