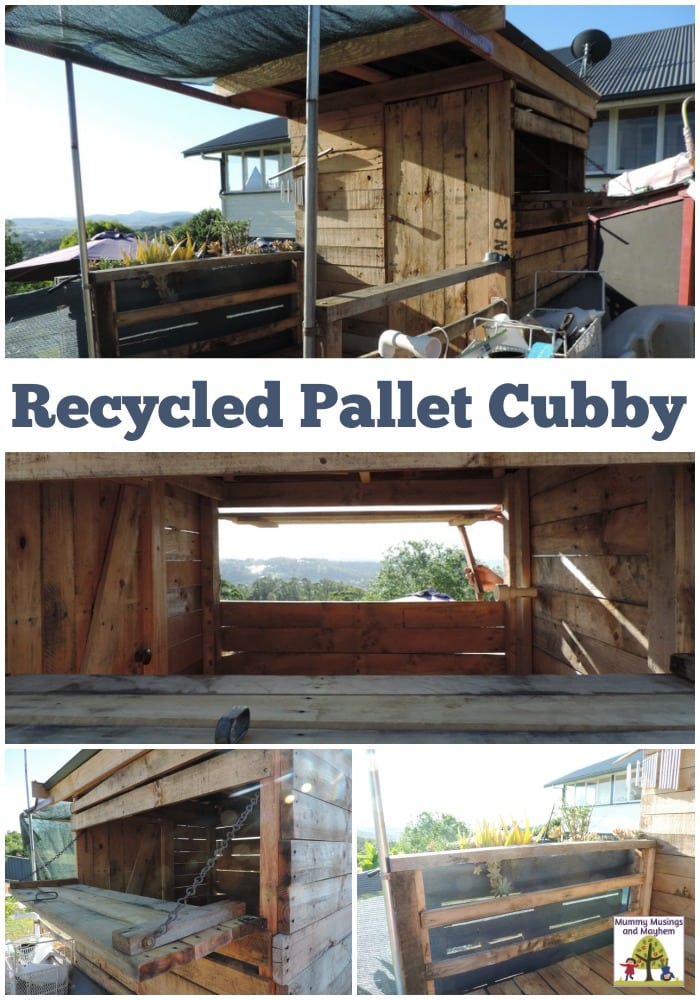
We have been busy recycling wooden pallets in the backyard again. This time we decided to make a small cubby for the twins (they *may* have been asking for a cubby for a year now!) As soon as His Patient Self had finished collecting the pallets he needed for his design it was all systems go.
It's not fancy and probably isn't going to feature in a catalogue any time soon but it has been made with love and lots of recycled bits and pieces so again cost us very little! Like to try your hand at making something similar? I've included lots of photos to walk you through our construction process so let's get started!
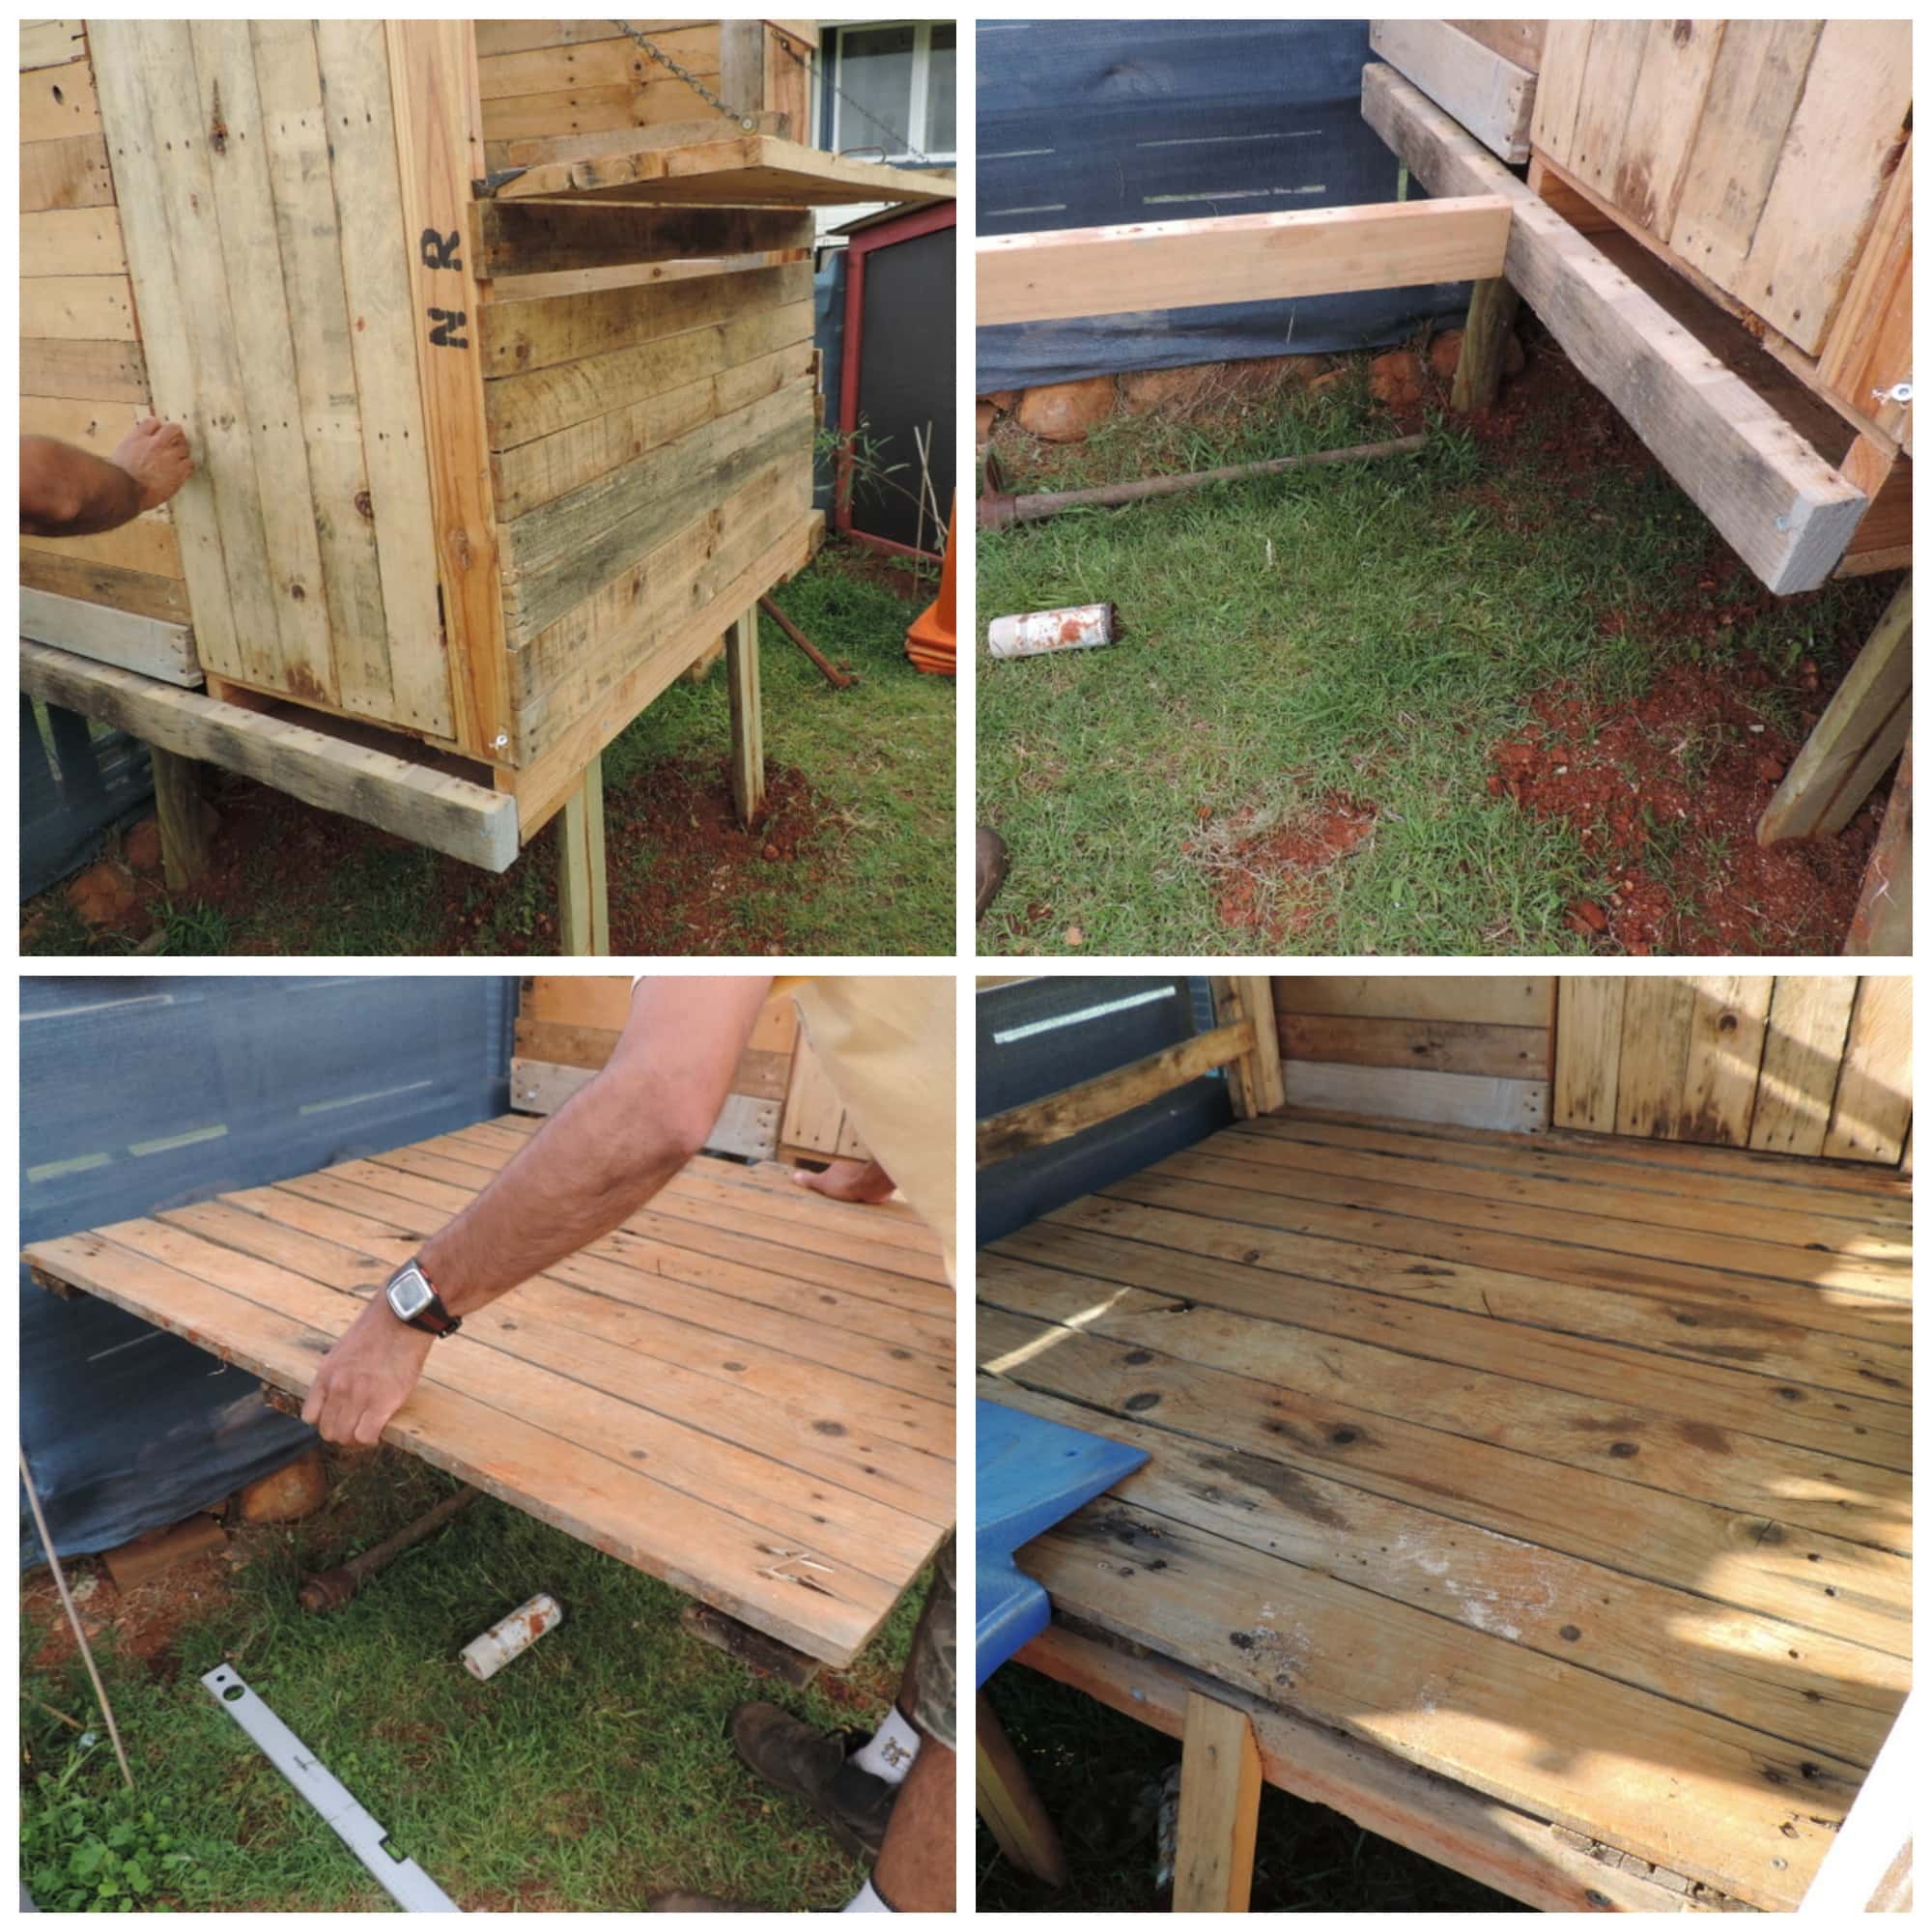
Stage one was fitting the pallets together to form a box type structure. The big tip here is that not all pallets are the same. Often the timber is different widths and thicknesses so you want to be a little fussy at the start because this will make your job easier in the long run! Put your posts in place and build your floor base then add your walls.
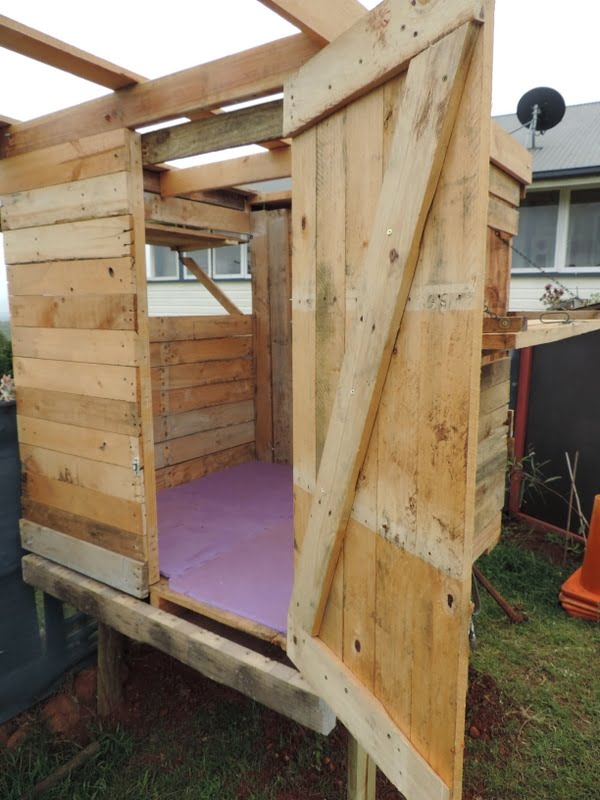
Once His Patient Self had his base structure together it was then time to add a simple door. The legs holding the cubby above ground are simply old koppers logs sawn in half as that is what we had in the shed – you might need to buy a few posts as you can't use pallet timber for this step – they must be sturdy as obviously they are holding the weight of the cubby! You can of course just have your cubby flat to the ground but we wanted to utilise the space under the cubby for our dog.
I'd love to give you measurements but when working with pallets His Patient self just tends to design as he goes to fit with what he has! Another pallet made the perfect balcony area and was attached to the main structure.
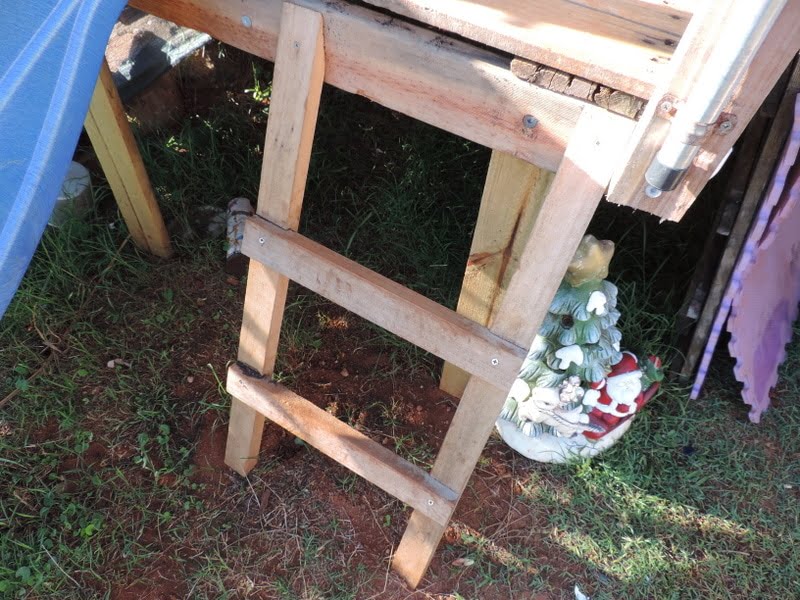
A simple little ladder was added – made from some scrap timber. Trust me…we have a lot of scrap timber lying around and I have stopped asking why he keeps it all because apparently there is always a use for timber!!
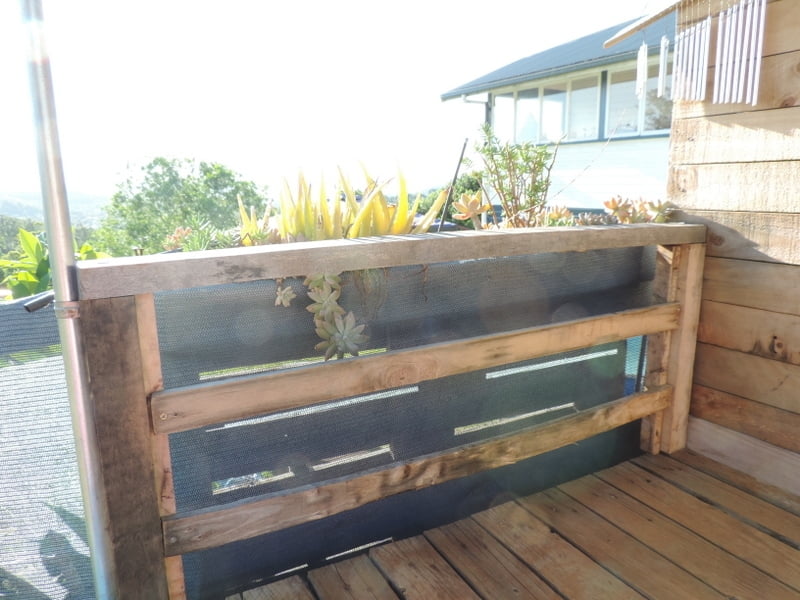
More pallet timber was attached to the side to make the balcony rail. This actually runs alongside our pallet fence planter. You can read more about that project with pallets here.
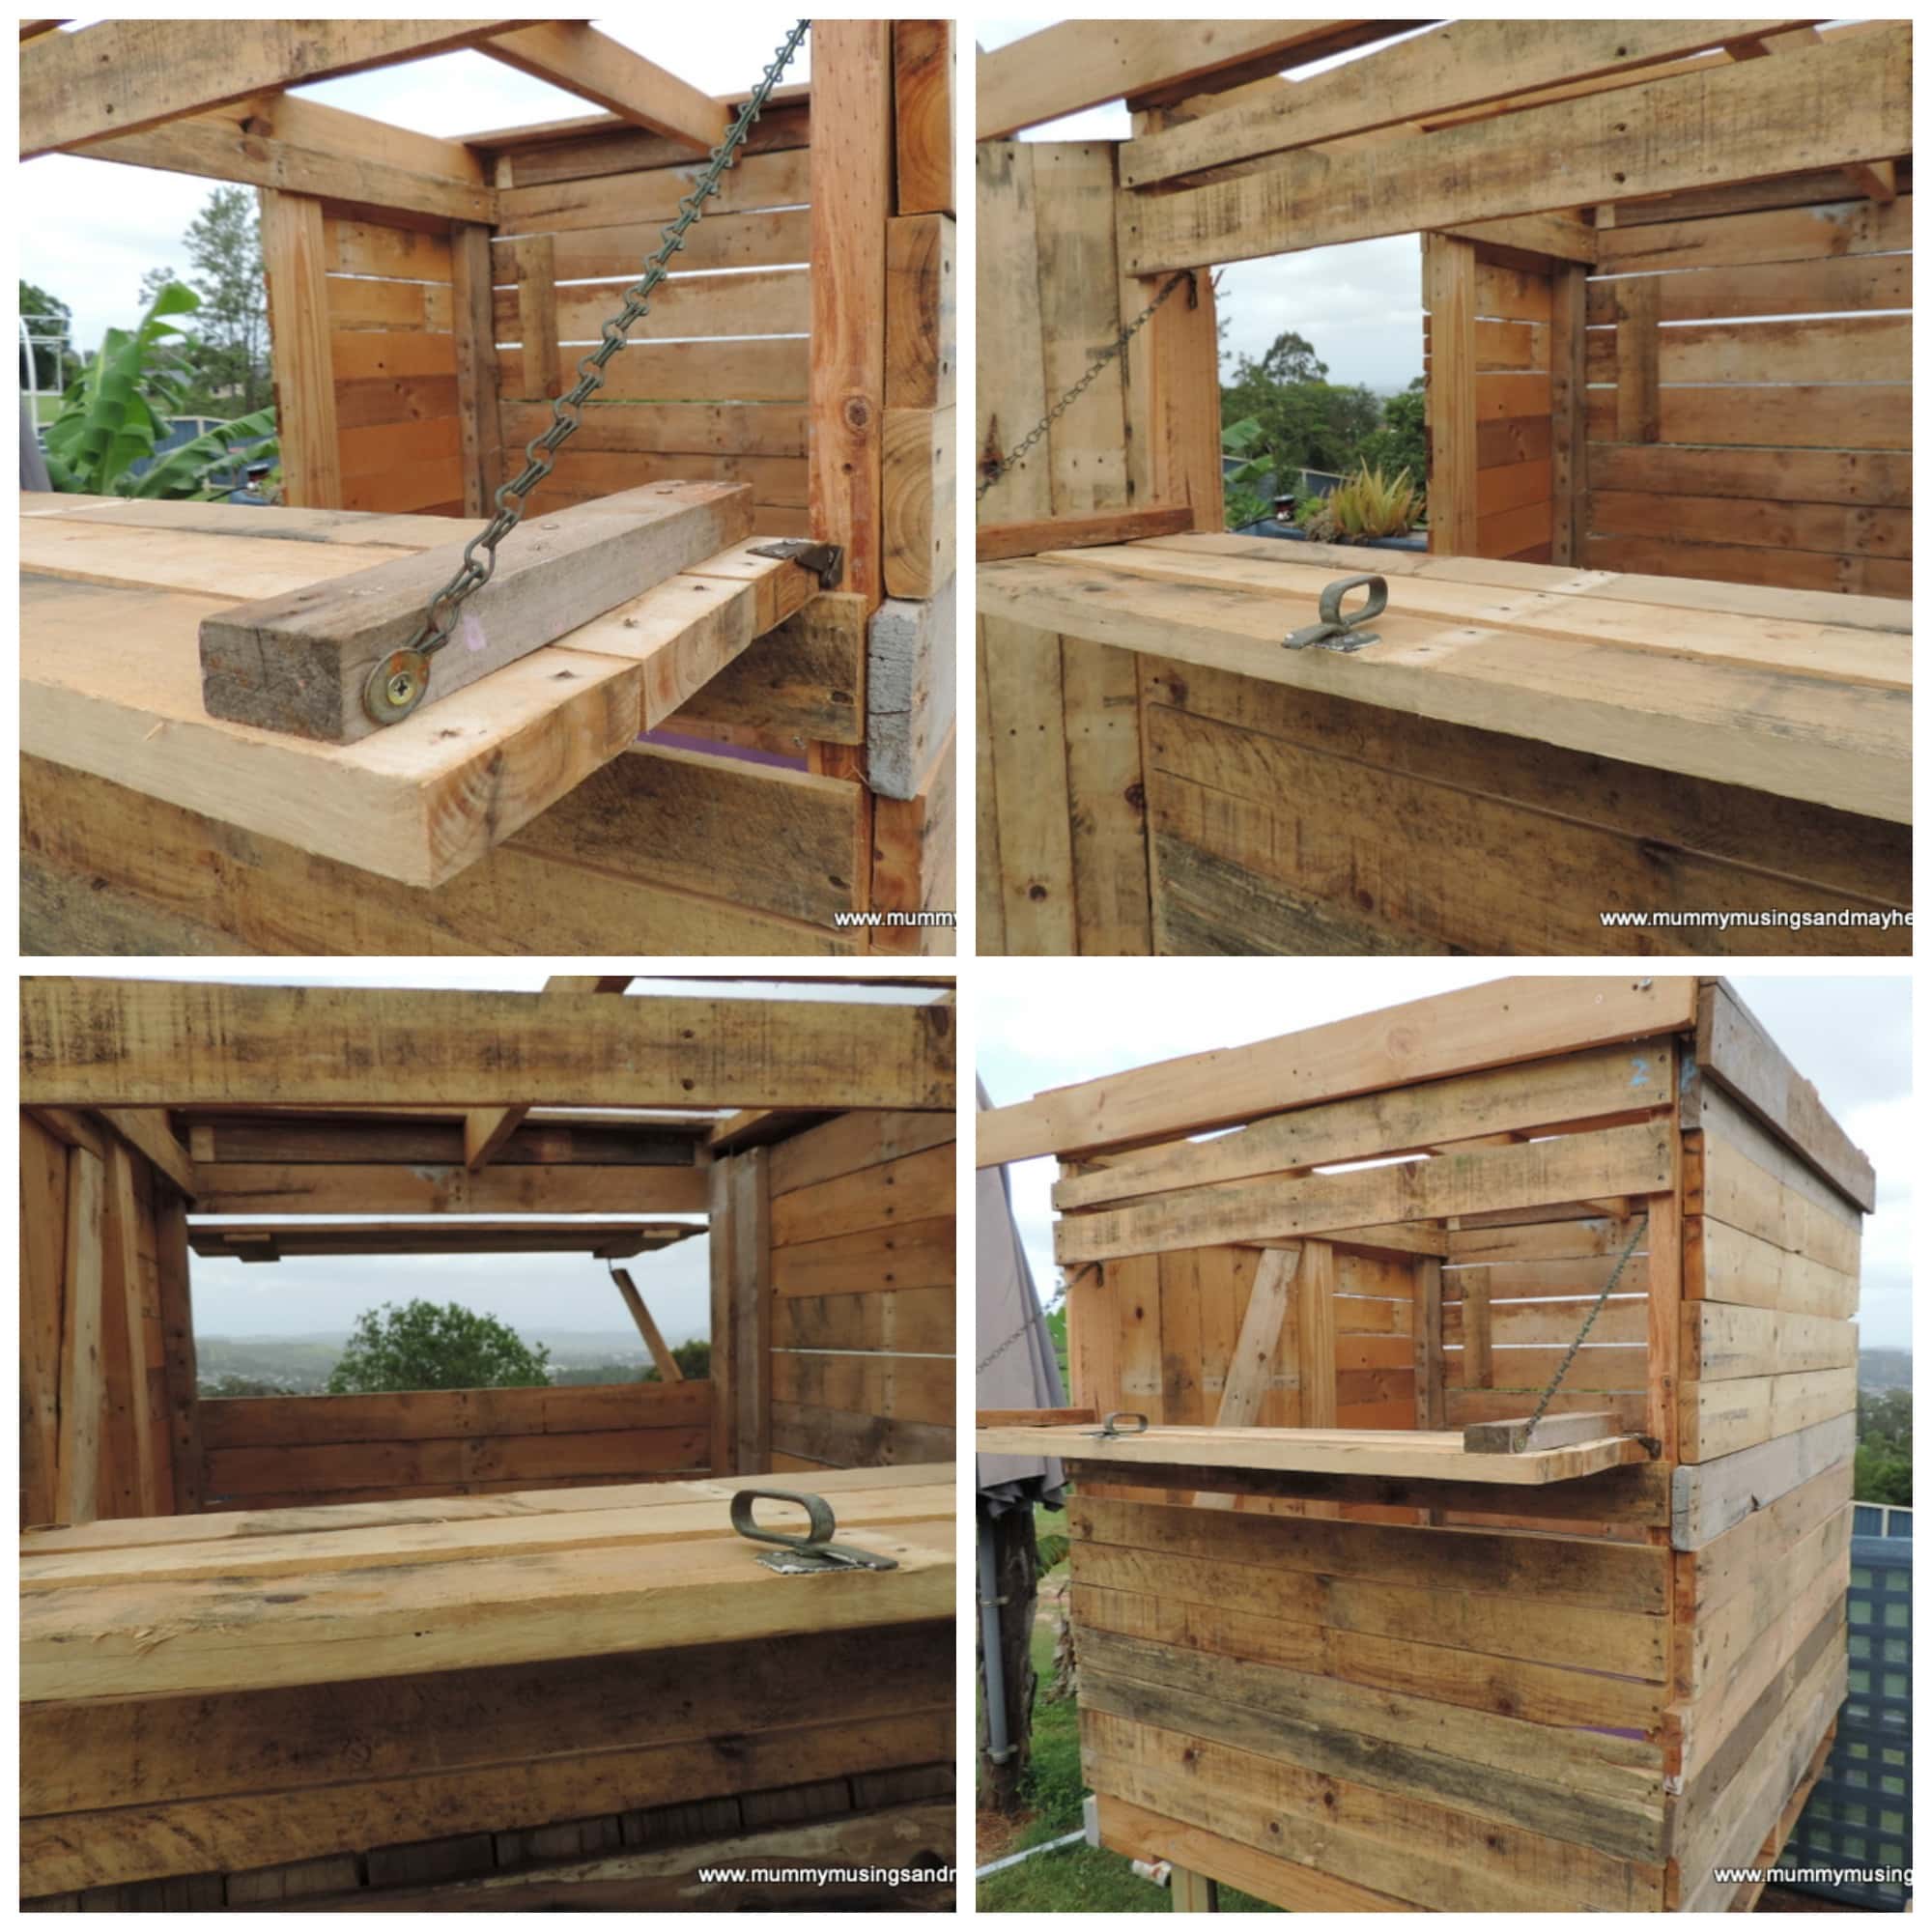
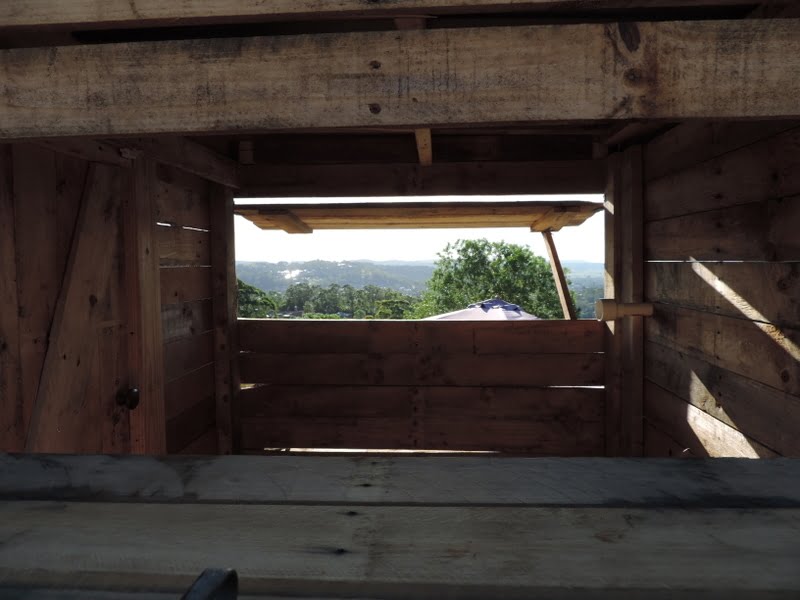
When creating the walls his patient self really wanted to add some windows so the girls could use it as a shop or kitchen window if they wanted to and also take advantage of the view and fresh air. It's only a small space inside so this really opens it up and allows for interaction with their outdoor games.
The twins are 5 at the time of writing this post and they find it easy to open and close the windows as they wish (which is quite hilarious to watch by the way) but if you have younger children obviously you would need to do this for them or have some lower windows perhaps.
Inside I nailed down some old foam mats we had just to ensure there were no splinters or rough pieces of timber to step or sit on. They do a lot of sitting in there with their dolls so it also provides a softer surface without needing to drag out lots of blankets and pillows (in theory anyway as they seem to still drag those things out there!)
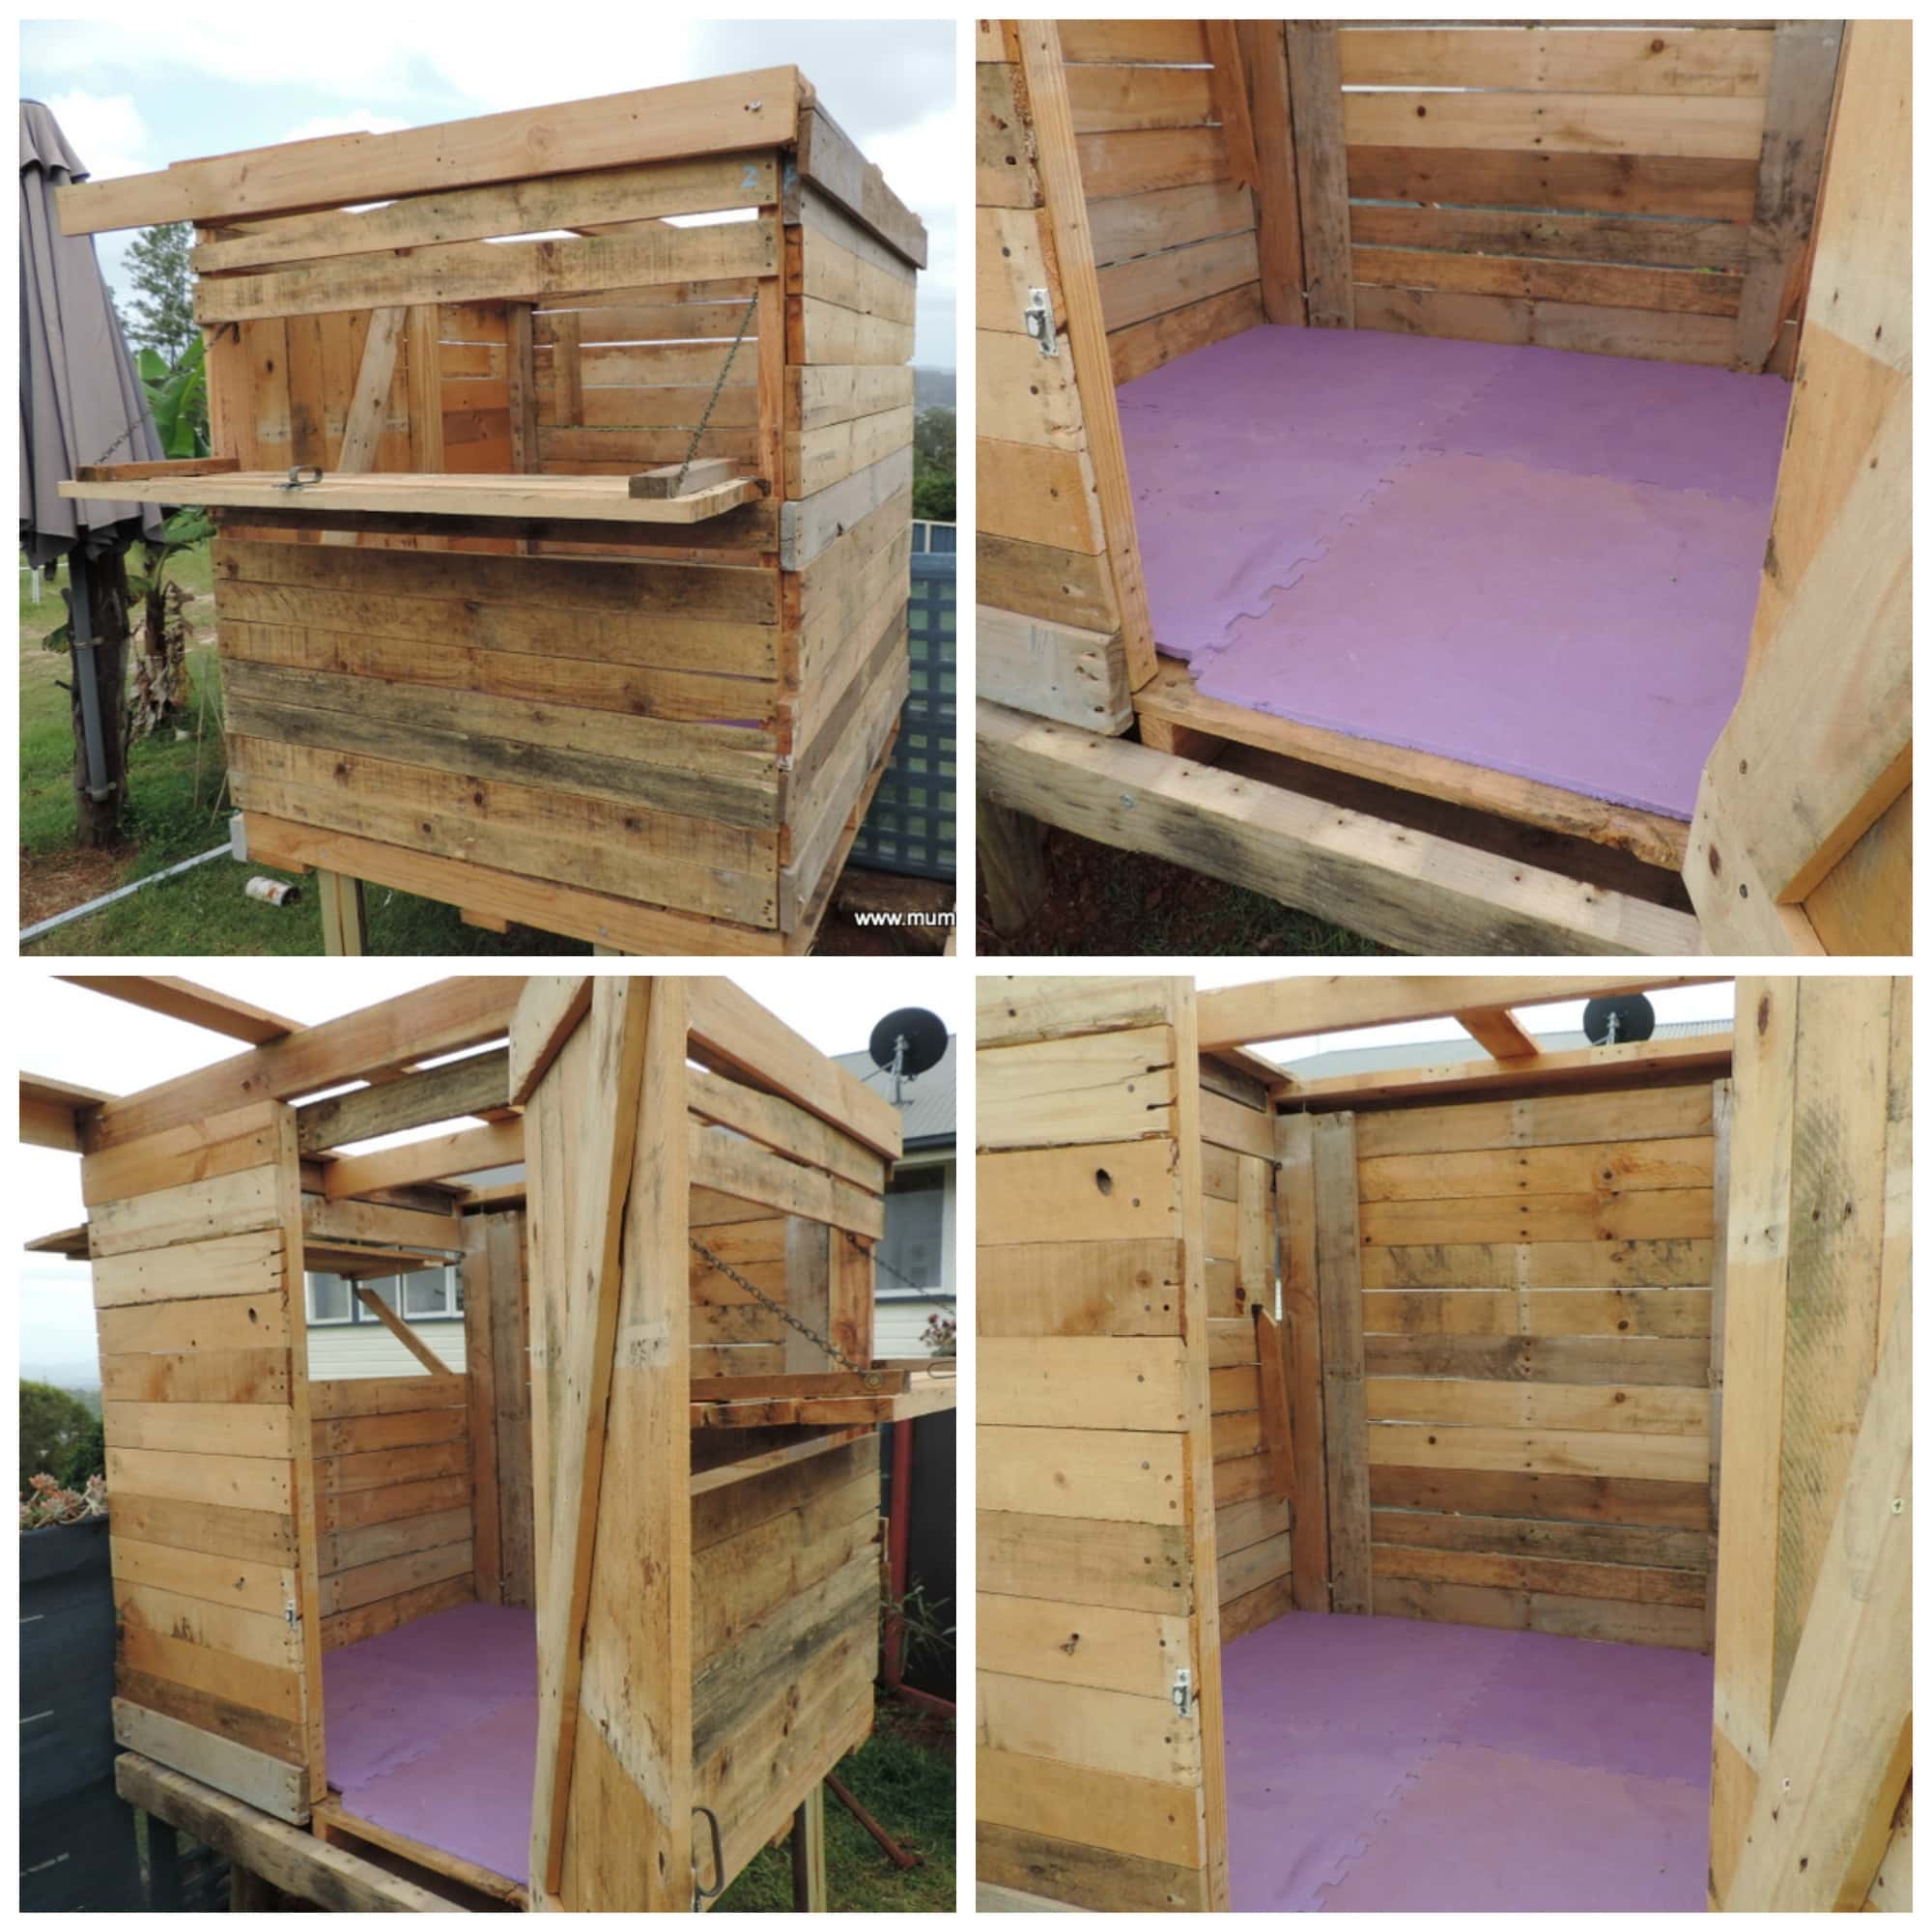 With the walls, floor, door ,windows and balcony done it was time to add a roof and some shade for the balcony. The roof is just some colourbond fencing that we had left over from fencing our yard so the blue matched in nicely with our house and the fence. And also didn't cost us anything!

His Patient Self added a little overhang to the front verandah but we decided a little more shade would be good. So back to the shed to forage and I came up with some old shadecloth (yes I know it isn't pretty but it works well!) and those fetching purple and pink bits of wood forming the shadecloth frame were the legs from an old painting easel we had pulled apart. Told you he never throws any wood pieces out!
The metal poles also came from the shed and I can't even remember what they were recycled from! You could easily find all those materials at your local recycle centre or salvage yard though so perhaps go for a forage before you spend money buying new!
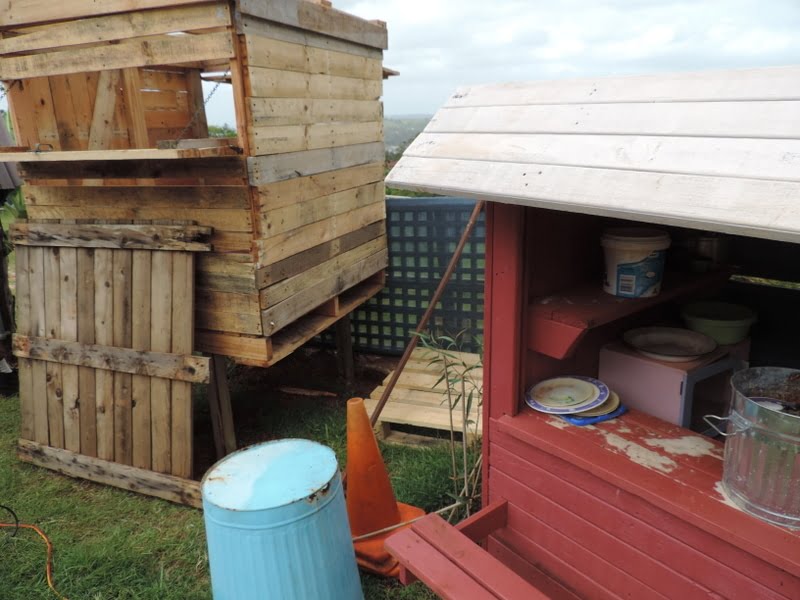
 I took this picture during construction and realised we seem to be building a village in the backyard …we now have a house and an outdoor cafe side by side! If you'd like to read more about our pallet cafe/shop you can find all the details in this post.
My girls love their messy play and mud/sand cooking outdoors so I decided to add a little outdoor kitchen area to their new cubby….
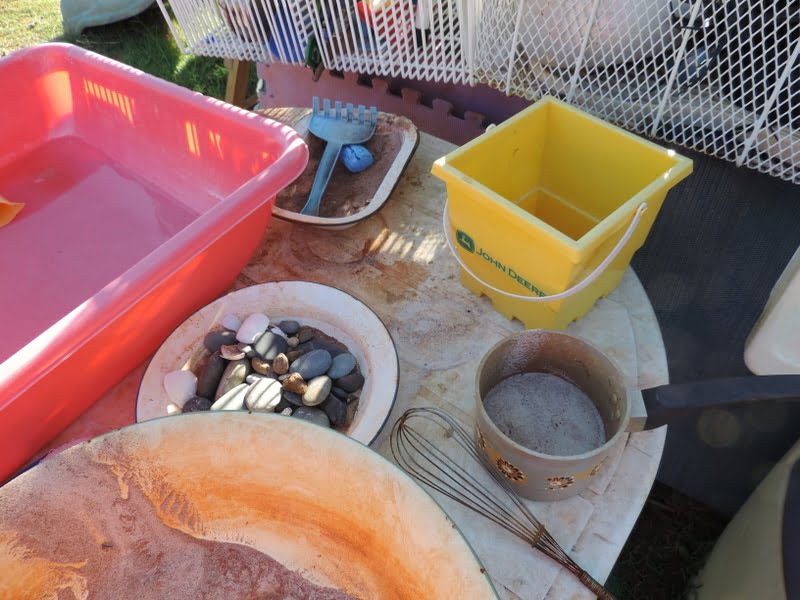
The baskets come from Daddy's work (they used to hold icecreams in the big freezers) and are perfect for holding all their cooking and messy play tools. They now enjoy cooking up their treats and sharing them through the window. The imaginative play occurring has been beautiful to watch!
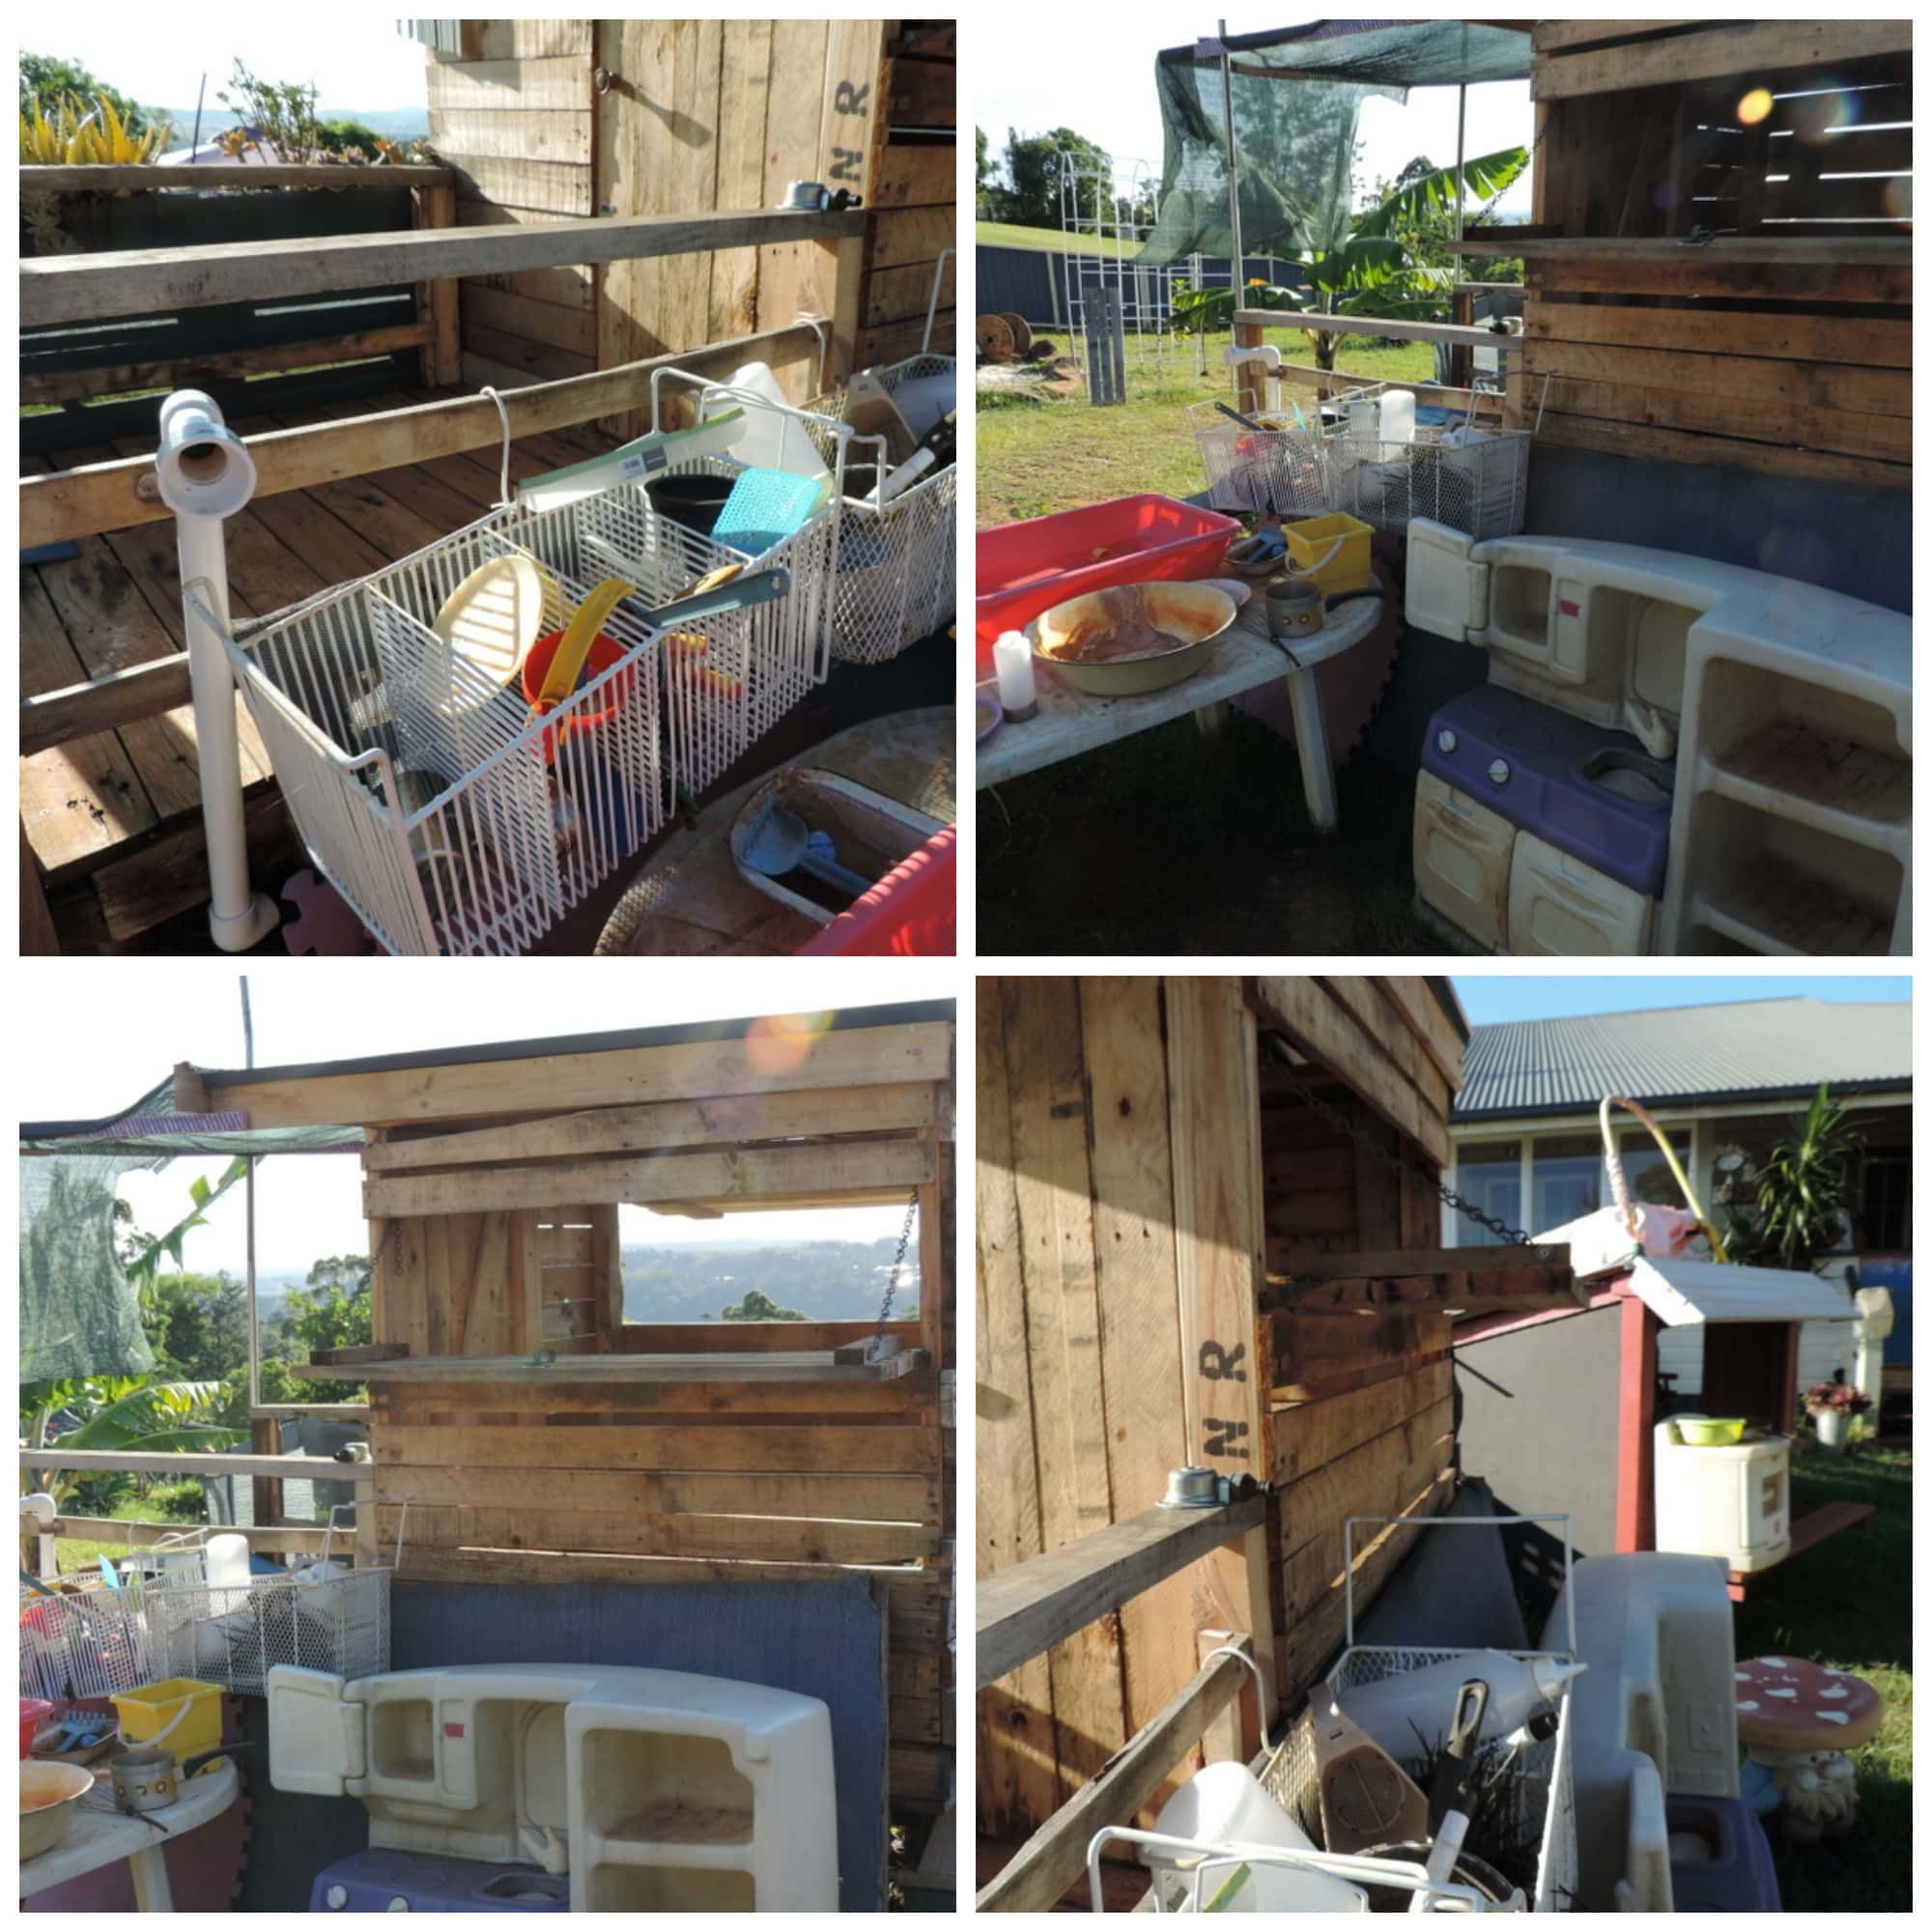 His Patient Self also added a ‘speaking pipe' using plumbers pipe and some old bits and pieces. There are a few outlets and the girls enjoy speaking down the tubes and listening from inside. Messages are being relayed back and forth constantly while they play!

I'm not sure they realise how lucky they are to have a cubby with a lovely view while they play but there has been lots of koala spotting and talking to birds as they fly past.
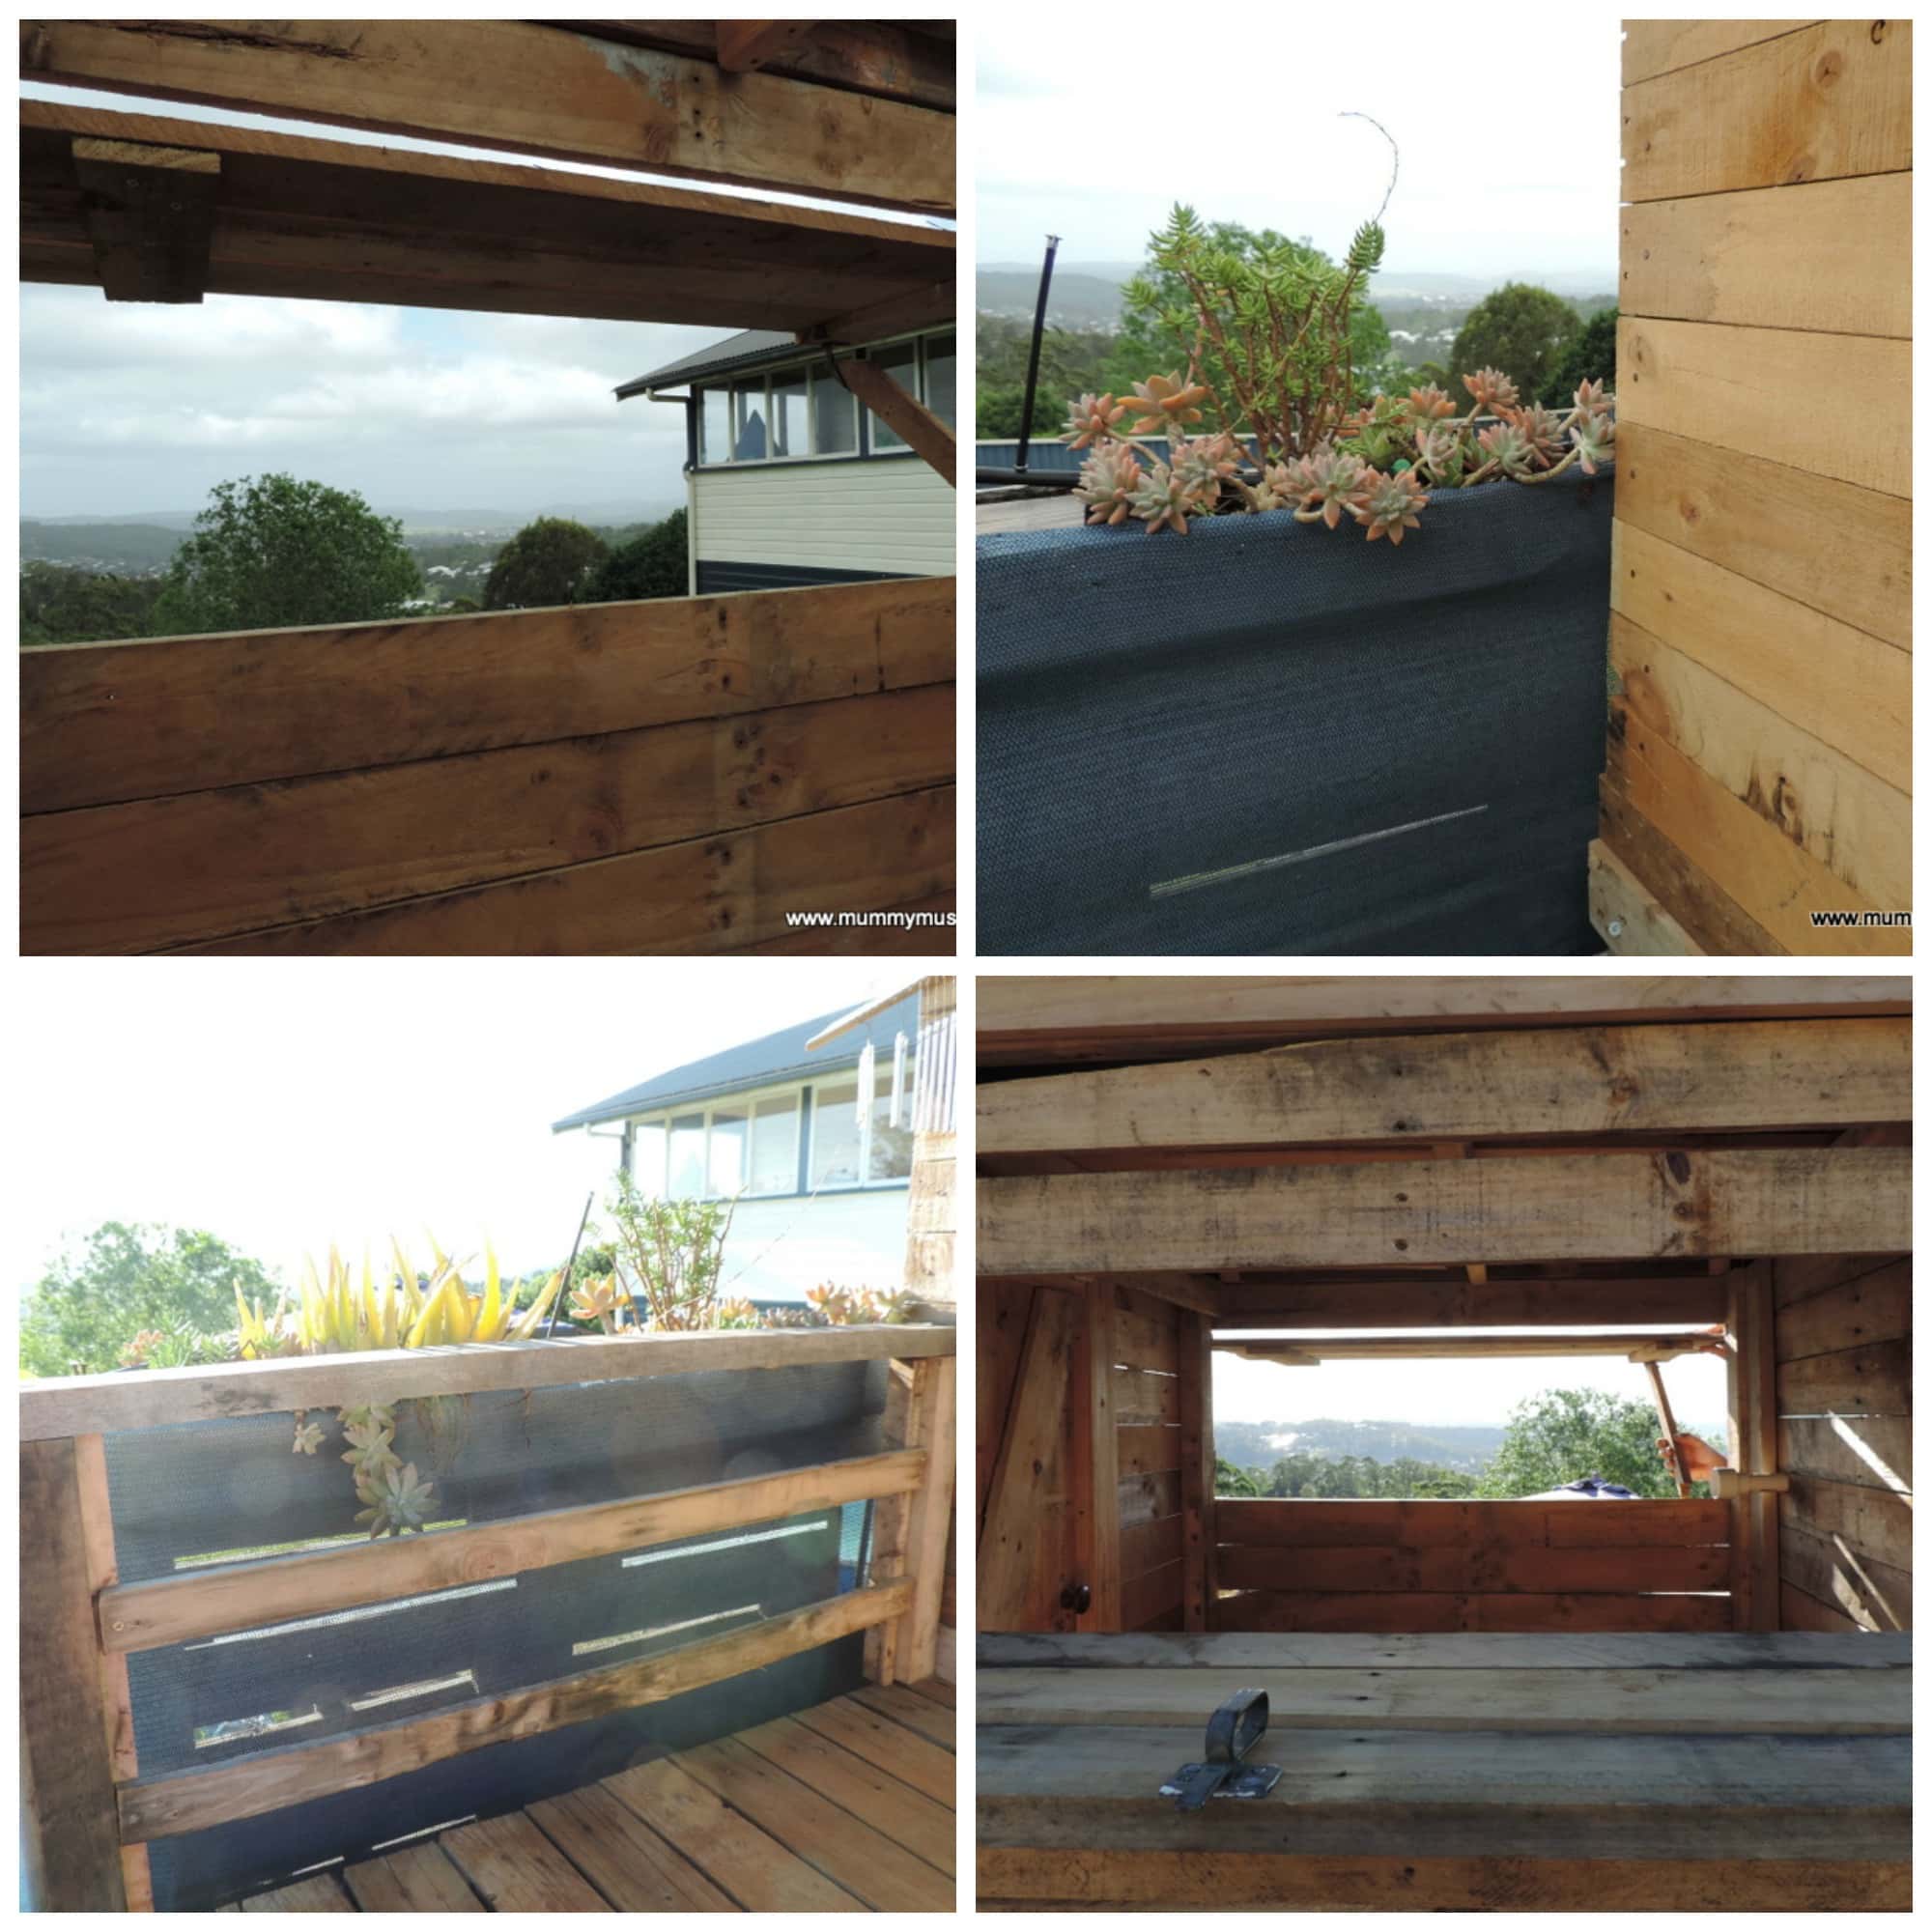 We haven't reached the painting stage yet, I quite like the natural look but pallet wood does last better with a coat of paint. We'll have to do a little more digging in the shed to find some leftover exterior paint. There will be some…I just don't know what colour ….but we won't be buying it that's for sure!
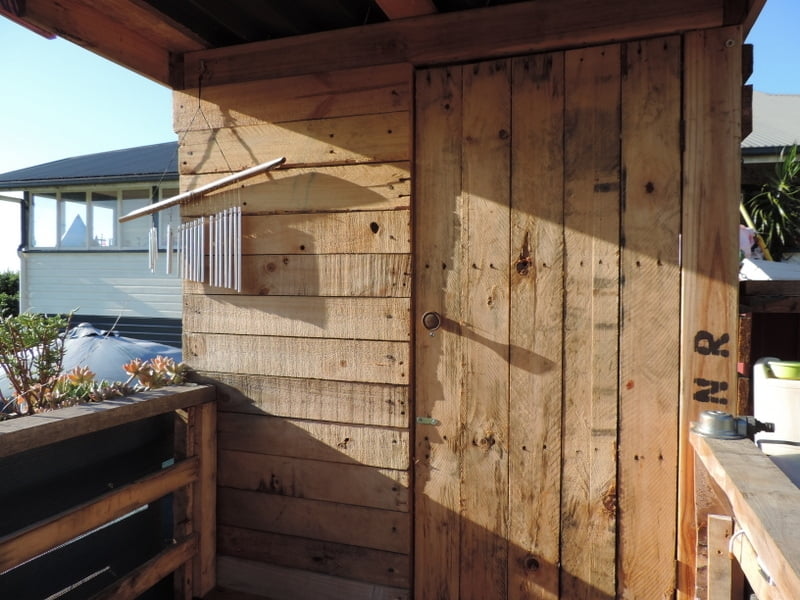
Why not start collecting some pallets, recycling old materials and get busy designing your own little cubby for the children – I guarantee it will keep them busy and loving outdoor play even more!
If you'd like to introduce your children to the value of sustainability or provide fun activities using recycled materials then you will love my E-book with 30 activities and projects incorporating recycling and natural materials. I share ideas I have used with my own twins and family day care children and there are lots of photos to provide inspiration for both parents and educators.
Play doesn't need to be complicated or expensive – download my e-book to view on your computer, tablet or mobile device and get started today! You can read more about the book by clicking here or on the image below.

Leave a Reply